Book Image

Linux Administration Cookbook

By : Adam K. Dean
Book Image

Linux Administration Cookbook

By: Adam K. Dean

Overview of this book

Linux is one of the most widely used operating systems among system administrators,and even modern application and server development is heavily reliant on the Linux platform. The Linux Administration Cookbook is your go-to guide to get started on your Linux journey. It will help you understand what that strange little server is doing in the corner of your office, what the mysterious virtual machine languishing in Azure is crunching through, what that circuit-board-like thing is doing under your office TV, and why the LEDs on it are blinking rapidly. This book will get you started with administering Linux, giving you the knowledge and tools you need to troubleshoot day-to-day problems, ranging from a Raspberry Pi to a server in Azure, while giving you a good understanding of the fundamentals of how GNU/Linux works. Through the course of the book, you’ll install and configure a system, while the author regales you with errors and anecdotes from his vast experience as a data center hardware engineer, systems administrator, and DevOps consultant. By the end of the book, you will have gained practical knowledge of Linux, which will serve as a bedrock for learning Linux administration and aid you in your Linux journey.
Table of Contents (15 chapters)

Installing our chosen distribution manually

Phew, that was a journey, and we've not even started properly!

Next, we're going to look at setting up a VM manually. But fear not! We will also be looking at automating this procedure with Vagrant to avoid having to perform repetitive steps in the rest of the book.

Seriously, if you're already well-versed in installing CentOS, feel free to skip this section entirely. I have provided Vagrantfiles throughout the rest of this book for automating the boxes we're going to work on.

Obtaining our CentOS installation media

The main way Linux distributions are distributed is in the form of ISO images. These images can then be burned onto a DVD as appropriate, or mounted for a VM to boot from.

Head over to https://centos.org/download/ and have a look at the options on offer.

I'm going to download the Minimal ISO, for reasons that will become clear shortly.

Clicking through should bring you to a mirror page:

This is a bandwidth-saving measure on part of the CentOS Project by prompting the end user to download from any number of different hosts. They can spread the cost of bandwidth out to volunteers.

What you tend to find is that these providers typically fall into two categories, with exceptions. Generally, the images are provided by universities, or hosting providers. The cynic in me thinks that the hosting providers offer a mirror service as an easy source of marketing, rather than some philanthropic gesture.

Choose a download location near to you, and wait for the download to complete.

You may note that one of the download options is via Torrent. Torrenting is a great way of spreading out the cost of bandwidth to multiple people, and allowing a small piece of the software to be downloaded from multiple locations greatly reduces load on any one source. However, it should be noted that some workplaces watch out for this type of traffic on their networks due to the reputation torrenting has.

Checking the checksum

Once downloaded (which may take a while, since even minimal is large), you will be faced with an ISO image.

On my Ubuntu installation, I can see it in my Downloads folder:

$ ls ~/Downloads/
CentOS-7-x86_64-Minimal-1804.iso

One way to confirm our installation media and ensure that we've downloaded exactly what we expect, is to compare the Sha256 sum of the downloaded file with a known-good value. This both proves that it's the download we expect it to be, and also checks that no corruption has occurred during the file download.

CentOS provides a release notes page that we can visit to find the Sha256 sum we're comparing: https://wiki.centos.org/Manuals/ReleaseNotes.

Click through to Release Notes for CentOS 7, which should bring you to the most recent version of the release notes.

On this page, we can scroll down to Verifying Downloaded Installation Images, which will list the current Sha256 sums for the download images.

Always make sure that the site you're getting your known-good Sha256 values from is itself legitimate.

In my case, I can see that the Sha256 value for the file I just downloaded is as follows:

714acc0aefb32b7d51b515e25546835e55a90da9fb00417fbee2d03a62801efd  CentOS-7-x86_64-Minimal-1804.iso

With this in hand, I can go back to where I listed out the file in my Terminal, and run a basic command to check the Sha256 value of the downloaded image:

$ sha256sum CentOS-7-x86_64-Minimal-1804.iso 
714acc0aefb32b7d51b515e25546835e55a90da9fb00417fbee2d03a62801efd CentOS-7-x86_64-Minimal-1804.iso

Comparing the value from the CentOS website with the value from my downloaded image confirms that they are the same.

The media is what we expected!

Sha256 checks can also be performed on Windows and macOS. On macOS, this is accomplished using built-in tools, though Windows may require other software.

Setting up our VM

Now that we have our media and VirtualBox is installed, it's time to run through manually provisioning (technical term) our machine and installing CentOS.

In this section, we will be provisioning a small VM, but even that will come with the cost of processing power, memory, and disk space. Always ensure that you have the appropriate resources available for the machine you're trying to create. In this case, at least 50 GB of free drive space and a minimum of 8 GB of memory is advisable.

VirtualBox main window

Upon starting, you will be greeted with the VirtualBox main window. At the moment, we're only interested in the New button in the top left. You need to click the New button.

Next, you will be prompted to name your VM.

Call your first machine CentOS-1.

Notice how when you name your machine, the Type and Version automatically detects what you've typed, and reconfigures the selection as appropriate.

In this case, it gives us a Type of Linux, and a Version of Red Hat (64-bit). This is okay because of what we said before about CentOS and Red Hat Enterprise Linux being very close.

Hit Next.

64-bit is the architecture of the OS, though the OS you install must be supported by the CPU you have (most CPUs these days are x86_64.) The common architectures were generally x86 (32-bit) and x86_64 (64-bit) for years, but more recently the x86 variant has been dying off. The most common installations these days are x86_64, though ARM and aarch64 machines are becoming more commonplace. In this book, we will only be using x86_64 machines.

Now, we have to configure the amount of memory to give our machine. If you're constrained by this, you can put it to a lower value than the default of 1024 MB (1 GB), but 1,024 MB is a reasonable place to start, and we can always adjust it later if needed.

Now, we'll be prompted to configure the hard disk for our virtual system.

Leave the default option of Create a virtual hard disk now selected, and click Create.

You'll be prompted to choose a type. Leave the default selected, that is, VDI (VirtualBox Disk Image).

You'll be given the option of provisioning the disk over time (Dynamically allocated) or all in one go (Fixed size). I tend to leave it as Dynamically allocated.

Next, you'll be prompted to choose a location and a size for the disk. I would advise leaving the disk in the default location, and for the moment the default size of 8 GB should be enough disk space to get started.

Hit Create.

If everything goes well, you will return to the main window, and a new VM should be listed on the left, in the Powered Off state.

CentOS installation

Now that we have our VM, it's time to install our OS on it.

Clicking Start on the top of the main VirtualBox window, with your VM selected, should prompt you to first select a startup disk.

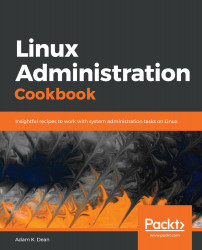
I've navigated to my Downloads folder and chosen the downloaded image from earlier.

Pressing Start will boot the machine from our media.

You will be presented with the option screen within the VM, with Test this media & install CentOS 7 selected by default.

I usually hit the up arrow (within the VM window) to select only Install CentOS 7 and skip the media check, though you may wish to perform the test.

If you're using physical media to install a machine (a DVD or CD), it might be a good idea to run a test of the media prior to installation.

Pressing Enter will continue the installation.

You will be prompted to choose your language. I choose English, because I'm monolingual.

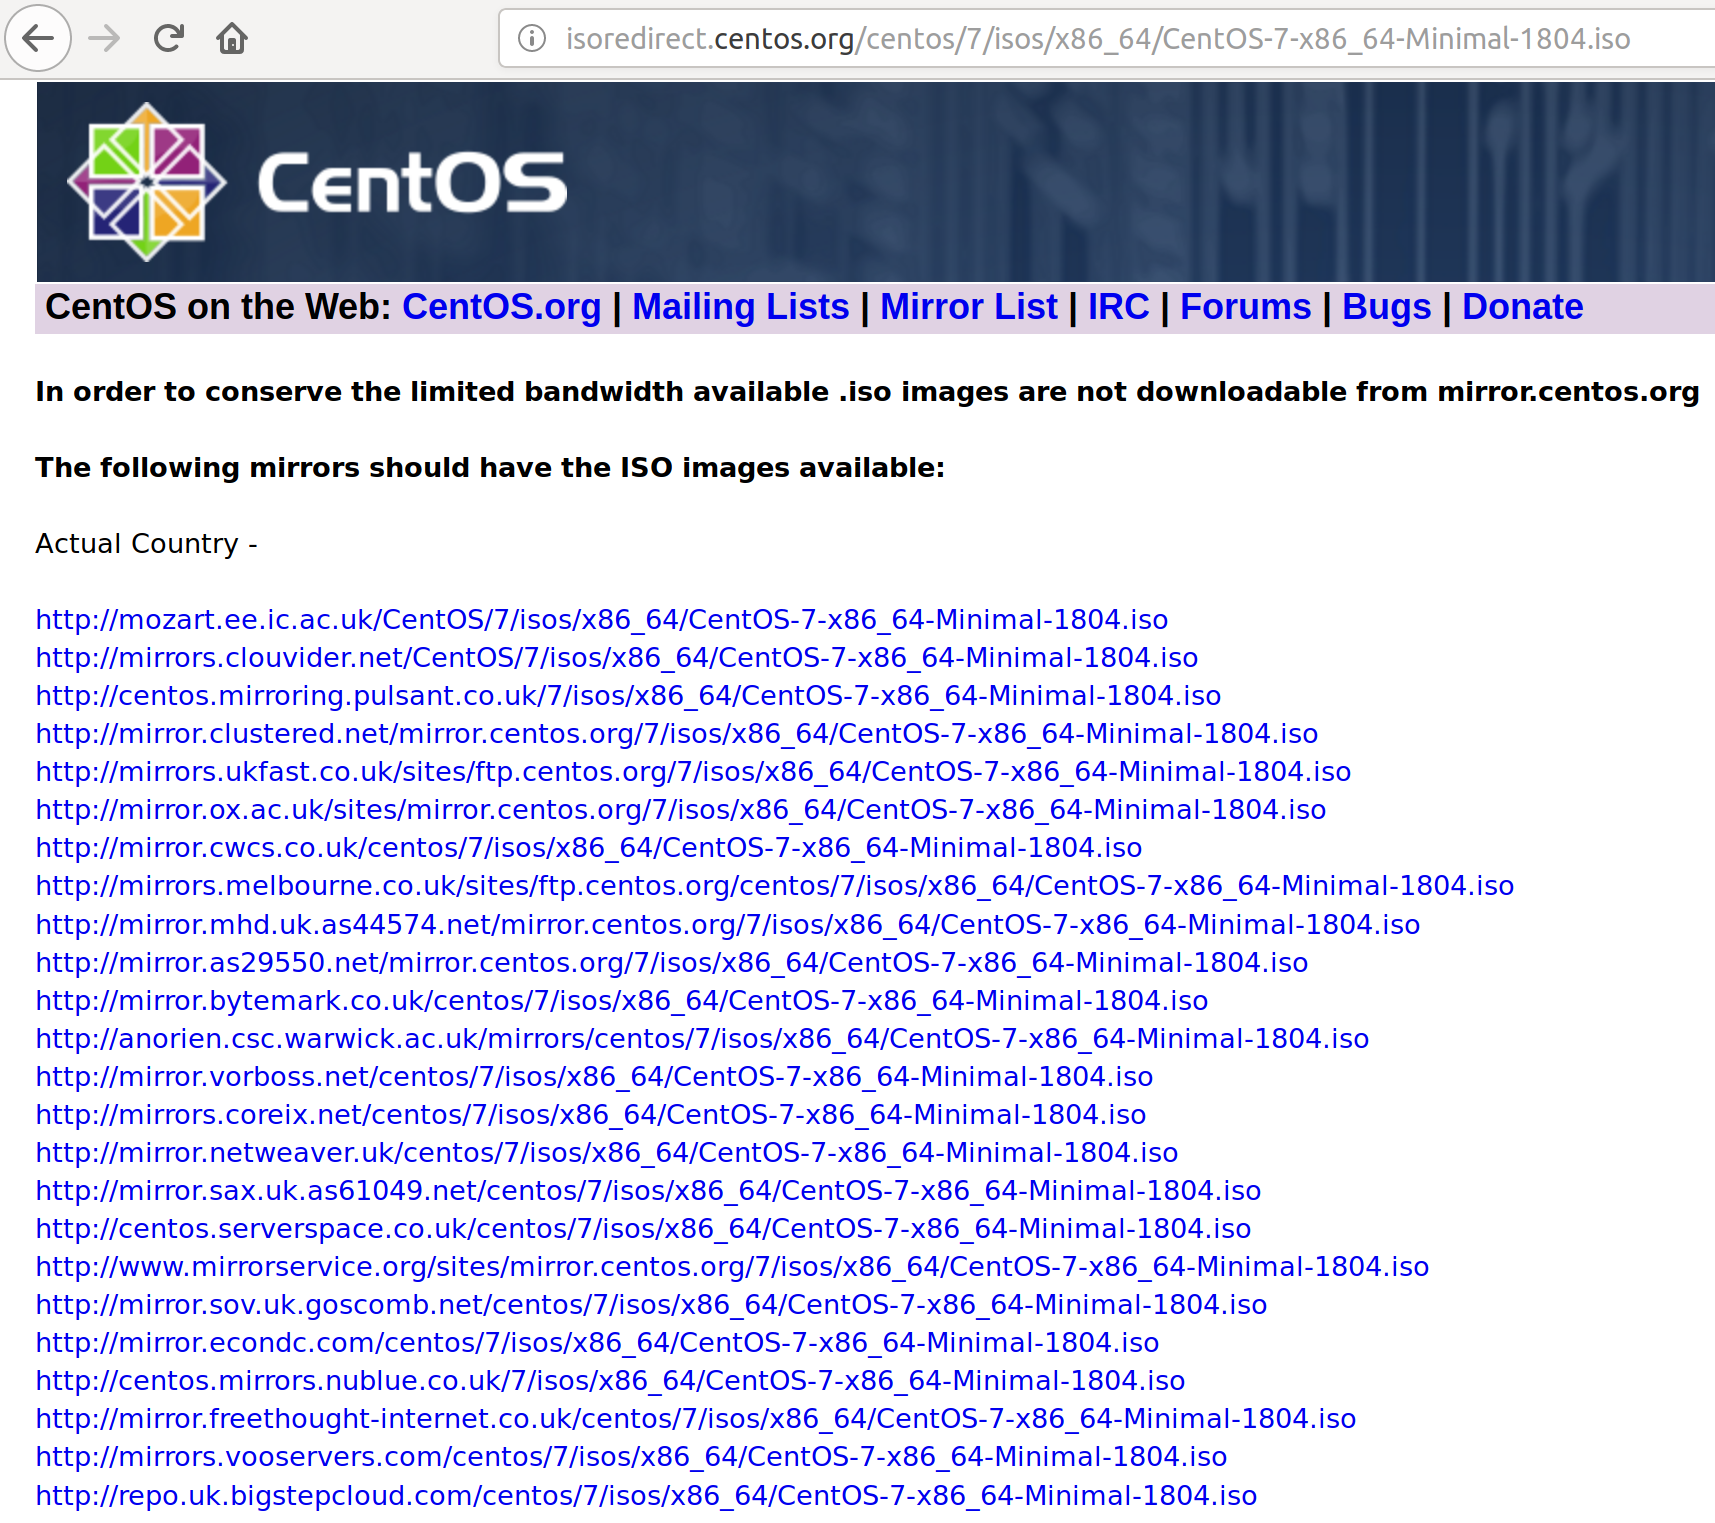
Once done, you will find yourself on the landing page of the most recent CentOS installer:

Note the message at the bottom, suggesting that items marked with the yellow icon need to be completed.

Because our date/time, keyboard, and language are all correct, we'll move on to the next stages, but feel free to correct any of these settings if they're wrong for you.

Notice that under INSTALLATION SOURCE we've got Local media selected, and under SOFTWARE SELECTION we've got Minimal Install. This is a product of us selecting the minimal image earlier on, and gives us a good chance to talk about installation over the internet.

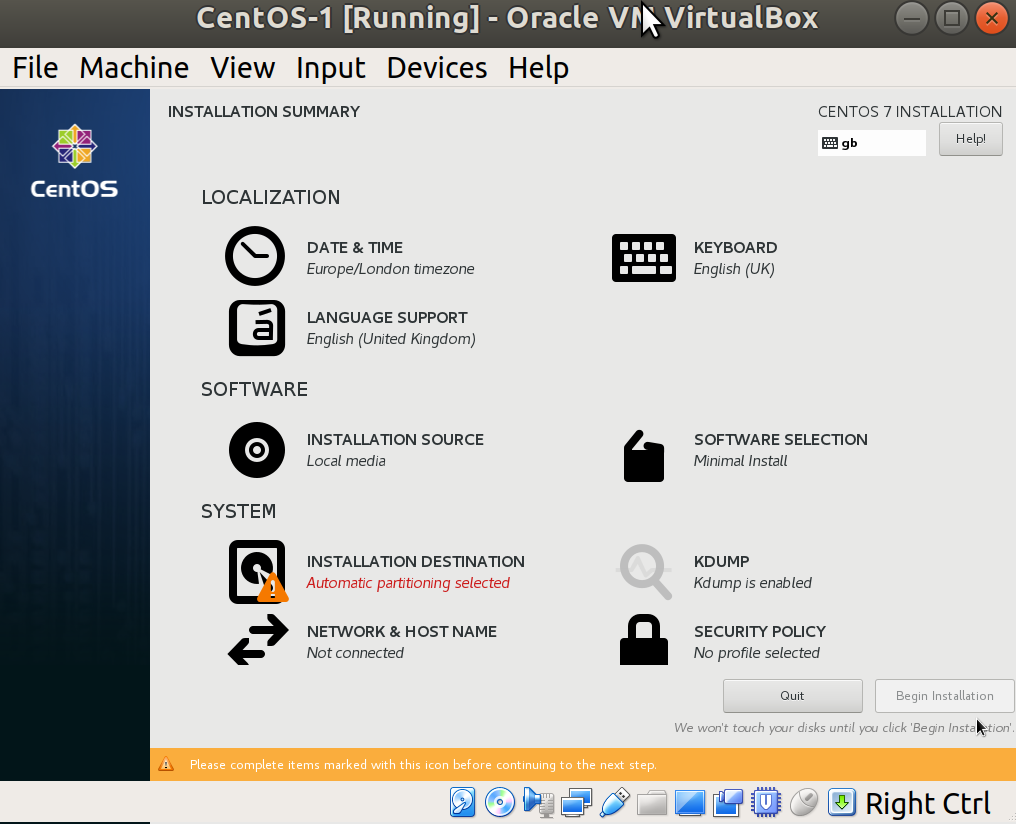
First, we need to configure our network. Click on NETWORK & HOST NAME to do this.

You should have a single Ethernet device, provided as part of the default provisioning step when making our VM.

Toggle the ON/OFF toggle to the right of your device name, and check that the network values are populated in a similar way to mine:

VirtualBox creates a NAT network by default, meaning that your VM doesn't sit on the exact same network as the host computer. Instead, the VM exists in a network by itself, but with a path to the outside world (via your host machine).

Press Done in the top left to complete our network setup (for now)!

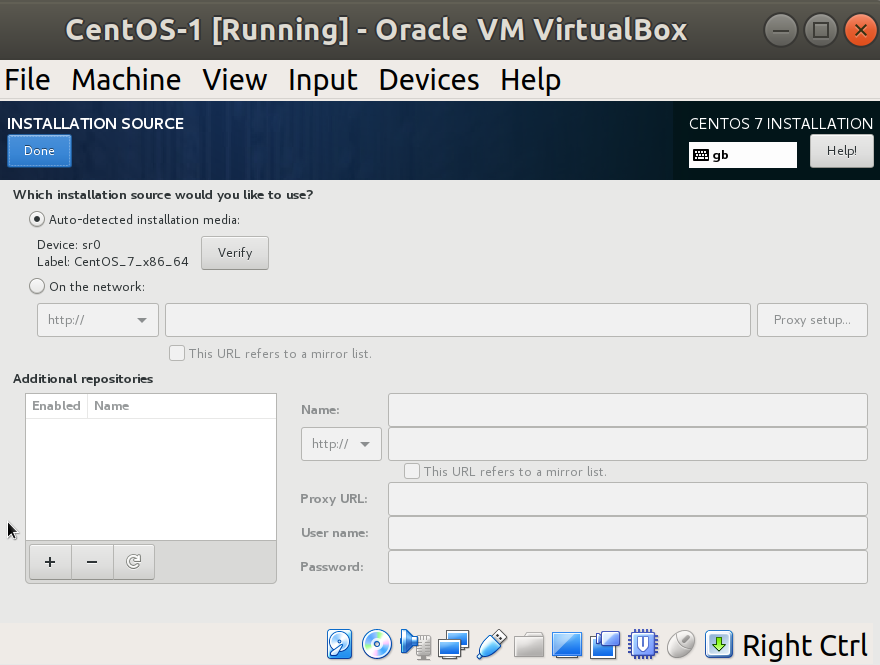
Back on the main screen, click on INSTALLATION SOURCE:

Within this screen, you can see that the auto-detected media is actually our disk image (sr0 being Linux's denotion of the disc drive).

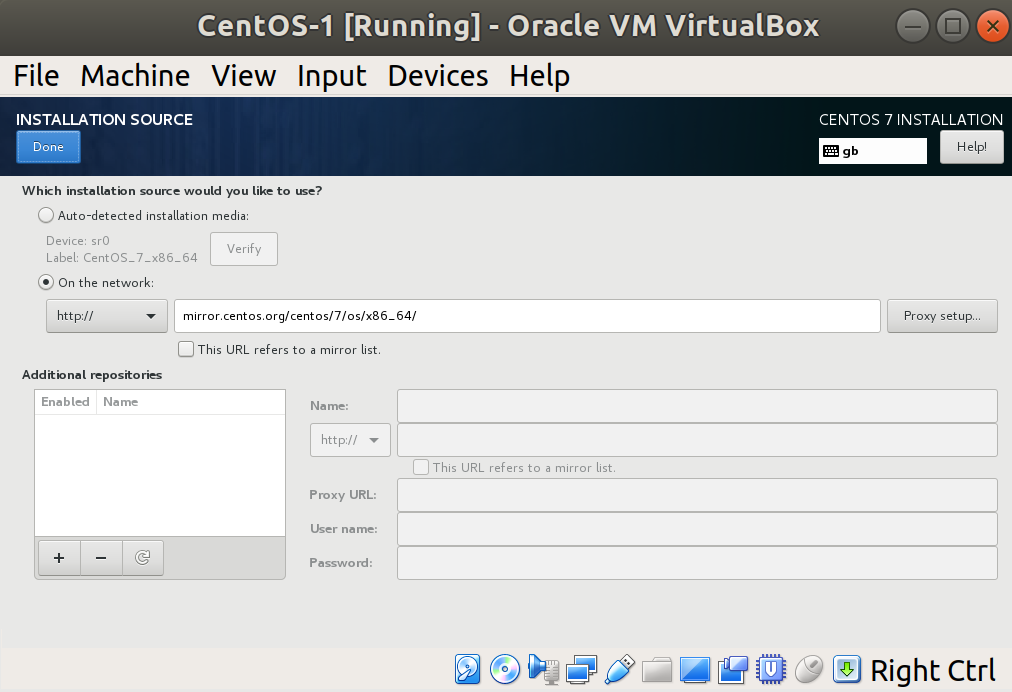
Change the selected radio button to be On the network.

Populate the URL bar with the following:

mirror.centos.org/centos/7/os/x86_64/

You should end up with the following screenshot:

Press Done in the top left.

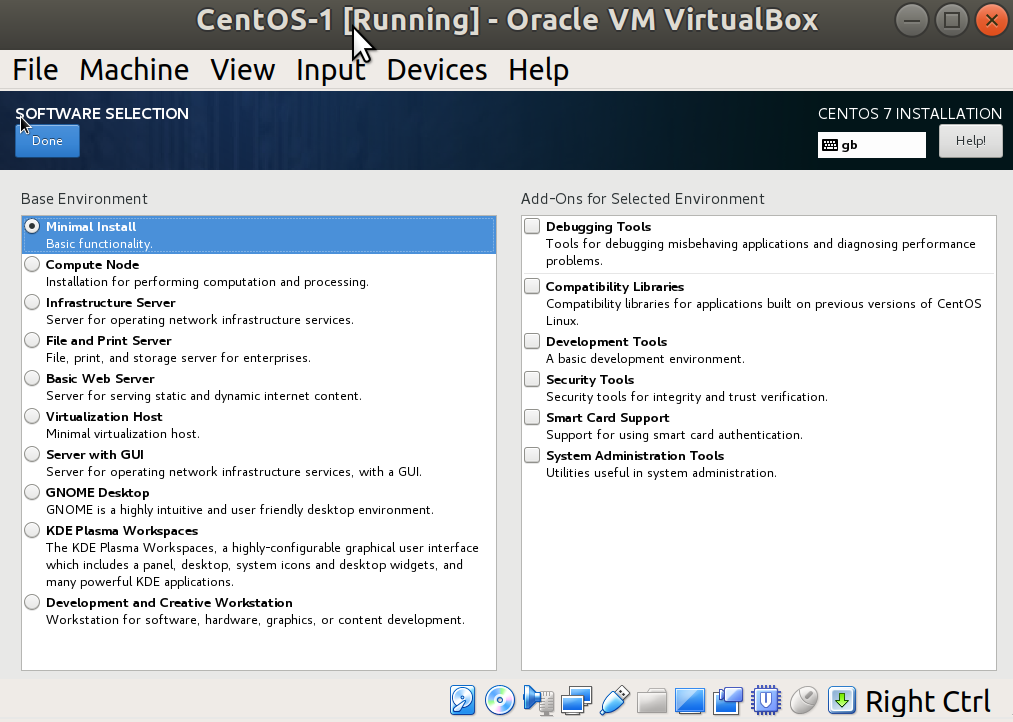
Once you're back on the main screen, it will be indicated that your software source has changed, and you need to verify this by entering the SOFTWARE SELECTION window. Proceed with this.

Have a read through the different options, but for now leave Minimal Install selected and click Done:

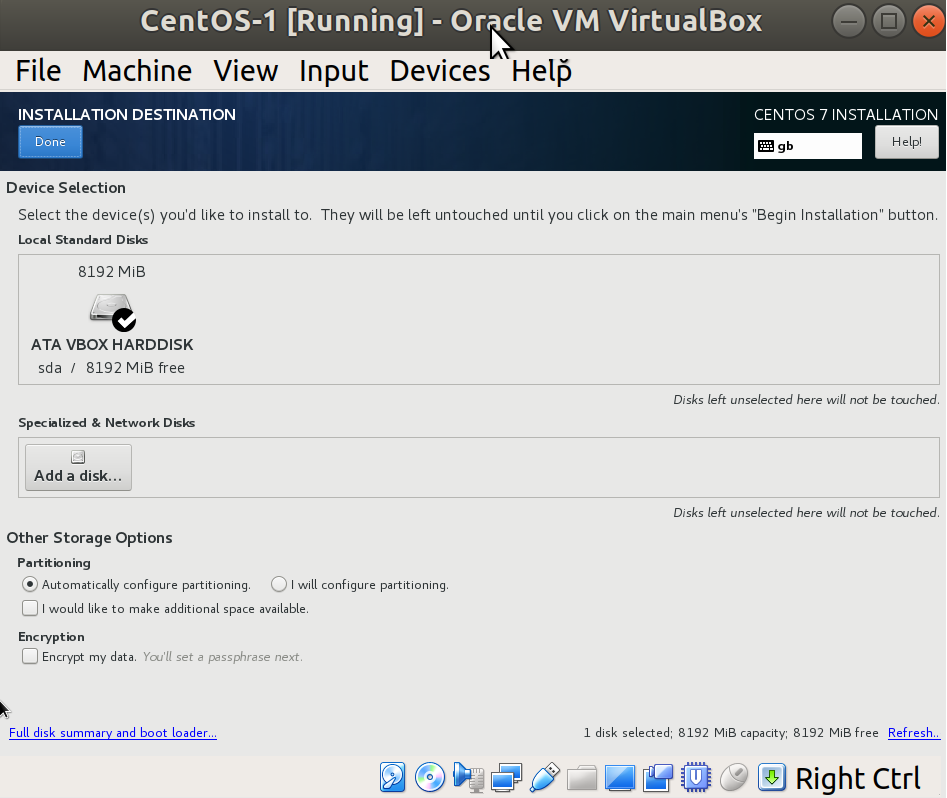
The last thing to do from the main screen is set our INSTALLATION DESTINATION. Click through to this screen.

Have a read of the options, but for now we're not going to bother with changing the default partition layout, or encrypting our disk. You should also see that the default selected disk is our 8 GB VirtualBox one.

Click Done (you shouldn't have had to make any changes, but the installer makes you enter this screen at the very least):

We've finally finished our (fairly basic) configuration. Hit the Begin Installation button at the bottom of the main screen.

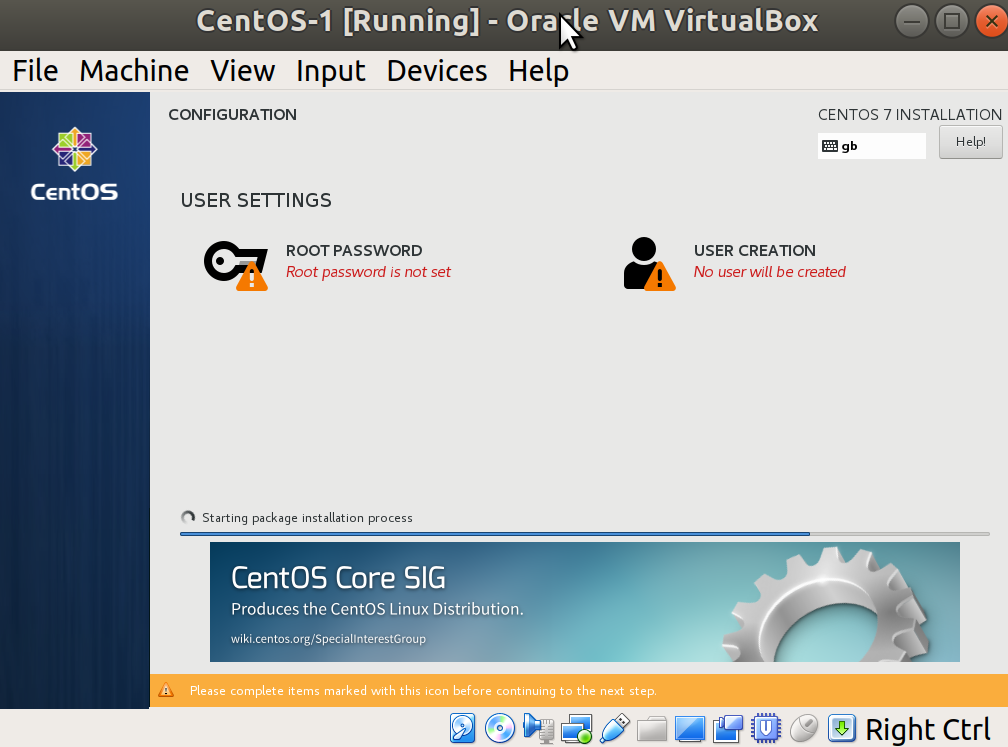
You'll see the installation begin, and will be given the following screen while you wait:

Click on the options at the top in turn, setting a root password and creating a user.

The root user is akin to the administrator on a Windows system; it's all-powerful and can be dangerous in the wrong hands. Some distributions don't even prompt you to set a root password on installation, making you use your own user and su or sudo instead.

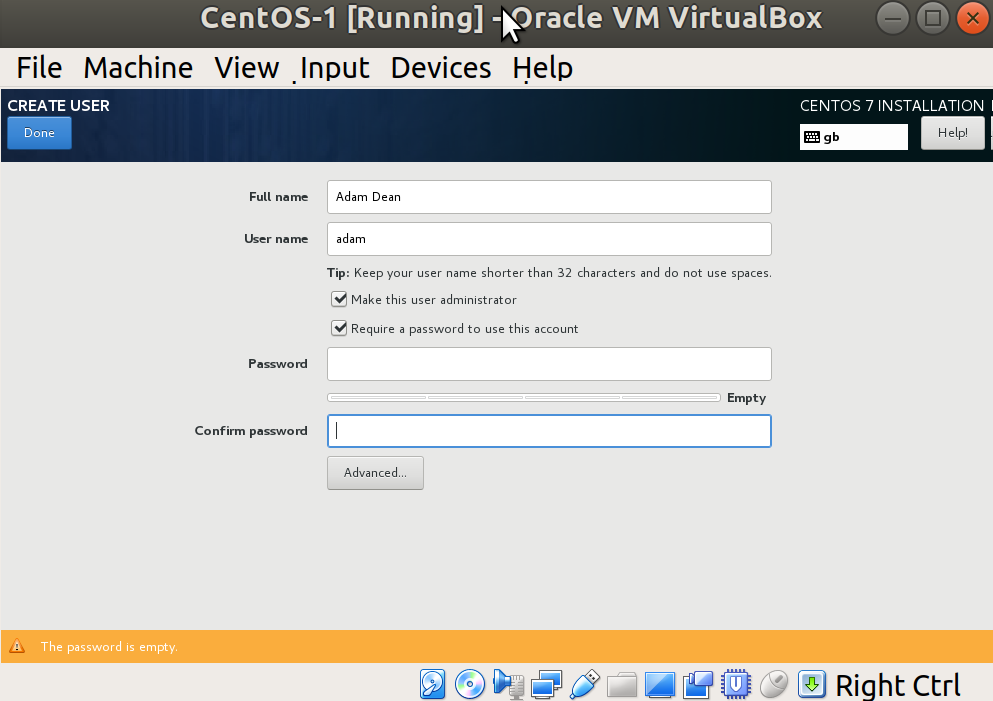
When making your user, flag them as an administrator too:

Clicking Done will take you back to the installation progress screen, where you may be prompted through the rest of the installation, and eventually get asked to reboot into your freshly installed system.

No sane person should ever have to produce that many screenshots.