

This next phase of configuration will be done through a web-based administration portal provided by pfSense. You can use this rich web interface to configure all your network components, firewall rules, VPN settings, and so on. The LAN network interface's IP address exposes this web-based administration console. So, in this case, you will navigate to the IP address 192.168.1.1 in order to access the administration portal for pfSense.
As the client machine, we have set up another virtual machine which is running Windows Server 2012 R2. Let's head over to the Windows Server.
Before we attempt to navigate to the pfSense web-based configuration portal from this client machine, let's make sure that this Windows Server virtual machine is on the same network as the pfSense server:
- Let's access network settings for this Windows system. Right-click on the Windows Home icon and select Network Connections. This Windows machine only has one network adapter called Ethernet0.
- Right-click on Ethernet0 and select Properties. Now, double-click on Internet Protocol Version 4 (TCP/IPv4). Change the IP address to 192.168.1.2, the gateway IP address to 192.168.1.1, and the DNS server to 192.168.1.1:
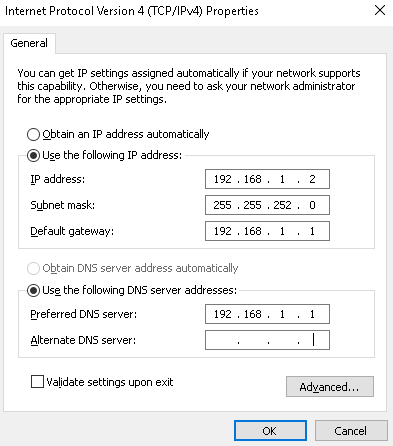
Here, we are trying to accomplish a few things with this configuration.
First, you need to make sure that the Windows client machine is on the same subnet as the pfSense server. Second, you want to make sure that this client machine is using pfSense as its default gateway and DNS server.
- After configuring the IP settings, click on OK. Now, we can proceed with the next phase of configuration.
- Right-click on the Windows Home icon and select Run. Run the cmd command to open the Command Prompt.
- Let's try to ping the pfSense server. Execute the ping command as follows:
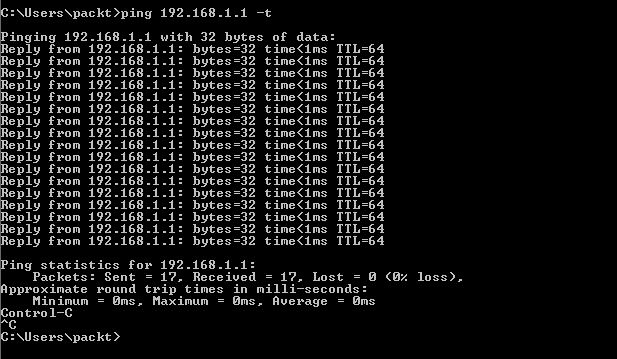
Here, 192.168.1.1 is the IP address of the pfSense server. The -t option pings the specified host until it is asked to stop. Since we're getting replies, it confirms that the connection is working absolutely fine.
- Press Ctrl + C to stop the ping command.
- Execute exit to close the command window.
Now that the connectivity has been established, it is time for us to get familiar with the configuration portal for pfSense.
- Launch your favorite browser and navigate to the pfSense server's IP address 192.168.1.1. By default, pfSense exposes the configuration portal over an HTTPS endpoint. It uses a self-signed SSL certificate for this purpose. Your browser may complain about the security certificate. You can safely ignore it and proceed. An SSL-enabled connection is more secure, even with this self-signed certificate, as long as you are familiar with the source of the certificate.
What we will be looking at once the page loads will be the login page for the pfSense server. The default username and password is admin and pfsense, respectively. Note that it is all in lowercase.
- Enter the credentials and click on SIGN IN:
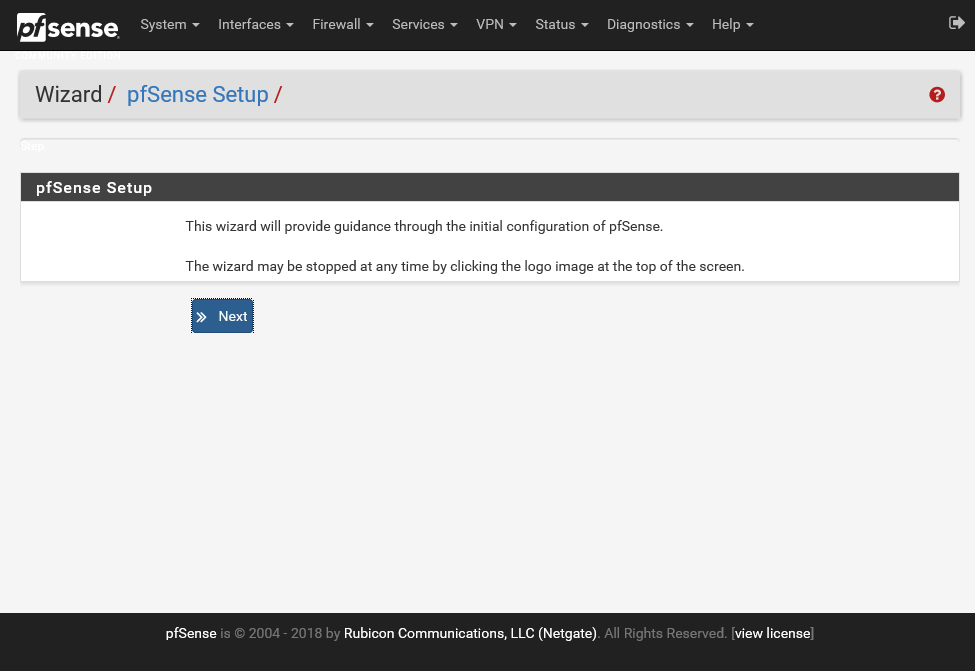
You have successfully installed pfSense server in a virtual platform. Now, you can connect to it over the network via this client system. After the login, pfSense brings you to a helpful Wizard, which will guide you through the rest of the configuration and setup. This wizard is not mandatory. You can skip it at any time and choose to configure your pfSense server manually.
- Let's go ahead with the wizard for now and perform the initial configuration. Keep clicking on Next until you get to the General Information tab:
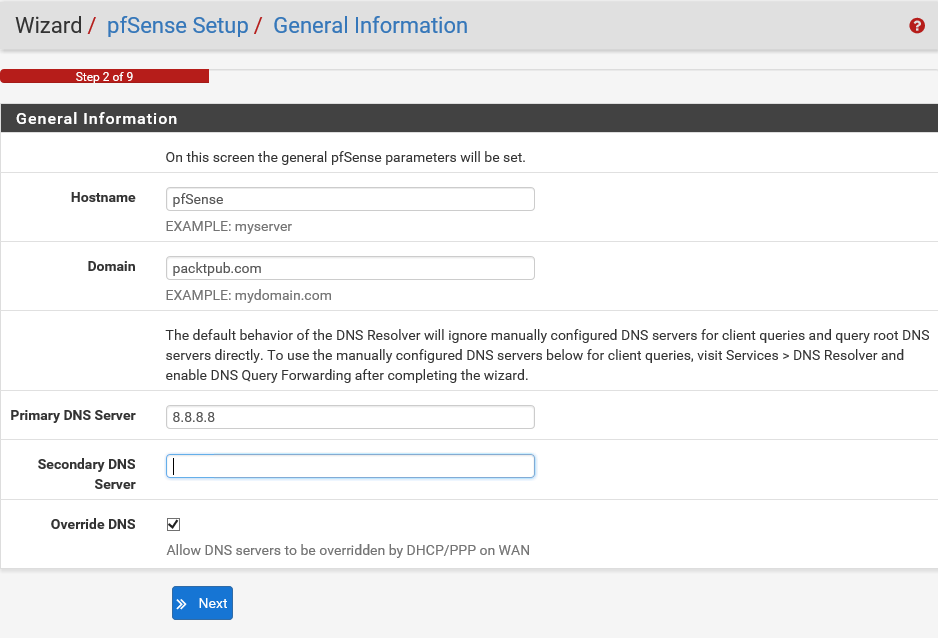
On this screen, you need to enter some general information about your pfSense server.
- Let's accept the default value for the Hostname, which is pfSense.
- Next is the Domain name in which pfSense is used, together with the Hostname. This will form the Fully Qualified Domain Name (FQDN) of the firewall.
- Let's input packtpub.com as the Domain name.
- Next, you are given an opportunity to configure DNS servers for pfSense server. If known, these DNS servers will be used for pfSense itself, as well as for the DHCP clients if the DNS forwarder is off, and for PPTPVPN clients. These may be left blank if you're using a dynamic WAN connection that provides DNS servers, such as PPTP or DHCP. They may also be left blank if the DNS resolved is used in non-forwarding mode. Let's use the Google global DNS server 8.8.8.8. This last option allows you to override the DNS settings. If a dynamic WAN is present, unchecking this box will make the system use only the servers specified manually and not the ones provided by the ISP. This is especially useful when using open DNS servers for access control or Google Public DNS to work around flaky ISP DNS servers. For now, let's accept the default value for this setting and click on Next.
- For a lot of networking use cases, it is very important that pfSense server has the correct time. To ensure that pfSense server always has the correct time, it can synchronize the system clock with an NTP server. As you may know, Network Time Protocol, or NTP, is a networking protocol for clock synchronization between computer systems over packet-switched, variable latency data networks:
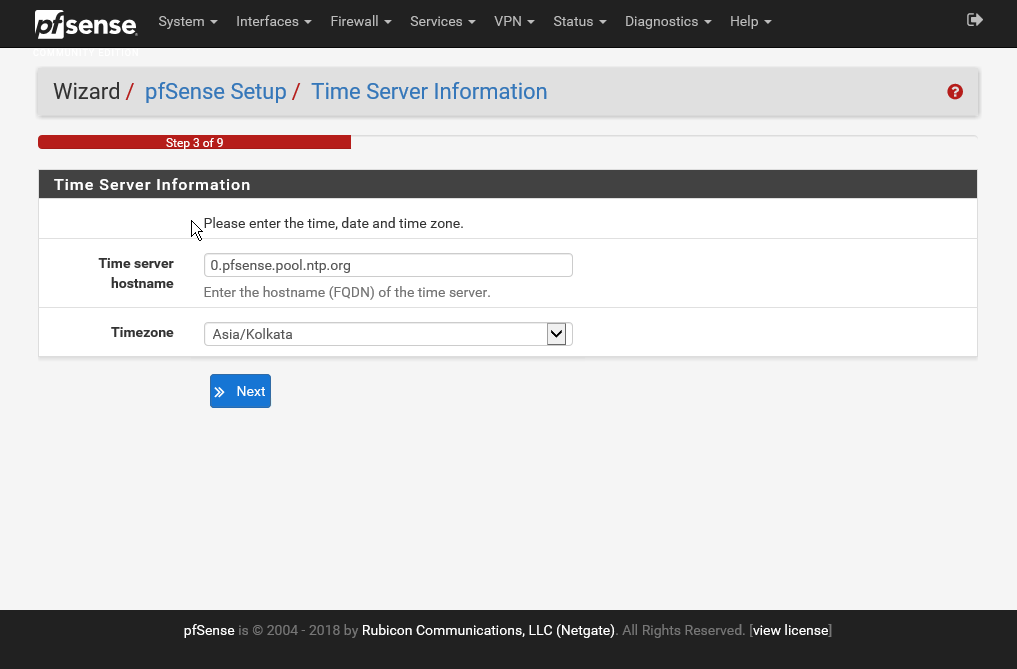
Here, pfSense has provided a default NTP server. Let's accept that and also set the Timezone. You need to select the time zone as per your location. In this case, we have selected Asia/Kolkata. Then, you can click on Next.
- You now need to Configure WAN Interface. Within the context of pfSense, WAN interface is the connection from your ISP or upstream connections, which allow you to connect to the internet:
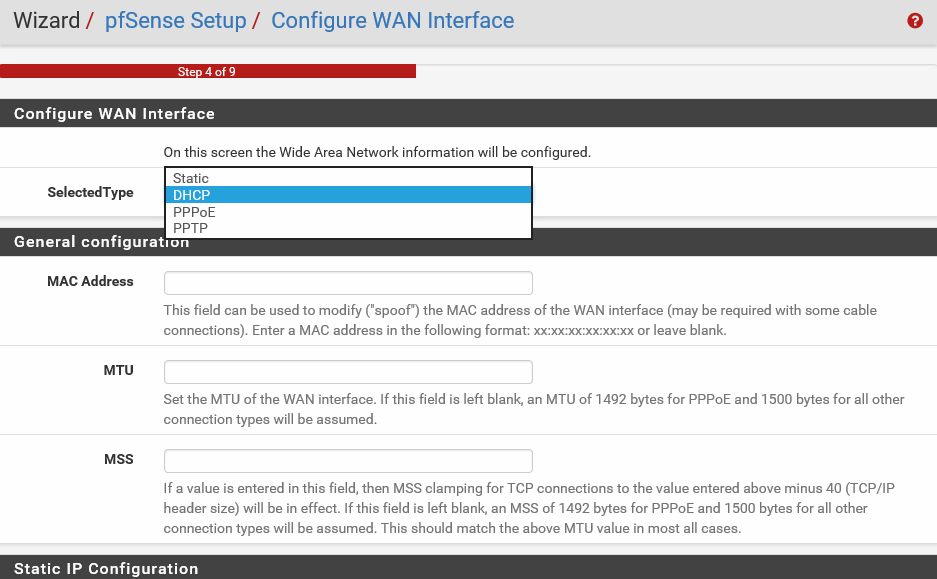
- The SelectedType DHCP means that the network interface will get its IP address from a DHCP server. With most small, home office, or even corporate ISPs, they use the DHCP method. You can choose to make it static if your ISP has provided you with a public IP address. If you select Static, then you must enter the networking details for your setup, like the public IP Address, Subnet Mask, and Upstream Gateway. pfSense also has support for PPPoE and PPTP connections. These are for specialized use cases, and we will not discuss them in this book. In this example, let's accept the default value of DHCP. You will notice that the setup wizard is smart enough to understand that for DHCP setup. You do not need to fill all the fields in the Static IP Configuration section. So, the fields shown in the preceding screenshot are disabled if your SelectedType is DHCP.
- If you scroll down, you can see that all the default values are good, so you can go ahead and accept them. You can then click on Next.
- Now, you need to Configure LAN interface:
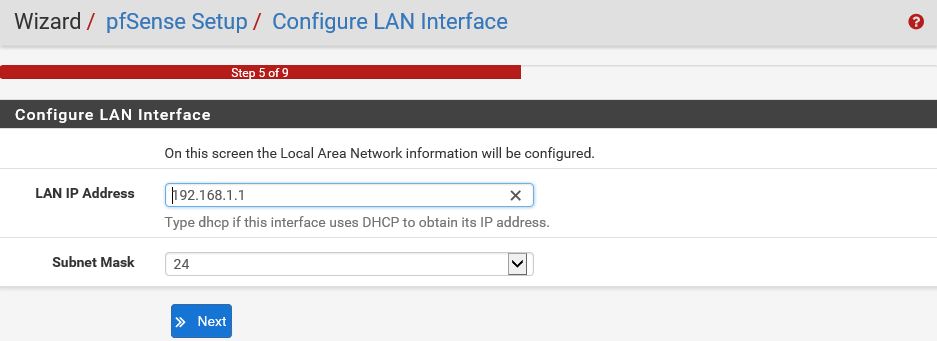
This is the configuration for your internal network. So, you must make sure that these settings are compatible with the rest of your internal network.
pfSense is generally at the periphery of your network boundary, so all your networking equipment such as switches and servers will need to be ready to route their external traffic via this pfSense server. Anyway, these default values of the LAN IP Address 192.168.1.1 and the Subnet Mask of 24 were already set up by us during the installation phase. So, let's accept them and click on Next.
- Now, you need to Set Admin WebGUI Password. WebGUI stands for Web-based Graphical User Interface. If you remember, the default admin password that you used to log in to this web console was pfsense. You now have an option to change it here for better security.
- Let's change the password to a more secure one and then click on Next:
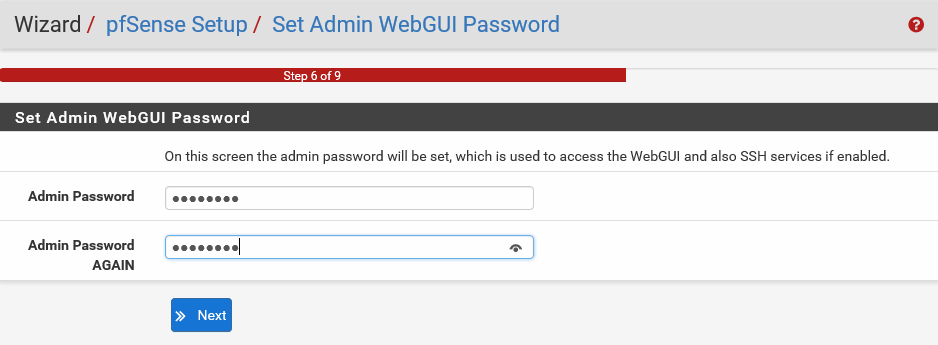
Make sure that you remember the password so that you can log in to the system again. And that's it. The wizard has finished.
Mind you, pfSense has worked really hard to make the initial configuration as easy and as painless as possible. But don't let this simplicity fool you. There is a plethora of settings you can tweak in pfSense to make it behave exactly the way you want. We'll go over these settings in the upcoming sections.
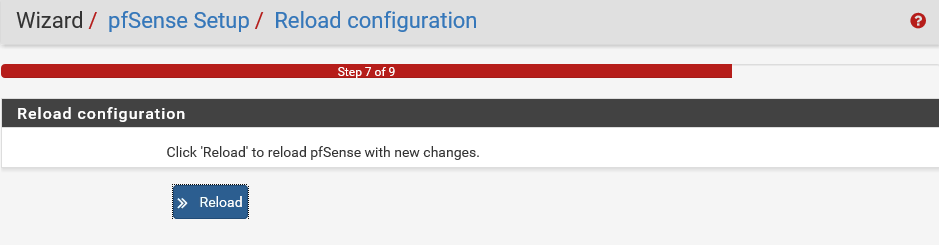
pfSense has now been configured through the WebGUI.
- Click on Reload to save all of the configuration settings:
pfSense will save the configuration and reload itself:
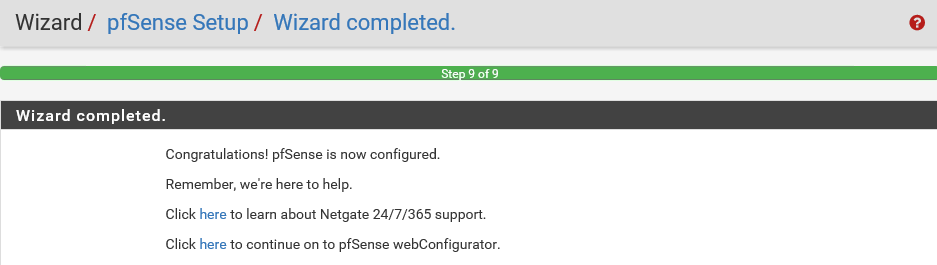
Great! The configuration is now complete and changes have been saved.
- Click on the second link to navigate to the main pfSense webConfigurator dashboard:
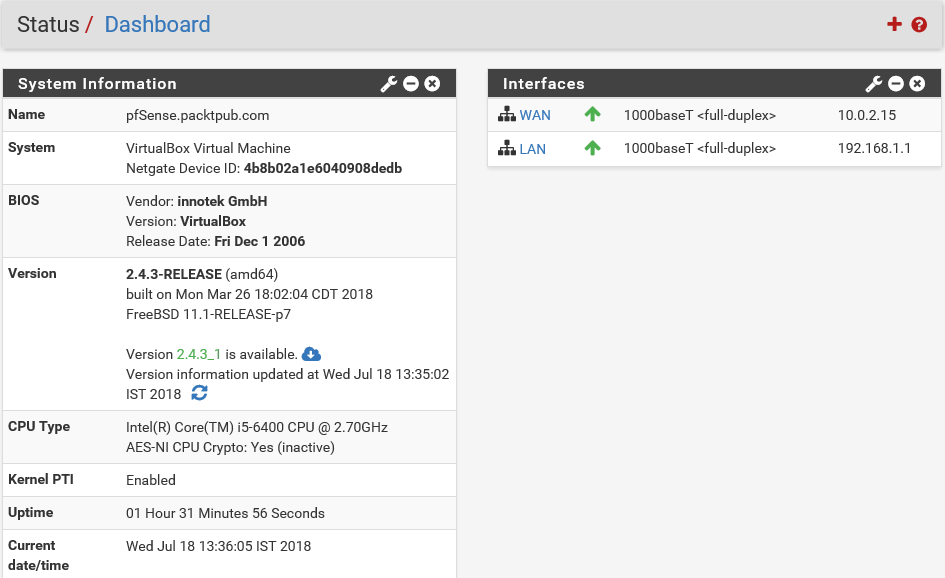
This is the main Dashboard for this pfSense server, where you can see an overview of the pfSense system. The domain Name is pfSense.packtpub.com. pfSense's Version is 2.4.3-RELEASE(amd64). Uptime is how long this pfSense server has been up. pfSense is so stable and robust, and we have seen it run for months and even years without any downtime.
On the right-hand side, you can see that all the network interfaces are also listed along with the names and current status. As you can see, we have two interfaces. One is attached to a WAN connection and the second one is attached to a LAN connection. Both of them are in an up state, indicated by the green up arrow. A whole bunch of vital information about this pfSense server is available right on the central dashboard of pfSense. If you're wondering how this pfSense WebGUI console is related to the pfSense server you installed, let's have a quick peek at the server.
You'll notice that it has detected that the admin account has logged in to the WebGUI from the IP address 192.168.1.2:
