

The Windows Subsystem for Linux (WSL)
Software developers and system administrators often face a tough decision in choosing the appropriate hardware and operating system platform for the specific requirements of their work or environment. In the past, Windows professionals were frequently reminded that some standard development tools, frameworks, or server components were available at large on Linux or macOS platforms, while lacking native support on Windows. Windows Subsystem for Linux (WSL) attempts to close this gap.
WSL is a Windows 10 platform feature that provides a native GNU/Linux runtime along with the Windows desktop environment. WSL enables the seamless deployment and integration of select Linux distributions on top of the Windows kernel, without the need for a dedicated hypervisor. With WSL enabled, you can easily install and run Linux as a native Windows application.
Important note
Without WSL, we could only deploy and run a Linux distribution on a Windows platform by using a standalone hypervisor, such as Hyper-V, Oracle VM VirtualBox, or VMware Workstation. WSL eliminates the need for a dedicated hypervisor. At the time of writing, WSL is a Windows kernel extension with a hypervisor embedded.
In this section, we provide the steps required to enable WSL and run an Ubuntu distribution on Windows. The following commands are executed on a Windows machine (or VM) in a PowerShell CLI with administrator privileges:
- First, we need to enable the Windows Subsystem for Linux optional feature in Windows:
dism.exe /online /enable-feature /featurename:Microsoft-Windows-Subsystem-Linux /all /norestart
We should get the result shown in Figure 1.16:

Figure 1.16 – Enabling the WSL optional feature
- Next, we want to make sure WSL 2 is supported on our Windows platform. We need Windows 10, version 2004, build 19041 or higher.
WSL 2 uses hypervisor technology. We need to enable the Virtual Machine Platform optional feature for Windows:
dism.exe /online /enable-feature /featurename:VirtualMachinePlatform /all /norestart
The result should be similar to Figure 1.17:

Figure 1.17 – Enabling the VM platform optional feature
- At this point, we need to restart our Windows machine to complete the WSL installation and upgrade to WSL 2.
Important note
The Windows restart may feature an Update and Restart option. We need to make sure that the system gets updated upon restart.
- After the restart, we need to set WSL 2 as our default version:
wsl --set-default-version 2
This command may yield the message shown in Figure 1.18:

Figure 1.18 – Further update needed for WSL 2
- Just follow the instructions in the link to circumvent the problem. After proceeding with these steps, we have to rerun the preceding command. If successful, the command output is similar to Figure 1.19:

Figure 1.19 – Setting the default version to WSL 2
- With WSL 2 active, we are ready to install our Linux distribution of choice. Open the Microsoft Store and simply search for
Linux(Figure 1.20):
Figure 1.20 – Searching for Linux distro apps in the Microsoft Store
- We choose to install Ubuntu (Figure 1.21) and then follow the installation procedure driven by the Windows Store app. Ubuntu is installed just like any regular Windows application. When finished, we run Ubuntu by launching the application from the Windows Start menu:
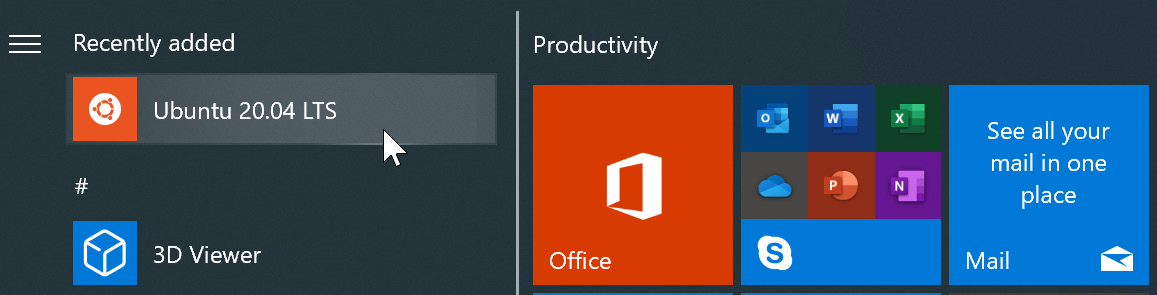
Figure 1.21 – Installing the Ubuntu app
After installation, Ubuntu runs as a traditional Windows desktop command-line application.
WSL enables a swift adoption of Linux for a growing number of Windows professionals. As shown in this section, WSL is relatively easy to configure, and with WSL, there's no need for a dedicated hypervisor to run a Linux instance.
Important note
WSL currently doesn't support a GUI-driven Linux runtime. With WSL, we are exclusively interacting via the CLI.
In the following section, we take a quick look at the Linux graphical user interface and two of the most prominent Linux desktop environments: GNOME and KDE.