Three.js is a JavaScript library, so all you need to create Three.js WebGL applications is a text editor and one of the supported browsers to render the results. I would like to recommend the following JavaScript editors, which I've used extensively over the last couple of years on various projects:
- Visual Studio Code: This free editor from Microsoft runs on all major platforms and provides great syntax highlighting and smart completion based on types, function definitions, and imported libraries. It provides a very clean interface and is great for working on JavaScript projects. It can be downloaded from here: https://code.visualstudio.com/.
- WebStorm: This editor from the JetBrains guys has great support for editing JavaScript. It supports code completion, automatic deployment, and JavaScript debugging directly from the editor. Besides this, WebStorm has excellent GitHub (and other version control systems) support. You can download a trial edition from http://www.jetbrains.com/webstorm/.
- Notepad++: Notepad++ is a general-purpose editor that supports code highlighting for a wide range of programming languages. It can easily layout and format JavaScript. Note that Notepad++ is only for Windows. You can download Notepad++ from http://notepad-plus-plus.org/.
- Sublime Text Editor: Sublime is a great editor that offers very good support for editing JavaScript. Besides this, it provides many very helpful selections (such as multiple-line select) and edit options, which, once you get used to them, provide a really good JavaScript-editing environment. Sublime can also be tested for free and can be downloaded from http://www.sublimetext.com/.
Even if you don't use any of these editors, there are a lot of editors available, open source and commercial, that you can use to edit JavaScript and create your Three.js projects, since all you need is the ability to edit text. An interesting project you might want to look at is http://c9.io. This is a cloud-based JavaScript editor that can be connected to a GitHub account. This way, you can directly access all the source code and examples from this book and experiment with them.
With this editor, which you can find at http://threejs.org/editor/, you can create Three.js scenes using a graphical approach.
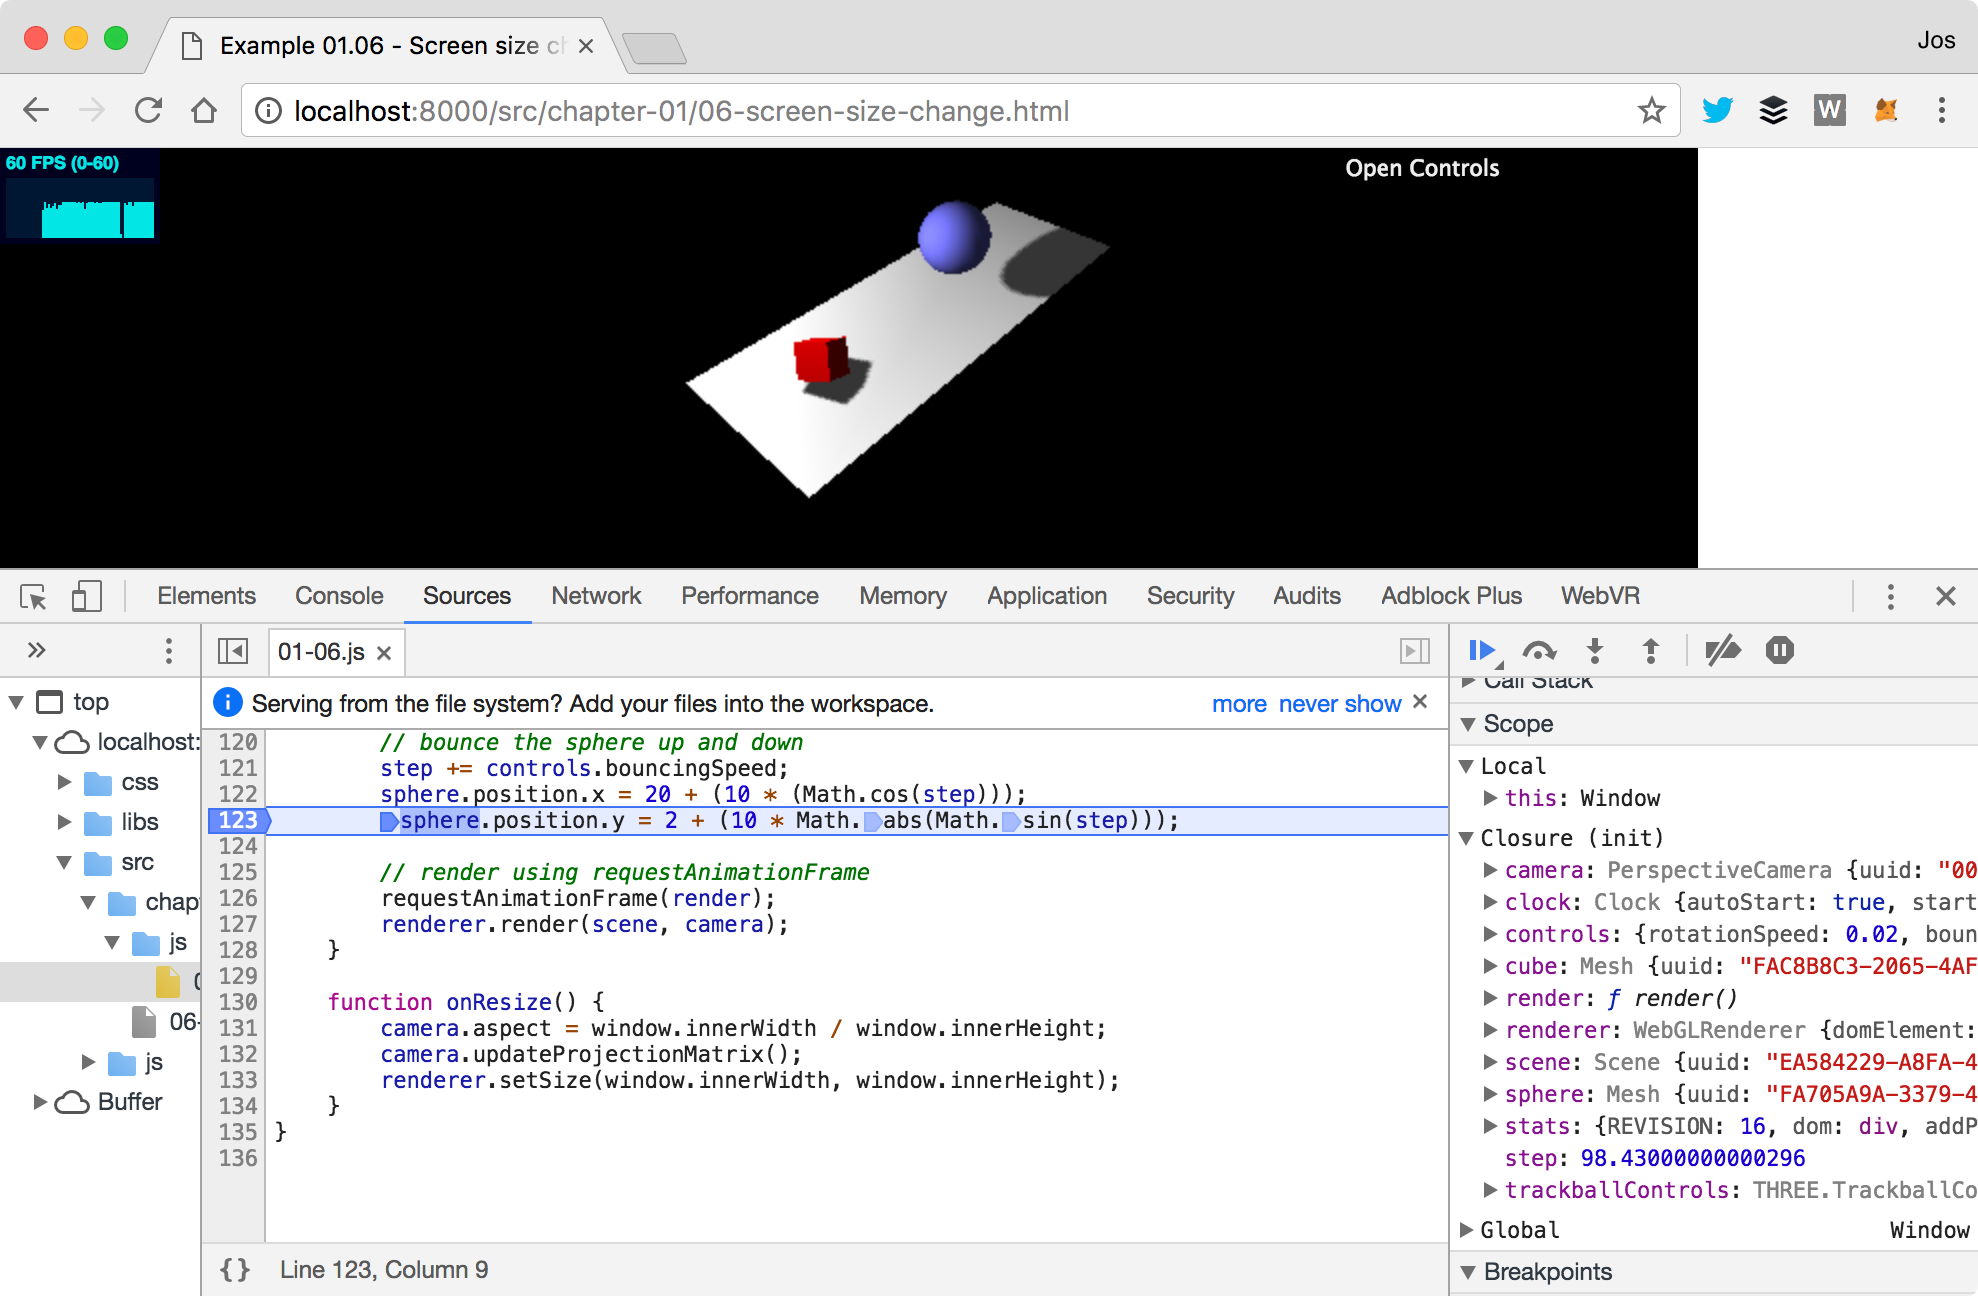
I mentioned that most modern web browsers support WebGL and can be used to run Three.js examples. I usually run my code in Chrome. The reason is that most often, Chrome has the best support and performance for WebGL and it has a really great JavaScript debugger. With this debugger, which is shown in the following screenshot, you can quickly pinpoint problems, for instance, using breakpoints and console output. This is exemplified in the following screenshot. Throughout this book, I'll give you pointers on debugger usage and other debugging tips and tricks:

That's enough by way of an introduction for now; let's get the source code and start with the first scene.


