

A couple of employees from Google created a library called dat.GUI (you can find the documentation online at http://code.google.com/p/dat-gui/), which allows you to very easily create a simple user interface component that can change variables in your code. In the last part of this chapter, we'll use dat.GUI to add a user interface to our example that allows us to do the following:
- Control the speed of the bouncing ball
- Control the rotation of the cube
Just like we had to do for the statistics, we first add this library to the <head> element of our HTML page, as follows:
<script type="text/javascript" src="../../libs/util/dat.gui.js"></script>
The next thing we need to configure is a JavaScript object that will hold the properties we want to change using dat.GUI. In the main part of our JavaScript code, we add the following JavaScript object, as follows:
var controls = new function() {
  this.rotationSpeed = 0.02;
  this.bouncingSpeed = 0.03;
}
In this JavaScript object, we define two properties: this.rotationSpeed and this.bouncingSpeed, and their default values. Next, we pass this object into a new dat.GUI object and define the range for these two properties, as follows:
var gui = new dat.GUI();
gui.add(controls, 'rotationSpeed', 0, 0.5);
gui.add(controls, 'bouncingSpeed', 0, 0.5);
The rotationSpeed and bouncingSpeed properties are both set to a range of 0 to 0.5. All we need to do now is make sure that in our renderScene loop, we reference these two properties directly so that when we make changes through the dat.GUI user interface, it immediately affects the rotation and speed of bounce of our objects, as follows:
function renderScene() {
  ...
  cube.rotation.x += controls.rotationSpeed;
  cube.rotation.y += controls.rotationSpeed;
  cube.rotation.z += controls.rotationSpeed;
  step += controls.bouncingSpeed;
  sphere.position.x = 20 +(10 * (Math.cos(step)));
  sphere.position.y = 2 +(10 * Math.abs(Math.sin(step)));
  ...
}
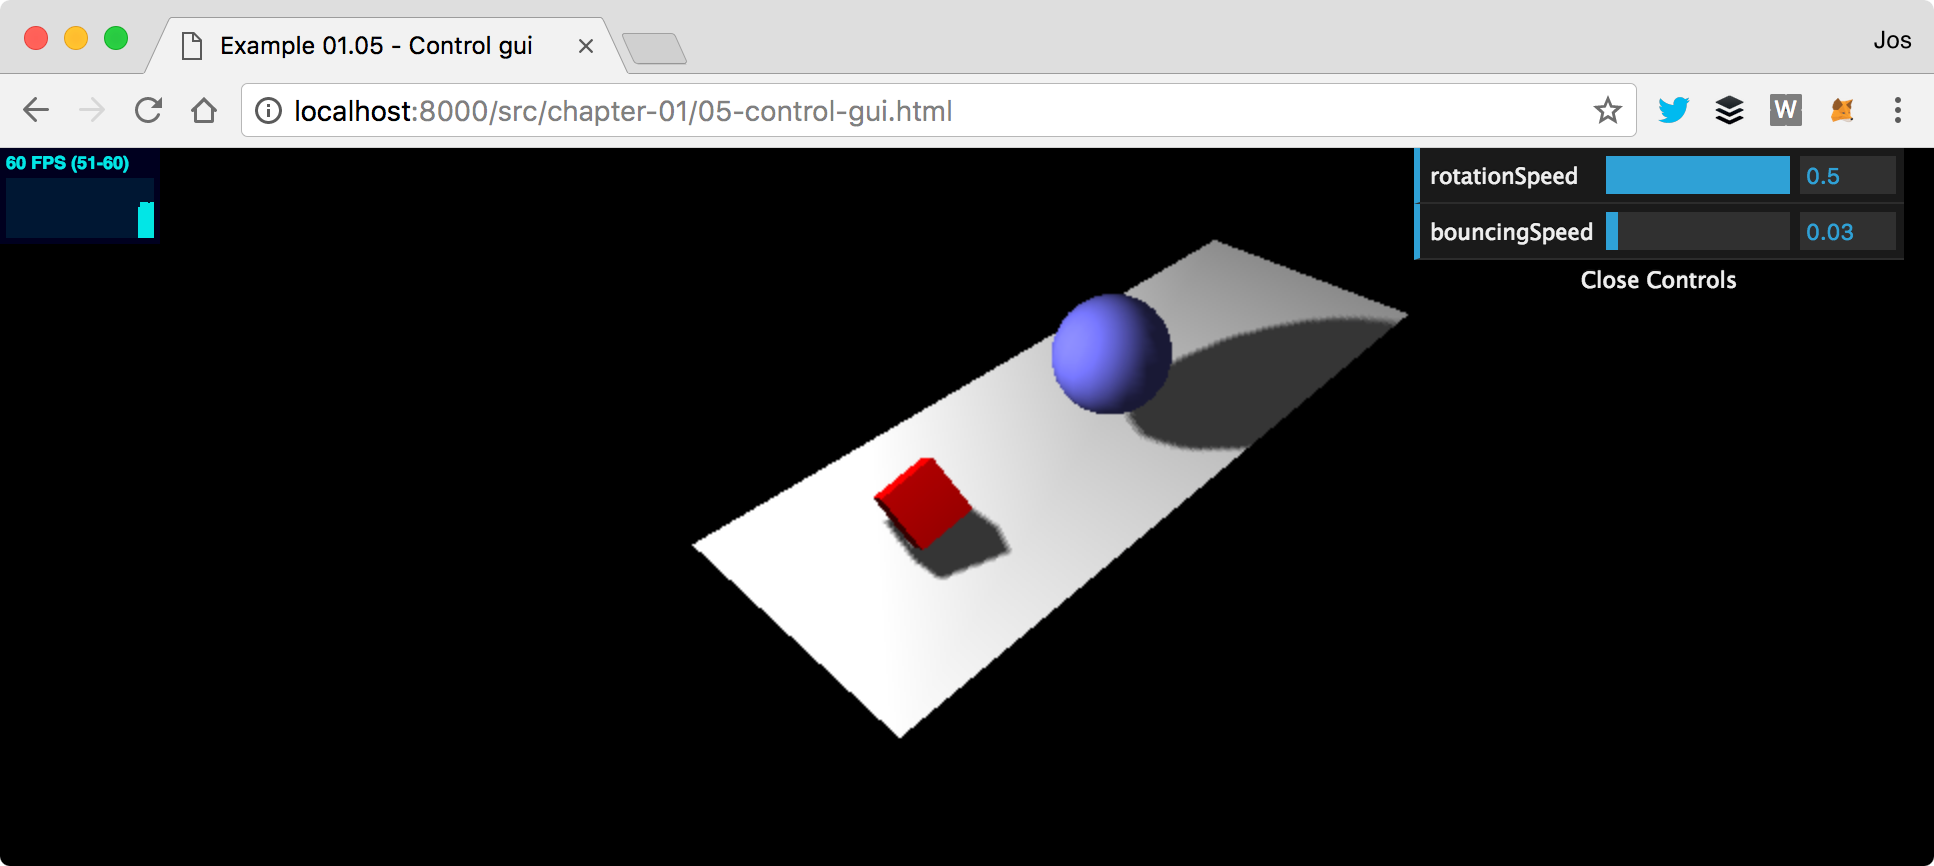
Now, when you run this example (05-control-gui.html), you'll see a simple user interface that you can use to control the bouncing and rotation speeds. A screenshot of the bouncing ball and the rotating cube is shown here:
Remember that in the HTML skeleton we showed at the beginning of this chapter, we include the TrackballControls.js JavaScript file. With this file, we can control the camera used in the scene, as we'll explain in more detail in Chapter 9, Animations and Moving the Camera. For now, we'll just enable this control by adding a couple lines of JavaScript. The first thing we need to do is initialize the trackball controls. Since these controls respond to Document Object Model (DOM) element events, we need to make sure we add the following lines after this call:
document.getElementById("webgl-output").appendChild(renderer.domElement);
// add the two lines below
var trackballControls = initTrackballControls(camera, renderer);
var clock = new THREE.Clock();
The initTrackballControls function is defined in utils.js, which we mentioned earlier. In later chapters, we'll go into more detail regarding how this works. Now, we also need to update the render function as follows:
function render() {
   trackballControls.update(clock.getDelta());
   ...
}
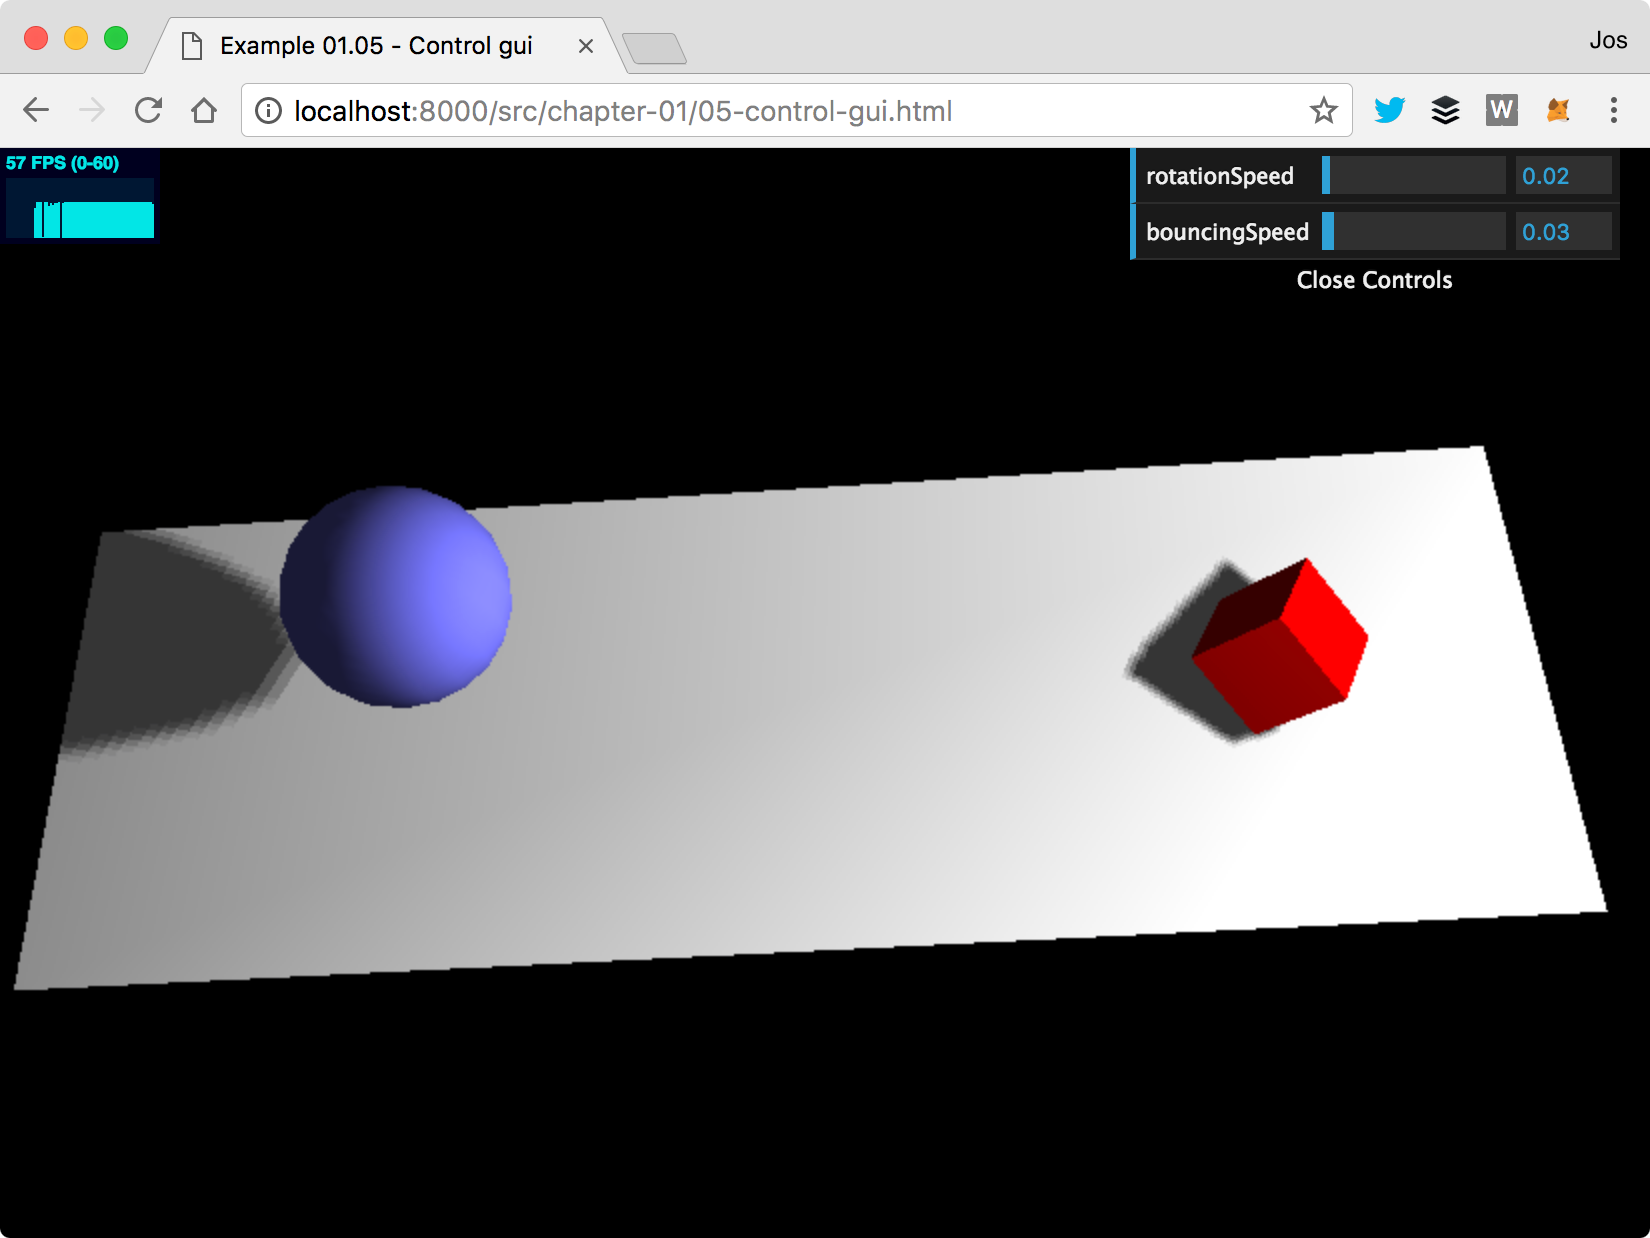
At this point, we're done. If you open the 05-control-gui.html example again, you can move your mouse and left-click to rotate the camera. If you press S when moving your mouse, you can zoom in and out, and, if you press D, you can pan around the scene. This, for instance, allows you to view the scene from a different side:
All the examples from now on will use these controls by default, so you can easily look at different parts of the rendered scene.
If you've looked at the examples in your browser, you might have noticed that when you change the size of your browser, the scene doesn't automatically scale. In the next section, we'll add this as a final feature for this chapter.