
Vim is available on every platform, and comes installed on Linux and Mac OS (however, you may want to upgrade Vim to a more recent version). Find your system in the following paragraphs, and skim through the instructions to set up.
Installation
Setting up on Linux
Linux machines come with Vim installed, which is great news! However, it might be rather out of date, and Vim 8 introduces some much-needed optimizations. Pull up your Command Prompt, and run the following code:
$ git clone https://github.com/vim/vim.git
$ cd vim/src
$ make
$ sudo make install
If you're running into issues as you're installing Vim, you might be missing some dependencies. If you're using a Debian-based distribution, the following command should add common missing dependencies : $ sudo apt-get install make build-essential libncurses5-
$ sudo apt-get install make build-essential libncurses5-dev
libncursesw5-dev --fix-missing
$ sudo apt-get install make build-essential libncurses5-dev
libncursesw5-dev --fix-missing
This will make sure you’re on the latest major and minor patch of Vim. If you don’t care for being on the cutting edge, you can also update Vim using a package manager of your choice. Different Linux distributions use different package managers; the following list includes some common ones:
| Distribution | Command to install the latest version of Vim |
| Debian-based (Debian, Ubuntu, Mint) |
$ sudo apt-get update $ sudo apt-get install vim-gtk |
| CentOs (and Fedora prior to Fedora 22) |
$sudo yum check-update $sudo yum install vim-enhanced |
| Fedora 22+ |
$sudo dnf check-update $sudo dnf install vim-enhanced |
| Arch |
$sudo pacman -Syu $sudo pacman -S gvim |
| FreeBSD |
$sudo pkg update $sudo pkg install vim |
You can see in the preceding table that Vim uses package names for different repositories. Packages like vim-gtk on Debian-based distributions or vim-enhanced on CentOS come with more features enabled (like GUI support for instance).
Do keep in mind that package manager repositories tend to lag behind from anywhere between a few months to a few years.
That’s it, you’re now ready to dive into the world of Vim! You can start the editor by typing the following command:
$ vim
On modern systems, you can also start Vim by invoking vi. However, it's not always the case: on older systems the two are different binaries. Vi is Vim’s predecessor (Vim stands for Vi improved). Today, it’s merely an alias pointing to Vim. There are no reasons to use Vi over Vim, unless, for some reason, you're unable to install the latter.
Setting up on MacOS
MacOS comes prepackaged with Vim, but the version can be outdated. There are a few ways to install a fresh version of Vim, and this book will cover two. First, you can install Vim using Homebrew, a package manager for MacOS. You'll have to install Homebrew first, though. Second, you can download a .dmg image of MacVim. This experience would be more familiar because Mac users are used to the visual interface.
Since this book covers interactions with the Command line, I recommend taking the Homebrew route. But you're welcome to go forward with installing the image if interacting with the Command line does not interest you.
Using Homebrew
Homebrew is a third-party package manager for MacOS which makes it easy to install and keep packages up to date. Instructions on how to install Homebrew are available on https://brew.sh, and, as of the moment of writing this book, consist of a single line executed in the following Command line:
$ /usr/bin/ruby -e "$(curl -fsSL https://raw.githubusercontent.com/Homebrew/install/master/install)"
The following screenshot shows the list of operations you will then see Homebrew perform during installation:
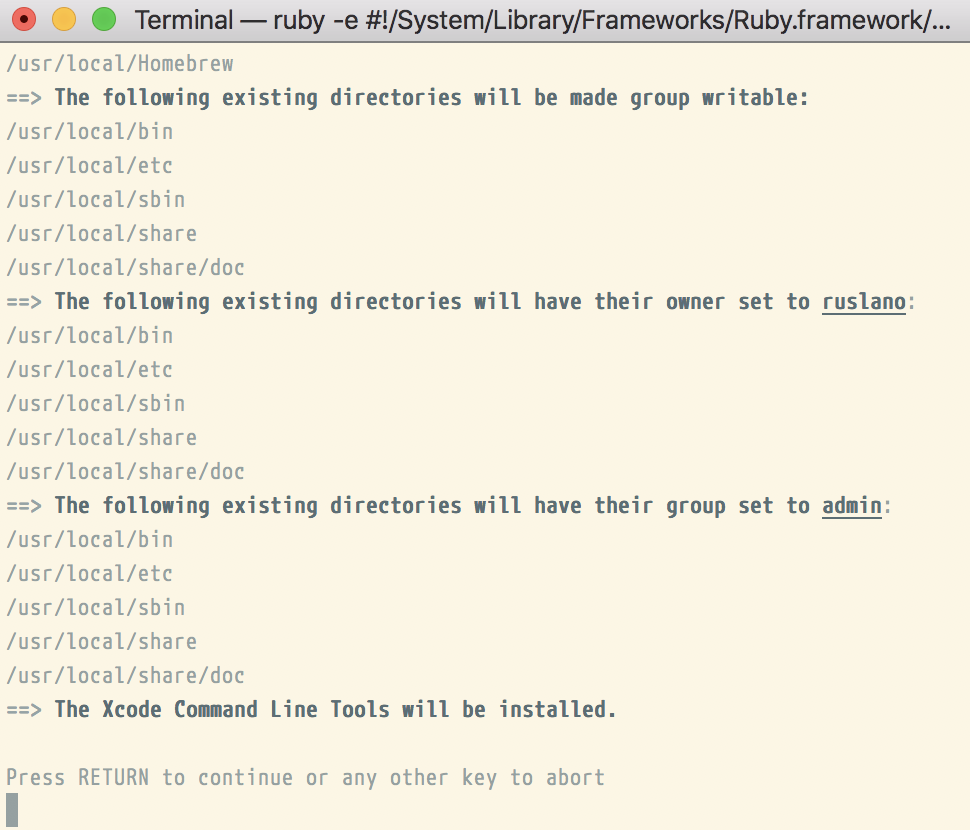
Hit Enter to continue.
If you don't have XCode installed (which is often a prerequisite for any kind of development-related activity on Mac), you'll get an XCode installation pop-up. We won't be using XCode directly, and you can install it with default settings.
This should take a while to run, but you'll have Homebrew installed by the end: a fantastic tool you can use to install a lot more than Vim! You'll see Installation successful! in bold font once the installation is complete.
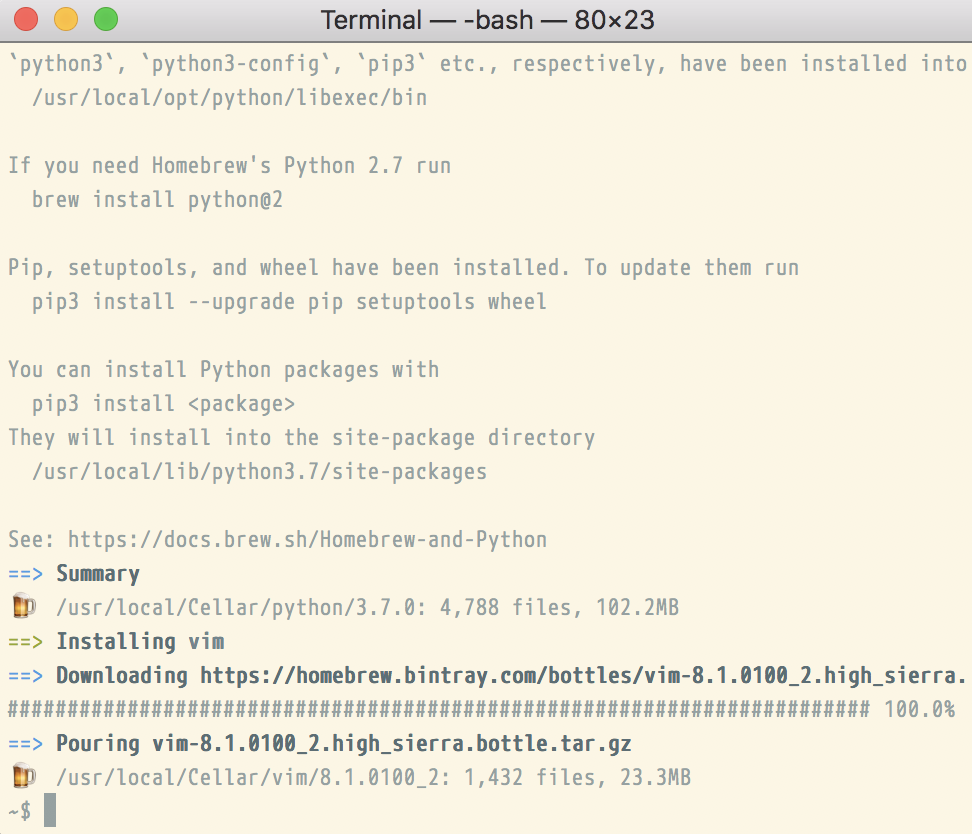
Let's install a new version of Vim now using the following command:
$ brew install vim
Homebrew will install all the necessary dependencies too, so you won't have to worry about a thing, as can be seen in the following screenshot:
If you already have Homebrew installed, and you have installed Vim in the past, the preceding command will produce an error. You may want to make sure you have the last version of Vim, though, so run the following command:
$ brew upgrade vim
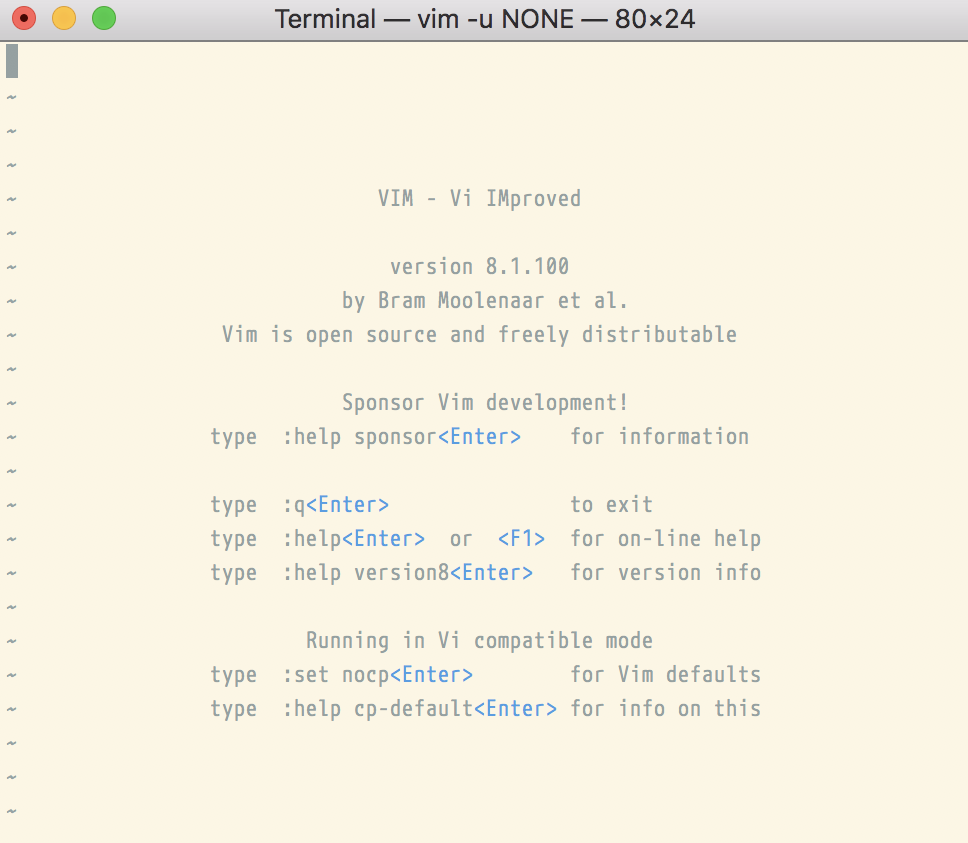
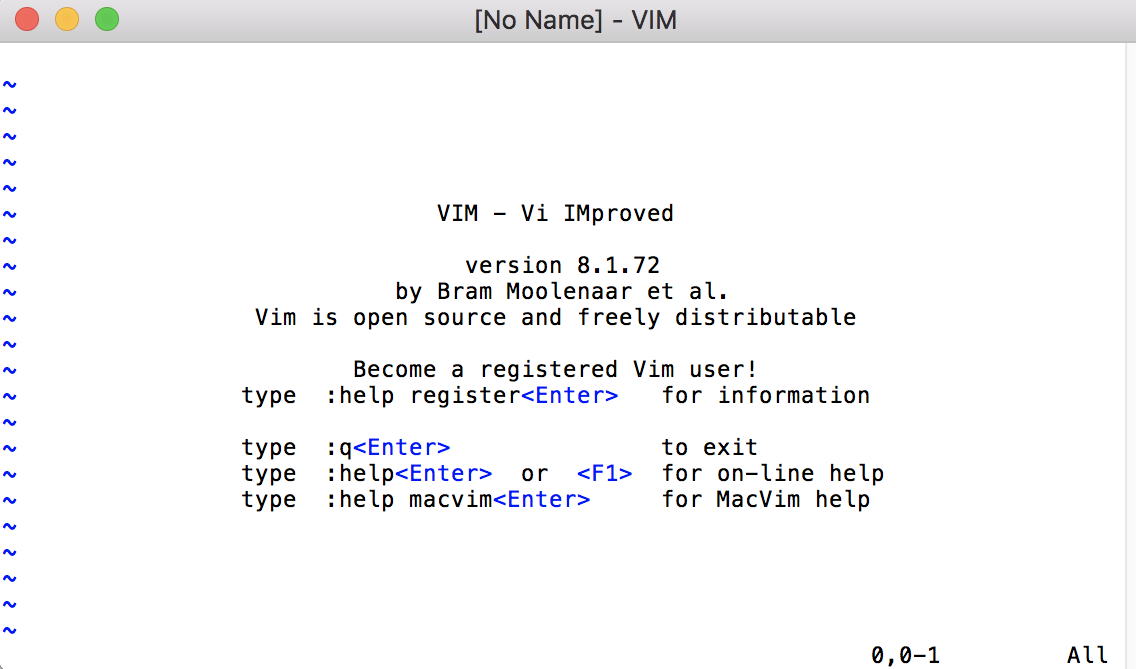
You should now be ready to enjoy Vim; let's try opening it with the following command:
$ vim
Welcome to Vim:
Downloading a .dmg image
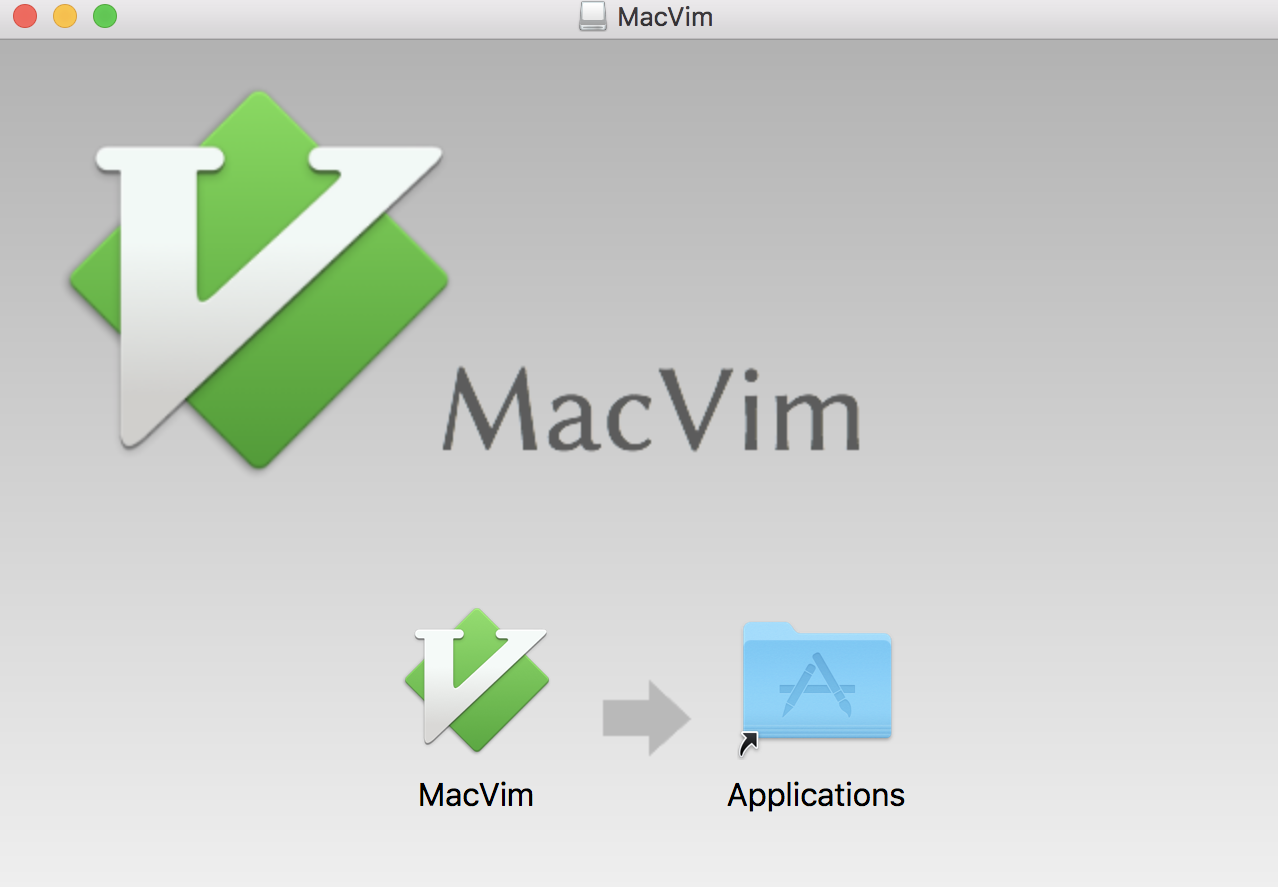
Navigate to https://github.com/macvim-dev/macvim/releases/latest and download MacVim.dmg.
Open MacVim.dmg, and then drag the Vim icon into the Applications directory, as can be seen in the following screenshot:
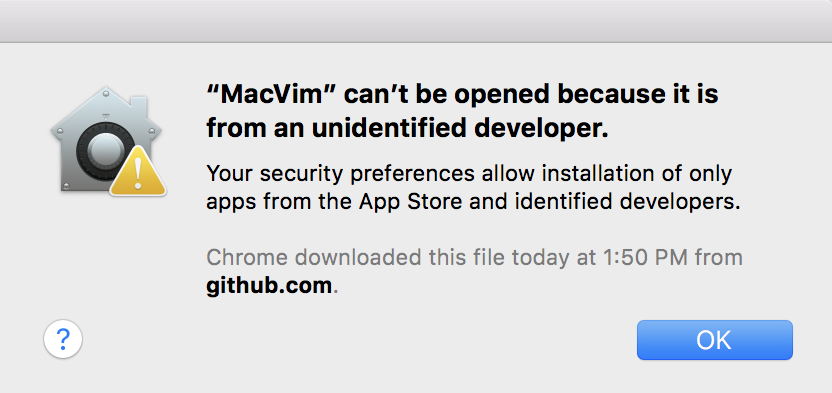
Depending on the security settings of your Mac, you might be greeted by an error when navigating to the Applications folder and trying to open the MacVim app, as demonstrated in the following screenshot:
Open your Applications folder, find MacVim, right click the icon and select Open. The following prompt will pop up:
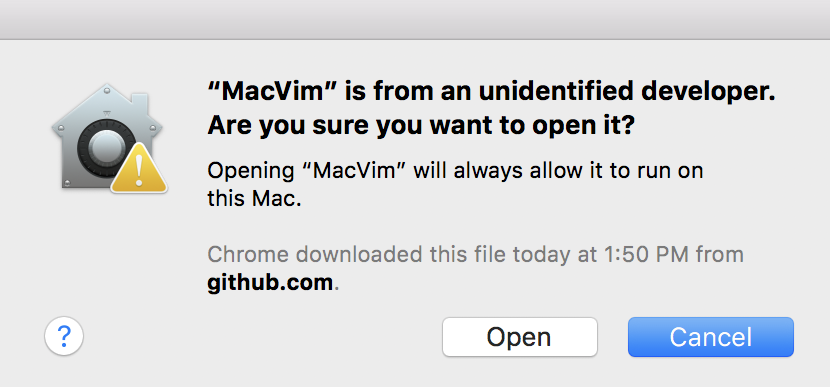
Now hit Open, and MacVim can be opened as usual from now on. Give it a shot:
Setting up on Windows
Windows provides two primary routes for using Vim: setting up Cygwin and providing a more Unix-like command-line experience, or installing gVim—a graphical version of Vim (which supports working with cmd.exe on Windows). I recommend installing both and picking your favorite: gVim feels slightly more at home on Windows (and it is easier to install), while Cygwin might feel more at home if you're used to the Unix shell.
Unix-like experience with Cygwin
Cygwin is a Unix-like environment and a command-line interface for Windows. It aims to bring powerful Unix shell and supporting tools to a Windows machine.
Installing Cygwin
To begin the installation process, navigate to https://cygwin.com/install.html and download either setup-x86_64.exe or setup-x86.exe depending on the version of Windows you're using (64 bit or 32 bit respectively).
If you're not sure whether your system is 32 bit or 64 bit, you can open Control Panel | System and Security | System, and look at System type. For example, my Windows machine shows System type: 64-bit Operating System, x64-based processor.
Open the executable file, and you will be greeted by the following Cygwin installation window:
Hit Next > a few times, proceeding with the default settings:
- Download source: Install from Internet
- Root directory: C:\cygwin64 (or a recommended default)
- Install for: all users
- Local package directory: C:\Downloads (or a recommended default)
- Internet connection: Use System Proxy Settings
- Download site: http://cygwin.mirror.constant.com (or any available option)
After this, you will be greeted with the Select Packages screen. Here, we want to select the vim, gvim, and vim-doc packages. The easiest way to do this is to type vim in a search box, expand the All |Editors category, and click on the arrow-looking icons next to the desired packages, as demonstrated in the following screenshot:
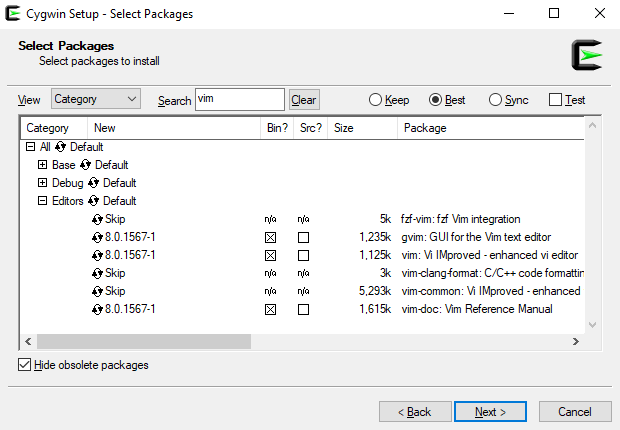
The preceding screenshot shows version 8.0.1567-1. This is the only version available at the moment of writing this book, November 2018. The primary difference is the absence of the :terminal command (see Chapter 5, Build, Test, and Execute) in Vim 8.0 vs 8.1.
You may want to install curl from under the Net category, and git from under the Devel category, as we'll be using both in chapter 3. It might also be helpful to install dos2unix from under the Utils category, which is a utility used for converting Windows-style line endings to Linux-style line endings (something you might run into once in a while).
Hit Next > two more times to proceed, which will begin the installation. Installation will take some time, and now would be a great moment to prematurely congratulate yourself with some coffee!
You might get a few post-install script errors, which you can safely dismiss (unless you see any errors related to Vim—then Google is your friend: search for an error text and try to find a solution).
Hit Next > a few more times, proceeding with the defaults:
- Create icon on Desktop
- Add icon to Start Menu
Congratulations, you now have Cygwin installed with Vim!
If you ever need to install additional packages in Cygwin, just rerun the installer while selecting the packages you want.
Using Cygwin
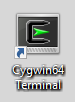
Open Cygwin, the program will be called Cygwin64 Terminal or Cygwin Terminal, depending on the version of your system, as can be seen in the following screenshot:
Open it! You will see the following prompt, familiar to Linux users:
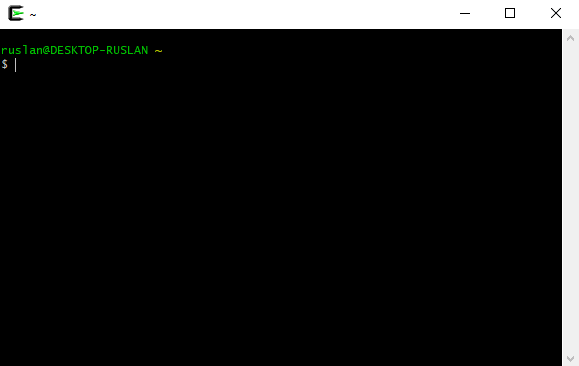
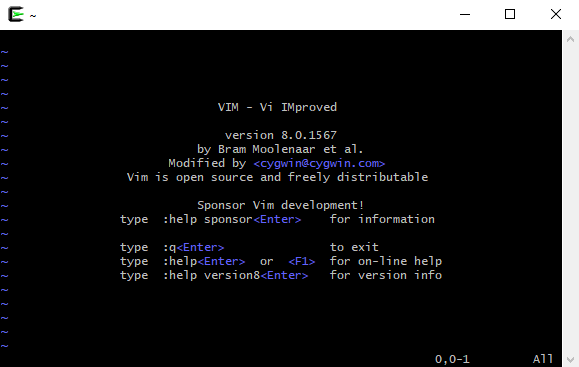
Cygwin supports all of the Unix-style commands we will be using in this book. This book will also say if any commands need to be changed to work with Cygwin. But for now, let's open Vim and proceed onto the next chapter! Type vim and hit Enter to start Vim, as demonstrated in the following screenshot:
Cygwin is a way to get a Linux-like shell experience on Windows, meaning you'll have to follow Linux specific instructions throughout this book if you decide to use Cygwin.
You'll also want to be careful with Windows-style line endings vs Linux-style line endings, as Windows and Linux treat line endings differently. If you run into an odd issue with Vim complaining about ^M characters its unable to recognize, run the dos2unix utility on the offending file to resolve the issue.
Visual Vim with gVim
In this section you can read more about the graphical version of Vim in Vanilla Vim vs GVim. As it always is with Windows, the process is slightly more visual. Navigate to www.vim.org/download.php#pc in your browser and download an executable installer. At the moment of writing this book, November 2018, the binary is called gvim81.exe, where 81 stands for version 8.1.
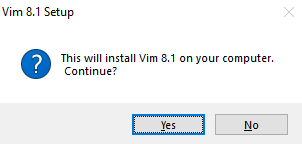
Open the executable and follow the prompts on the screen, as demonstrated by the following screenshot:
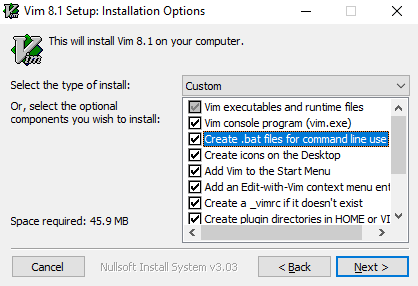
Let's go ahead and hit Yes, then I Agree until we arrive at the Installation Options screen. We're happy with most of the default options gVim has to offer, except that you might want to enable Create .bat files for command line use. This option will make the vim command work in Windows Command Prompt. Some examples in this book rely on having a Command Prompt, so enabling this option would help you follow along.
Here's a screenshot of the Installation Options screen with the proper boxes checked off:
Hit Next >. You'll want to continue with the following settings:
- Select the type of install: Typical, (after Create .bat files for command line use is enabled, type of install value changes to Custom automatically).
- Do not remap keys for Windows behavior
- Right button has a popup menu, left button starts visual mode
- Destination Folder: C:\Program Files (x86)\Vim (or a recommended default)
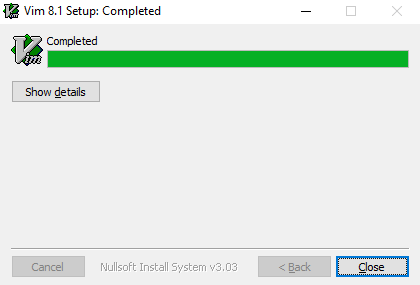
Once you're done, hit Install and then Close, as demonstrated in the following screenshot:
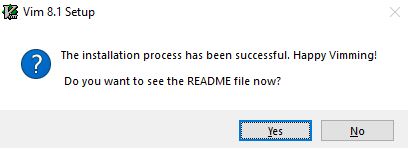
Say No to the request to see the README file (who needs a manual, huh?) as seen in the following command:
You will now have a few icons pop on your desktop, the most interesting one being gVim 8.1 as shown in the following screenshot:

Start it, and you're ready to proceed! Happy Vimming!
Verifying and troubleshooting the installation
Regardless of the platform you used to install Vim, it's good to make sure that, with Vim, all the right features enabled. On a command line, run the following command:
$ vim --version
You will see the following output, with a set of features having a + and a - in front of them:
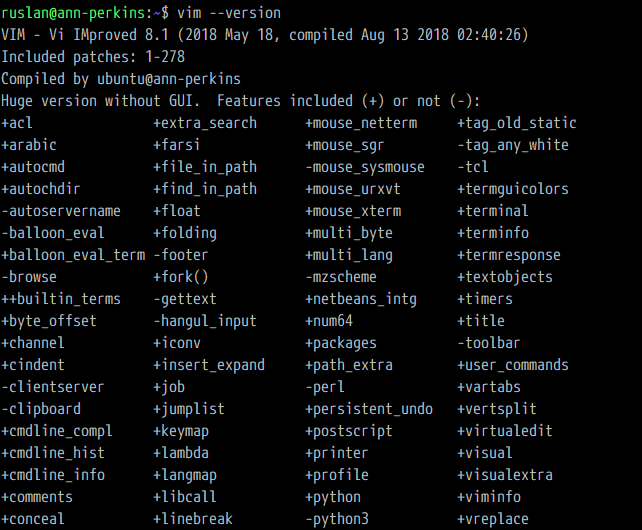
In the preceding screenshot, you can see that my Vim was actually compiled with Python 2 support (+python) instead of Python 3 support (-python3). To correct the issue, I'd have to either recompile Vim with +python3 enabled or find a package which distributes a compiled version of Vim with +python3 enabled.
For a list of all features Vim can have enabled, see :help feature-list.
For instance, if we wanted to recompile Vim 8.1 with Python 3 support on Linux, we would do the following:
$ git clone https://github.com/vim/vim.git
$ cd vim/src
$ ./configure --with-features=huge --enable-python3interp
$ make
$ sudo make install
We're passing the --with-features=huge flag in order to compile Vim with most features enabled. However, --with-features=huge does not install language bindings, so we need to explicitly enable Python 3.
In general, if your Vim is not behaving like other Vim installations (including behavior described in this book), you might be missing a feature.
Depending on your system and features you require, the process might be slightly or vastly different. A quick web search along the lines of Installing Vim <version> with +<feature> on <operating system> should help.