

Creating a negative of an image
In terms of pure mathematics, when we invert the colors of an image, it creates a negative of the image. This inversion operation can be computed by subtracting the color of a pixel from 255. If it is a color image, we invert the color of all the planes. For a grayscale image, we can directly compute the inversion by subtracting it from 255, as follows:
import cv2
img = cv2.imread('/home/pi/book/dataset/4.2.07.tiff', 0)
negative = abs(255 - img)
cv2.imshow('Grayscale', img)
cv2.imshow('Negative', negative)
cv2.waitKey(0)
cv2.destroyAllWindows()
The following is the output of this:
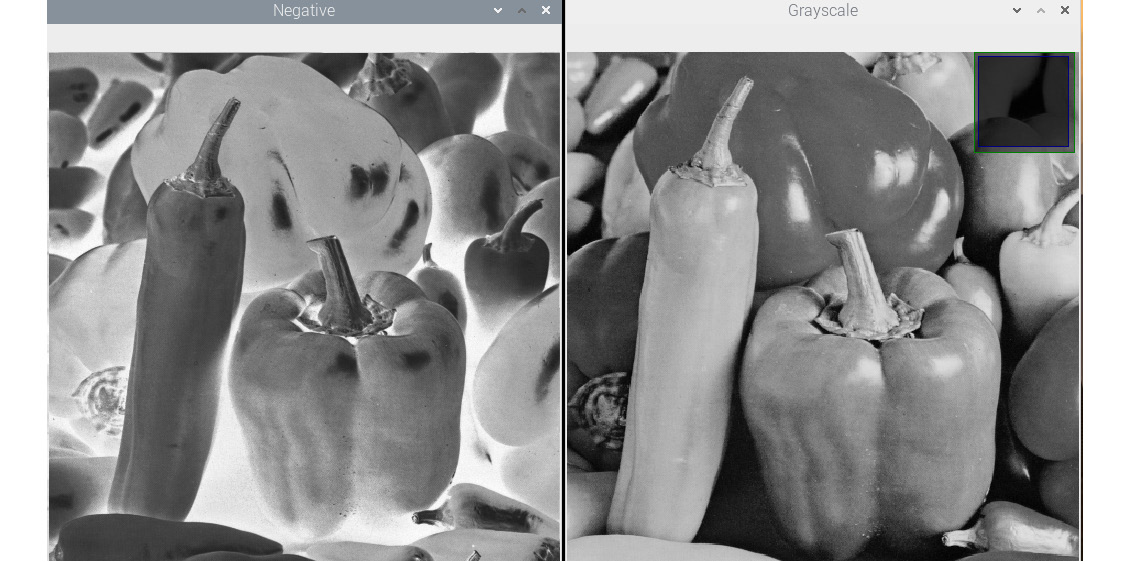
Figure 5.6 – A negative of an image
Try to find the negative of a color image, we just need to read the image in color mode in the preceding program.
Note:
The negative of a negative will be the original grayscale image. Try this on your own by computing the negative of the negative again for our...