-
Book Overview & Buying
-
Table Of Contents

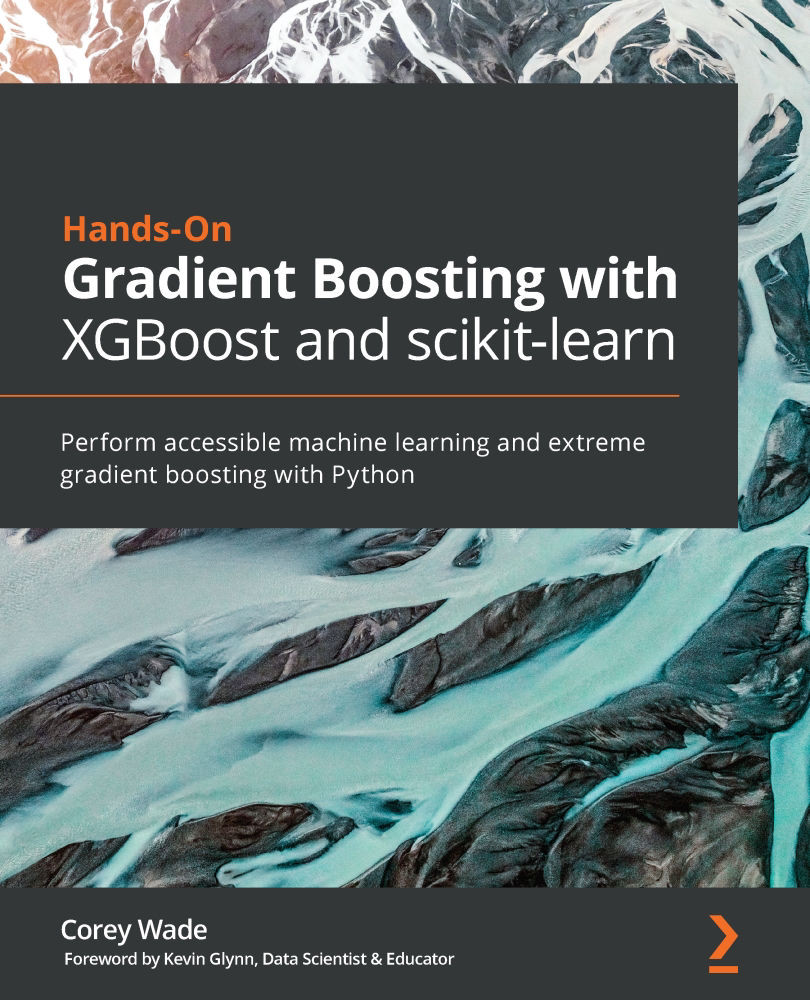
Hands-On Gradient Boosting with XGBoost and scikit-learn
By :
Hands-On Gradient Boosting with XGBoost and scikit-learn
By:
Overview of this book
XGBoost is an industry-proven, open-source software library that provides a gradient boosting framework for scaling billions of data points quickly and efficiently.
The book introduces machine learning and XGBoost in scikit-learn before building up to the theory behind gradient boosting. You’ll cover decision trees and analyze bagging in the machine learning context, learning hyperparameters that extend to XGBoost along the way. You’ll build gradient boosting models from scratch and extend gradient boosting to big data while recognizing speed limitations using timers. Details in XGBoost are explored with a focus on speed enhancements and deriving parameters mathematically. With the help of detailed case studies, you’ll practice building and fine-tuning XGBoost classifiers and regressors using scikit-learn and the original Python API. You'll leverage XGBoost hyperparameters to improve scores, correct missing values, scale imbalanced datasets, and fine-tune alternative base learners. Finally, you'll apply advanced XGBoost techniques like building non-correlated ensembles, stacking models, and preparing models for industry deployment using sparse matrices, customized transformers, and pipelines.
By the end of the book, you’ll be able to build high-performing machine learning models using XGBoost with minimal errors and maximum speed.
Table of Contents (15 chapters)
Preface

Section 1: Bagging and Boosting
 Free Chapter
Chapter 1: Machine Learning Landscape
Chapter 2: Decision Trees in Depth
Chapter 3: Bagging with Random Forests
Chapter 4: From Gradient Boosting to XGBoost
Section 2: XGBoost
Chapter 5: XGBoost Unveiled
Chapter 6: XGBoost Hyperparameters
Chapter 7: Discovering Exoplanets with XGBoost
Section 3: Advanced XGBoost
Chapter 8: XGBoost Alternative Base Learners
Chapter 9: XGBoost Kaggle Masters
Chapter 10: XGBoost Model Deployment
Other Books You May Enjoy