
There are different ways to organize a project within Unity, therefore giving a bit more freedom. In this section, we propose one method, which we will use during the development of the project in this book.
The key idea is to organize the different assets by type (and not, as in other methods, by their position within the level).
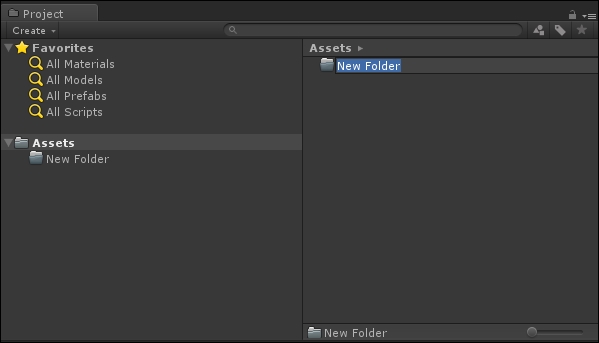
First of all, let's understand how Unity organizes assets. All of them are placed inside a folder named Assets, which can be found also inside the Project folder. Therefore, all our assets should be contained in this folder or subfolder. In order to create a new folder, right-click on the Project panel and then Create | Folder. As a result, a new folder is created within the folder you clicked. Since we don't have any folders, it will be a subfolder of the Assets one. We have the option to rename it as we want. If you miss this, you can just select it and then click on it again (but not too fast, otherwise Unity will consider this as a double-click and it will open the folder), as shown in the following screenshot:
Note
It is important to note that Unity will ignore the following categories, in order to avoid importing system files:
Hidden folders and files
Folder and files that starts with
~and with.Folders and files named
cvsFiles which have a
.tmpextension
We need to create the following folders (you should only create the ones in bold, since we will not use the other ones):
Fonts
Graphics
Materials
Animations (we will see them in more detail in Chapter 4, No Longer Alone - Sweet-Toothed Pandas Strike )
Music and sounds
Other assets (to store, for instance,
.txtassets)Physical materials
Prefabs (we will see what they are in the next chapter)
Scenes
Scripts
Note
If you are planning to create a 3D game, the folders will be different and they will include other kind of assets, such as 3D models and textures.
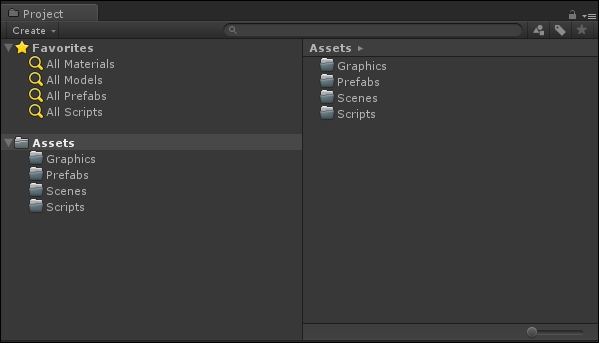
At the end, we should see the following in our Project panel (I'll add the Animation folder in Chapter 4, No Longer Alone - Sweet-Toothed Pandas Strike, when we will see animations, but feel free to add it immediately if you like):
There is something else to know about the folders in your projects. If you create folders with some specific names, Unity will treat them in a special way. We are not going to use them; however, it's worth giving them a quick look:
Editor(or a subfolder within it): This contains editor scripts rather than runtime scripts. These are designed to implement new functionality in Unity during the development of your games, and will not be included in the published game. As a result, you cannot use any of the scripts inside this folder within yourScene. Furthermore, it's possible to use more than oneEditorfolder in your project (even if this affects the execution order).Editor Default Resources: This contains resources that can be loaded on-demand by editor scripts by using theEditorGUIUtility.Load()function.Resources(or a subfolder within it): This contains all the assets that can be loaded on demand from a script by using theResources.Load()function. In fact, you may need to load an asset that is not present in the scene yet. As with theEditorfolder, you can have as many as you want in your project.Plugins: This contains native DLLs, written in C/C++, which can access third-party libraries, system calls, and other functions that Unity doesn't provide directly. As the name suggests, it is used to implement or import plugins.StreamingAssets: This contains assets that will not be included in your main game file, but that can be streamed from a script.WebPlayerTemplates: This contains custom host pages to use when the target platform is theWebPlayer. Scripts in this folder will not be compiled.
Coming back to our folder, we need to import the package that we have downloaded. This can be done in a number of different ways, but the easiest way is to drag and drop the folder of the package within our Graphics folder.
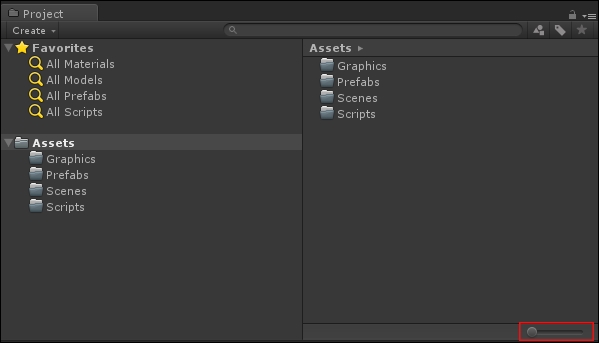
If you need to select an asset to use, in the bottom-left corner of the Project panel, there is a slider that allows you to increase the size of the icons in the Project panel. This function is useful when there are a lot of assets and we need to find the right one without knowing the name, or when exploring new packages we don't know yet. The slider is highlighted in the following screenshot for your convenience: