When you run Blender, you are greeted by the splash screen. A list of files you have worked on recently will be listed on the left, as well as some quick links to various things, such as the documentation and the website. Click in the space to either side of the splash screen to remove it. Now let's take a look at the default scene.
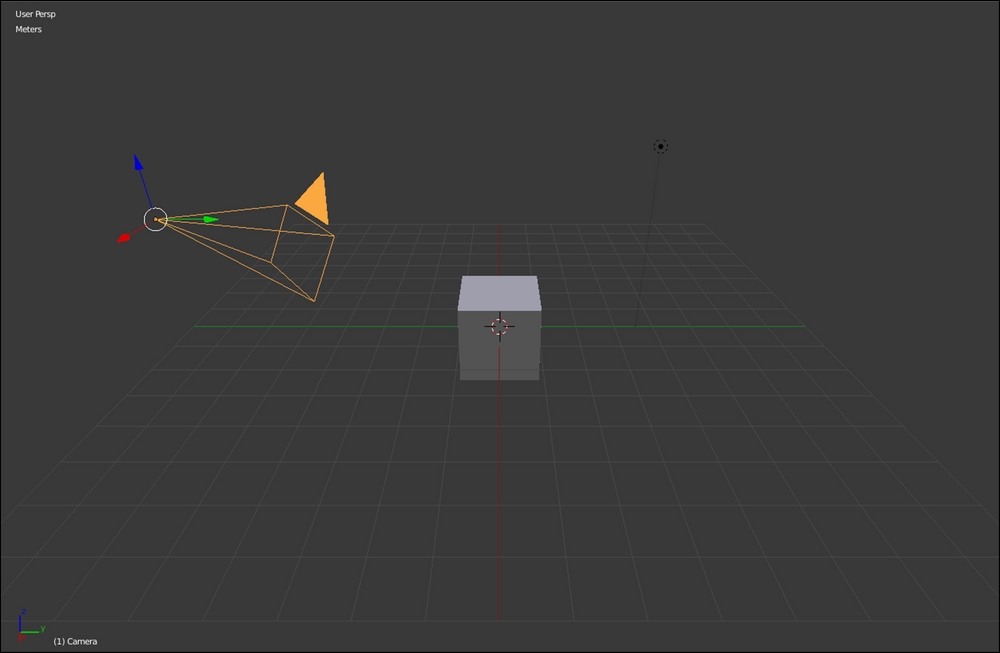
Blender starts you off with three basic objects in the scene already: a cube, a light, and a camera, as shown in the following screenshot:

Our Blender default setup. We will change this to work better with Unreal 4
Select any one of them by right-clicking on the object. This will highlight it in orange. Try right-clicking on other objects in the scene:

We can rotate our point of view around the center by holding the middle mouse button (MMB). We can slide our view by holding Shift + MMB and zoom it using the mouse wheel or + and - on the number pad. Lastly, the number pad can also be used to view specific angles of your object.
Now let's take a look at the menus:

The Blender interface
All of the preceding options have several functions. We will discuss them briefly here and more as we continue with the project:
Menu Bar: This contains the File, Render, Window, Help, Scene Layout drop-down, Browse Scene drop-down, and the Render Engine drop-down options. For the most part, we will use the File menu to save, load, change user preferences, export our files, and exit the program.
Tools Panel: This contains most of our functions that we will use to edit our shapes and mold our creations.
Animation Timeline: We will use this later to manage our animated game asset.
Properties: We will use the panel frequently to edit the properties of our scene, add modifiers, and more.
Scene Properties: This contains a few specific functions that pertain to items in the scene, such as scale.
Scene Outliner: This is a convenient list of every object in our scene and is handy if you can't find a specific object visually. Unreal Engine has one of these as well.
A lot of information, huh? Trust me, it gets easier with practice. To make things even easier, let's customize some of our settings.


