Book Image

3D Game Design with Unreal Engine 4 and Blender

By : Jessica Plowman
Book Image

3D Game Design with Unreal Engine 4 and Blender

By: Jessica Plowman

Overview of this book

Unreal Engine 4 now has support for Blender, which was not available in earlier versions. This has opened up new possibilities and that is where this book comes in. This is the first book in the market combining these two powerful game and graphic engines. Readers will build an amazing high-level game environment with UE4 and will show them how to use the power of Blender 3D to create stunning animations and 3D effects for their game. This book will start with creating levels, 3D assets for the game, game progression, light and environment control, animation, and so on. Then it will teach readers to add amazing visual effects to their game by applying rendering, lighting, rigging, and compositing techniques in Blender. Finally, readers will learn how to smoothly transfer blender files to UE4 and animate the game assets. Each chapter will add complexities to the game environment.
Table of Contents (16 chapters)
3D Game Design with Unreal Engine 4 and Blender
Credits
About the Author
About the Reviewer
www.PacktPub.com
Preface
Index

Rigging and using keyframes


Now that we have a good idea what tools we will need, let's talk about creating keyframes!

The Timeline is used to add keyframes in a similar fashion to Timelines in Unreal 4

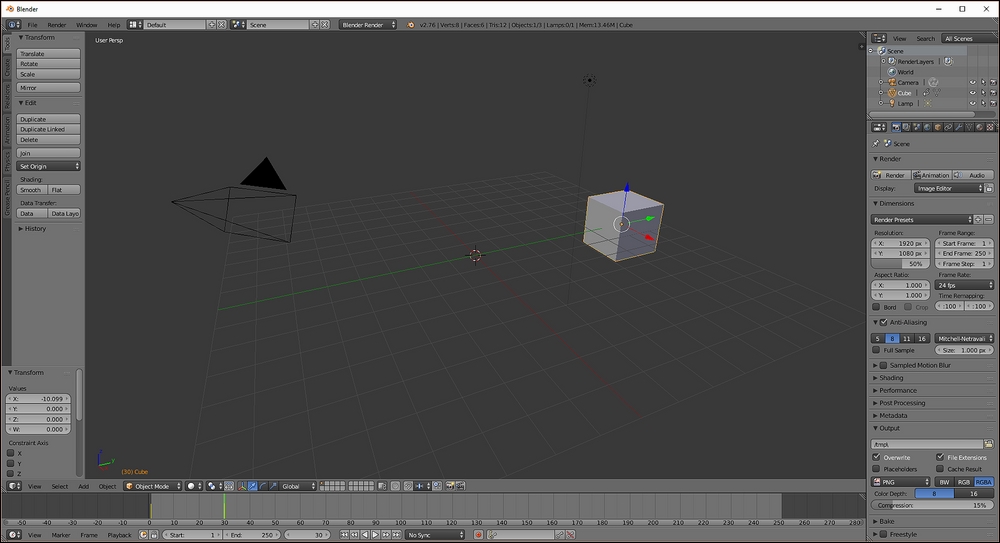
Similar to Unreal 4, the keyframes we create will be displayed in the Timeline. This area is located directly under the 3D viewport. Keyframes are represented as simple yellow lines, and the amount of time we are viewing can be adjusted by using the mouse wheel.

Now let's start with a basic cube and create some keyframes:

A simple animation of a sliding box

To make a simple animation where our cube moves, we need to create two keyframes:

  1. Create the first keyframe by selecting the cube, pressing I to open the Insert Keyframe Menu, and selecting Location at the top of the list.

  2. Now slide the time slider in the Timeline window to frame 30. This can be done by right clicking on the Timeline near 30 and then holding the button to slide it along the Timeline. The box highlighted in the image shows the...