

A scene with a floor mesh has been established, but this alone is uninteresting. We need to add more, such as buildings, stairs, columns, and perhaps more floor pieces. Otherwise, there would be no world for the player to explore. Before building on what we've got, however, let's make sure that the existing floor piece is centered at the world origin. Every point and location within a scene is uniquely identified by a coordinate, measured as an (X, Y, Z) offset from the world center (origin).
The current position for the selected object is always visible from the Object Inspector. In fact, the Position, Rotation, and Scale of an object are grouped together under a category (component) called Transform. Position indicates how far an object should be moved in three axes from the world center. Rotation indicates how much an object should be turned or rotated around its central axes. Scale indicates how much an object should be shrunk or expanded to smaller or larger sizes. A default Scale of one means that an object should appear at normal size, two means twice the size, and 0.5 means half the size, and so on. Together, the Position, Rotation and Scale of an object constitute its transformation. To change the position of the selected object, you can simply type new values in the X, Y, and Z fields for Position. To move an object to the world center, simply enter (0, 0, and 0), as shown in Figure 1.20:
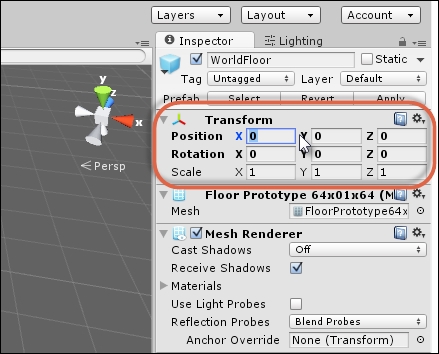
Figure 1.20: Centering an object to the world origin
Setting the position of an object, as we've done here, by typing numerical values is acceptable and appropriate for the specifying of exact positions. However, it's often more intuitive to move objects using mouse-based controls. To do this, let's add a second floor piece and position it away from the first instance. Drag and drop a floor piece from the Project panel in Scene to create a second floor GameObject. Then click on the new floor piece to select it and switch to the Translate tool. To do this, press W on the keyboard or click on the translate tool icon from the toolbar at the top of the editor interface. The translate tool allows you to reposition objects in Scene. See Figure 1.21:
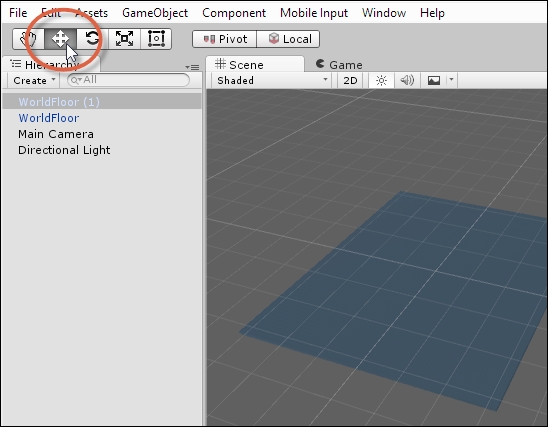
Figure 1.21: Accessing the translate tool
When the translate tool is active and an object is selected, a Gizmo appears centered on the object (three colored axes visible in the Scene tab). The translate Gizmo appears as three colored perpendicular axes: red, green, and blue corresponding to X, Y, and Z respectively.
To move an object, hover your cursor over one of the three axes (or planes between axes), and then click and hold the mouse while moving it to slide the object in that direction. You can repeat this process as often as needed to ensure that your objects are positioned where you need them to be. Use the translate tool to move the second floor piece away from the first. See Figure 1.22:
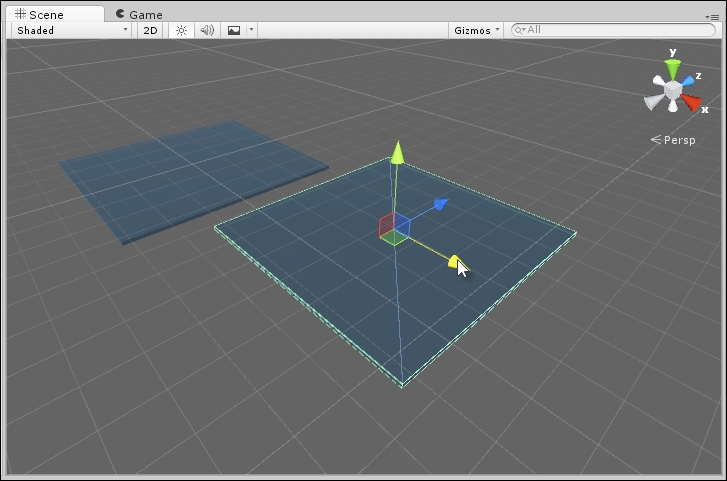
Figure 1.22: Translate an object using the translate Gizmo
You can also rotate and scale objects using the mouse, as with translate. Press E to access the rotate tool or R to access the scale tool, or you can activate these tools using their respective toolbar icons from the top of the editor. When these tools are activated, a Gizmo appears centered on the object, and you can click and drag the mouse over each specific axis to rotate or scale objects as needed. See Figure 1.23:
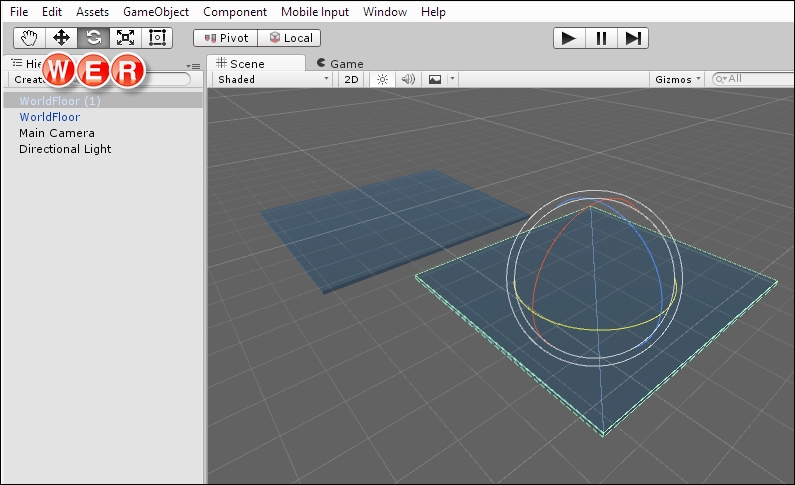
Figure 1.23: Accessing the rotate and scale tools
Being able to translate, rotate, and scale objects quickly through mouse and keyboard combinations is very important when working in Unity. For this reason, make using the keyboard shortcuts a habit, as opposed to accessing the tools continually from the toolbar.
However, in addition to moving, rotating, and scaling objects, you'll frequently need to move around yourself in the Scene view in order to see the world from different positions, angles, and perspectives. This means that you'll frequently need to reposition the scene preview camera in the world. You'll want to zoom in and zoom out of the world to get a better view of objects and change your viewing angle to see how objects align and fit together properly. To do this, you'll need to make extensive use of both the keyboard and mouse together.
To zoom closer or further from the object you're looking at, simply scroll the mouse wheel up or down—up zooms in and down zooms out. See Figure 1.24:
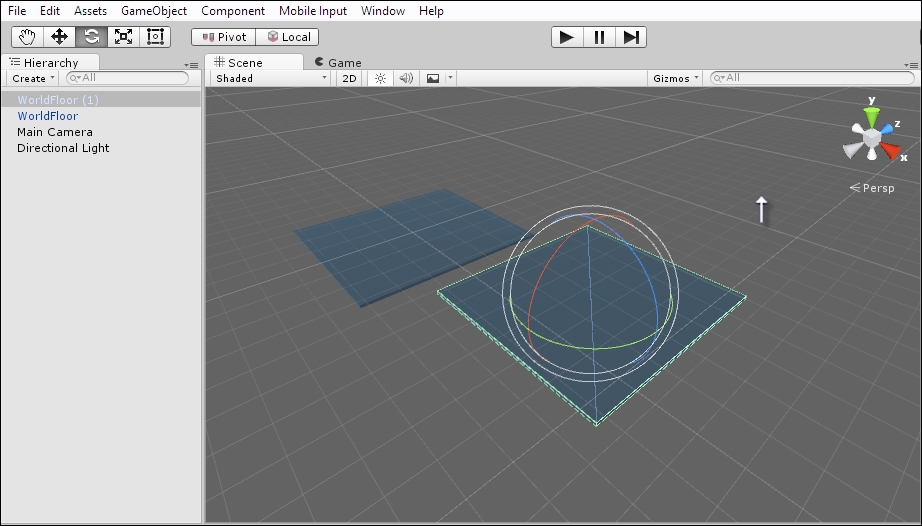
Figure 1.24: Zooming in and out
To pan the Scene view left or right, or up or down, hold down the middle mouse button while moving the mouse in the appropriate direction. Alternatively, you can access the pan tool from the application toolbar (or press Q on the keyboard) and then simply click and drag in the Scene view while the tool is active. Pan does not zoom in or out; it simply slides the camera left and right, or up and down:
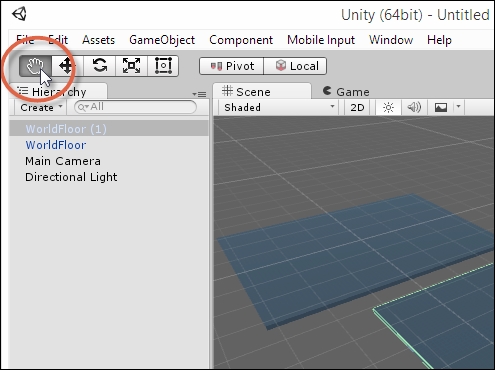
Figure 1.25: Accessing the Pan tool
Sometimes, while building levels, you'll lose sight entirely of the object that you need. For example, your viewport camera could be focusing on a completely different place from the object you really want to click or see. In this case, you'll often want to shift the viewport camera automatically in order to focus on that specific object.
Specifically, you'll want to reposition and rotate the viewport as necessary to bring a desired object to the center of the view. To do this automatically, select the object to focus on (or frame) by clicking on its name from the Hierarchy panel. Then, press the F key on the keyboard. Alternatively, you can double-click its name in the Hierarchy panel. See Figure 1.26:
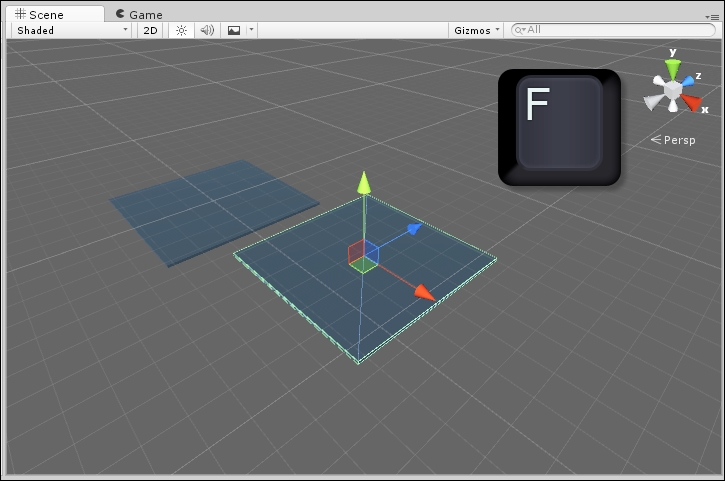
Figure 1.26: Framing a selected object
After framing an object, you'll often want to rotate around it in order to quickly and easily view it from all important angles. To achieve this, hold down the Alt key on the keyboard while clicking and dragging the mouse to rotate the view. See Figure 1.27:
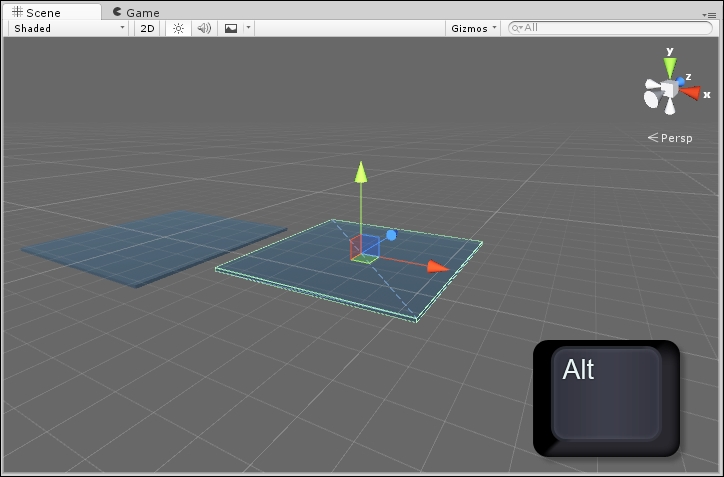
Figure 1.27: Rotating around the framed object
Lastly, it's helpful to navigate a level in the Scene view using first-person controls, that is, controls that mimic how first-person games are played. This helps you experience the scene at a more personal and immersive level.
To do this, hold down the right mouse button and (with the button depressed) use the WASD keys on the keyboard to control forward, backward, and strafing movement. Movement of the mouse controls head orientation. You can also hold down the Shift key while moving to increase movement speed. See Figure 1.28:
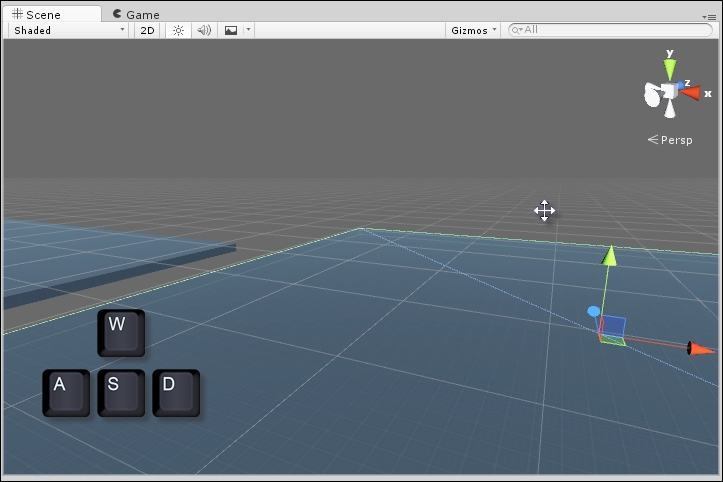
Figure 1.28: Using first-person controls
The great thing about learning the versatile transformation and navigation controls is that, on understanding them, you can move and orient practically any object in any way, and you can move and view the world from almost any position and angle. Being able to do this is critically important to build quality levels quickly. All of these controls, along with some others that we'll soon see, will be used frequently throughout this book to create scenes and work in Unity generally.