
There have been a lot of changes in GameSalad recently. From a nice redesign of the interface to many new features and changes; it's worth looking into.
So, what exactly is new in version 0.11?
Massive improvements to the engine:
Network behaviors: You can now sync information from any server. This really opens up a lot of game development possibilities! Now you can store data remotely, and you can even create a turn-based game all synced through servers! Awesome! Available on a pro account only.
New monetization options: New ways to make money! Chartboost and RevMob Ad Networks have been added to the software, which means more ads being inserted into your game, equalling more profit for your game.
Looping behaviors: I'm super excited about this one! Looping and loop over table behaviors reduce the complexity of your project by far! For example, what would have taken 10 behaviors now will only take 1 or 2 at the most.
Enhancements to text and strings: You can now display text relative to the position of an actor. This alone is exciting, but there's more. New display options, substrings, and replace and find functions allow complex string editing.
Optimized rendering: The whole rendering system for images has been revamped, which drastically improves the performance of your game. I've seen this already running some of my old projects in version 0.11
New multi-touch options: Now you can detect up to 11 touches at a time, increasing the complexity of gameplay that you can deliver to the world.
Custom loading icon (pro accounts only): Instead of the standard loading icon, you can now create your own. Thus, this allows you to unify your design throughout the game.
And more features: Tables (a super powerful system we will use throughout this book), changes to the Change Scene behavior, Google Play Tablet Support (for pro users), stretch mode allowing you to develop for the iPhone and deploy to a PC (GameSalad will compensate for the screen size difference and stretch the screen accordingly), tweaks to the rule system, and changes to the OpenURL behaviors.
All these changes are drastic, and you will see how great it is when you dive into GameSalad. If you've used GameSalad in the past, you are going to notice a massive difference in performance and ease of development. I'm already astonished at the bug fixes. Oh! How many projects I've lost to crashes and bugs! Now we don't have to worry about any of that!
Now that you know what's new, let's get it on our computers.
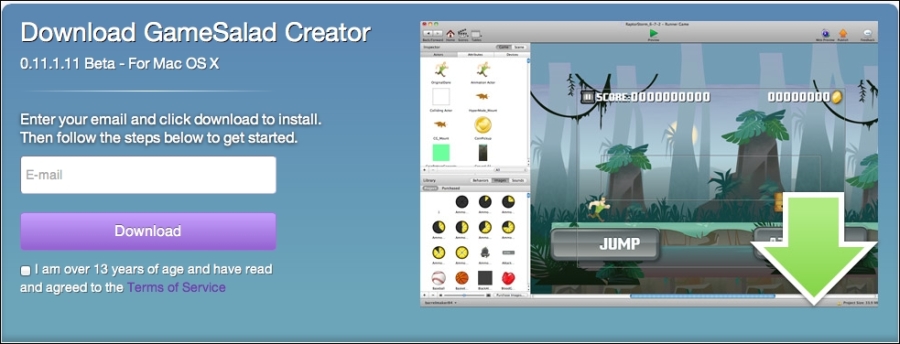
Let's head over to www.gamesalad.com; while the creator is downloading, let's register an account as well.

Right on the front page, there's a button to download GameSalad Creator. Click on that button and you will now be greeted by a screen requesting your e-mail address. Fill yours in and check the I am over 13 years of age and have read and agreed to the Terms of Service checkbox. GameSalad will start downloading. You are now one step closer to creating your very own awesome game!
Now, while you're waiting for the download to finish, let's create an account. On the top-right corner of the GameSalad banner, you will see an avatar button next to a drop-down arrow. Click on it and it says Sign Up; click that bad boy. There will be a pop-up box asking for your information. Simply fill it in. This is shown in the following screenshot:

After this, you will receive an e-mail asking you to activate your account. Once you do, boom! You're done! That was super easy.
Good question! An account is required for publishing, but you also get great benefits such as:
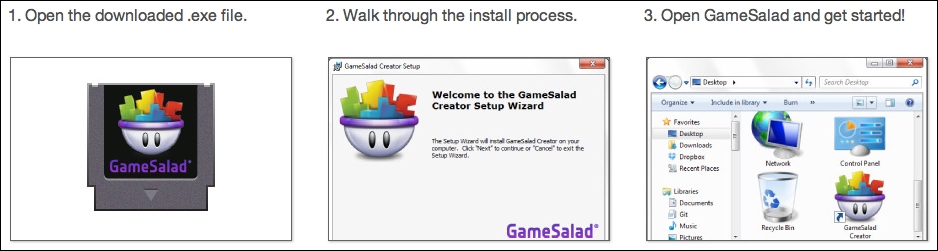
Now, let's install GameSalad. This is pretty standard stuff, but if you don't know how, let me walk you through it.
Locate the GameSalad installation file (normally downloaded in your Downloads folder) and open it. Agree to all EULAs (End User Licence Agreements). The installation will now show up. If it doesn't, go to your desktop and locate the GameSalad Creator DMG that was just mounted and simply click-and-drag the GameSalad icon into the Applications shortcut, as shown in the following screenshot:

GameSalad installation for Mac
Once this is done, you will have officially installed GameSalad on your Mac!
Locate the saved installation file and open it. You will be prompted throughout the installation process. Once it's done, all you have to do is open it.
Tip
Some users have reported issues with the installation stating they need to check their Internet connection. GameSalad installation requires an active Internet connection. Some users have reported simply re-downloading the install file works, while others report using an alternate Internet browser such as Internet Explorer 9, Mozilla Firefox, Google Chrome, or Safari works as well. All you need to do is drag and drop your installation file on one of these browsers.
Easy peasy lemon squeezy! Once that's done, let's dive in to GameSalad for a quick overview of the new interface.
Now that we have installed GameSalad, let's open it. For Mac, go to your Applications folder and open GameSalad. For Windows, the default location is under Program Files | GameSalad | GameSalad Creator. Or you can find it in the Start menu.
This is the screen you will be greeted with if you are running GameSalad on Mac OS X; the new main menu is as shown in the following screenshot:
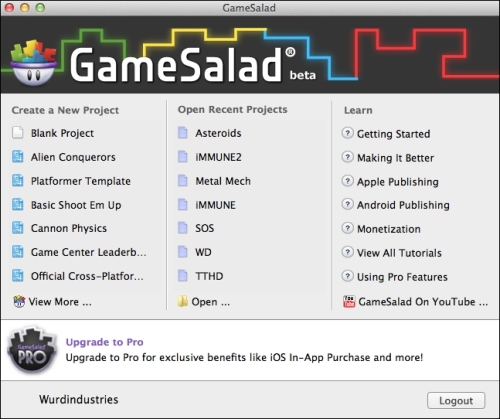
If you are running Windows, you see a brand new blank project. From here you can open up tutorials, your recent projects, or create a new project either from a blank project or through template projects. If you are running Mac, for now, let's open up the Alien Conquerors template project. If you are running Windows, you can download template projects from the GameSalad website under Help | Cookbook Tutorials | 6. Windows Creator | 6.7 - Windows Creator Templates. You will then find all the templates. Click on the Alien Conquerors template to download the project.
Now we are met with the Project Info tab, as shown in the following screenshot:
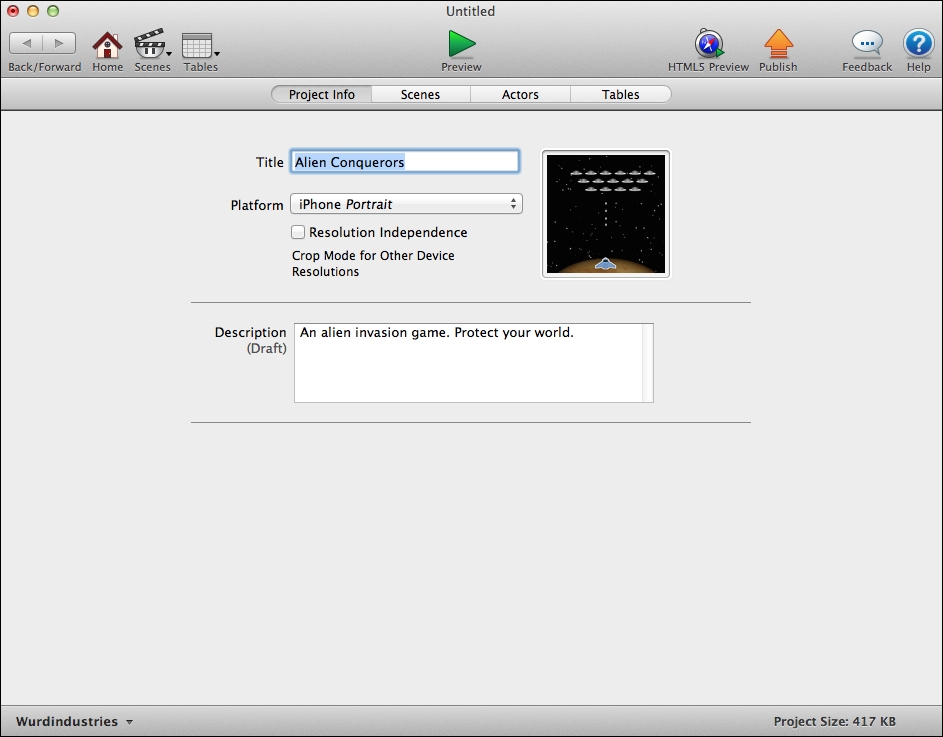
On this screen, you can set the title of your project, whatever platform you want to develop for, and a description. We will start with what the buttons do:
Back/Forward buttons: These buttons allow navigation through the screens we will see throughout our development.
Home button: A fast way to pop back to the Project Info screen.
Scenes drop-down button: A quick way to jump to scenes without having to go back to Home and select the Scenes tab.
Tables button: Allows you quick access to your created tables.
Preview button: Plays your project. If you have a scene opened, it will play that scene; but if you are at the home screen, it will play the whole project.
HTML 5 Preview button: Simulates your project in HTML5.
Publish button: Allows you to publish your project. (We will get into this later.)
Feedback button: Opens up your default Internet browser and allows you to send feedback to the GameSalad creators.
Help button: Opens up your Internet browser again and brings you to the GameSalad cookbook, a quick reference for all things GameSalad.
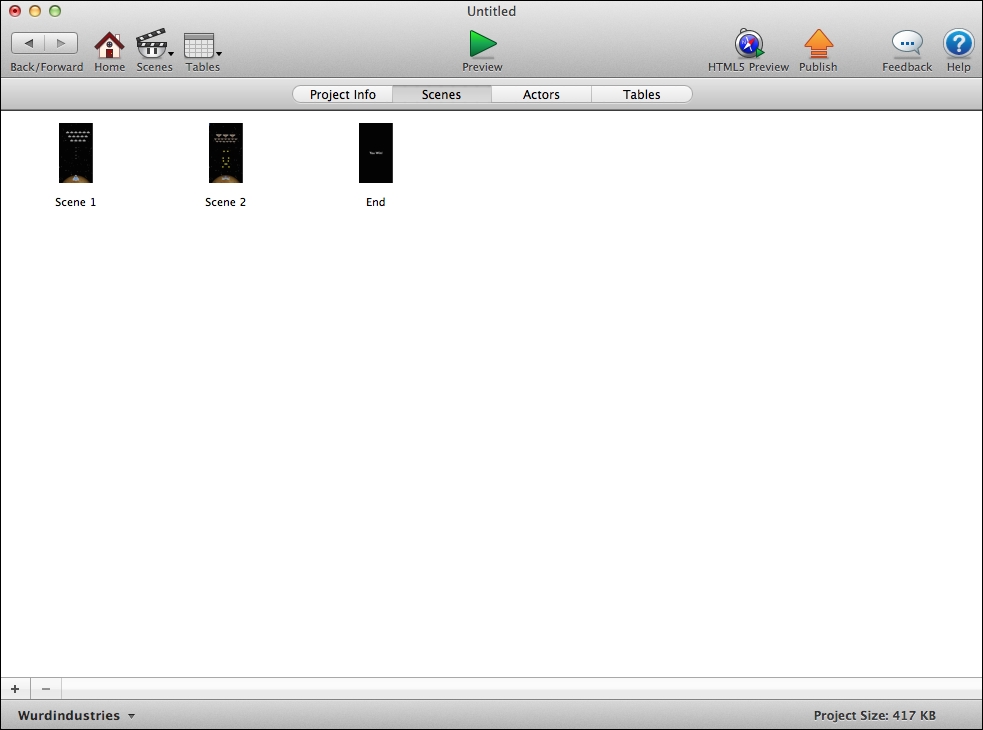
Tabs in GameSalad are placed so that we can navigate through the interface. Let's take a close look at what the various tabs do in the interface. Let's first discuss the Scenes tab.
Click on this tab and you will see the different levels you have created. You can see in this template project that there are three scenes—two levels and one for a "You Win" screen.
At the bottom of this screen, you have a '+' and a '-' button, which allow you to create (+) and delete (-) scenes. Give it a try. Click on some of the scenes and explore the levels a little bit to see how things work. Again, we will get into more details on this later.
This tab shows you all the actors and objects you have created throughout your project. What are actors? Actors are the visual objects in your game. Actors can be characters you play, enemies, obstacles, platforms, background objects, and so on. Here you can create and delete actors as well as manage them. You can also create tags and arrange the actors accordingly. These are all things we will discuss later. Look at all the potential you have here. Can you picture the awesomeness you are about to create?

When you start editing these actors, you will be greeted with the actor editor, as seen in the following screenshot:

The actor screen
Scroll through some of the behaviors or actions and get an idea of the things you can do. I'm sure you'll see you can get into some pretty powerful rules and behaviors.
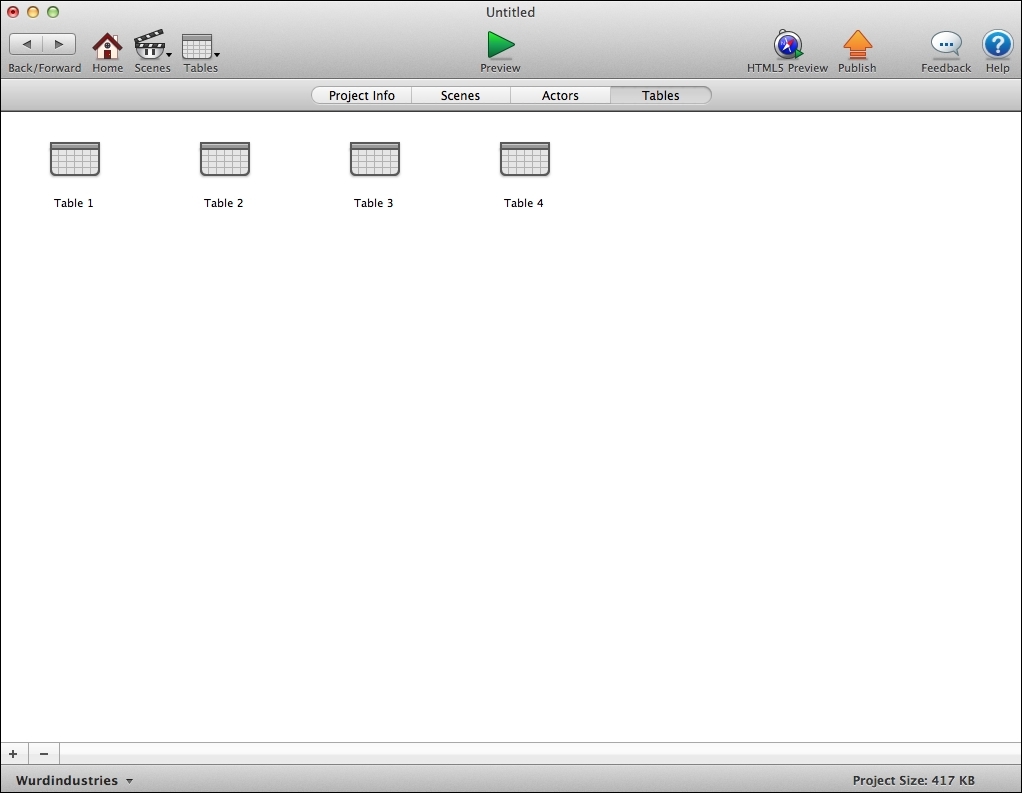
From here, you manage all your tables. What are tables? Essentially, they are a great way to store data and information. Think of it as an Excel file that stores all the players' items, scores, and information. GameSalad has the ability to save information into them and load them all on the fly. This project we opened didn't have any tables created, so I added a few just so you can get an idea of what this screen looks like when populated. When you click on a table, you will essentially open an Excel file. You can add rows and columns and populate them accordingly. You can also import and export CSV files, if you prefer to use your own editor. We will get into using tables later in this book.
I did some test populating of a table. These would be items available within your game. As you can see, I created a few items just so you can see how the table editor works.
The Text column is obviously the name of the item. The Integer column is the value of the item, should you choose to sell it in-game. The Boolean column is to detect whether you already own the item in your inventory.
Boolean?! What's this trickery? A Boolean is a complicated way of saying whether something is true or false. Let's check out the table in the following screenshot:
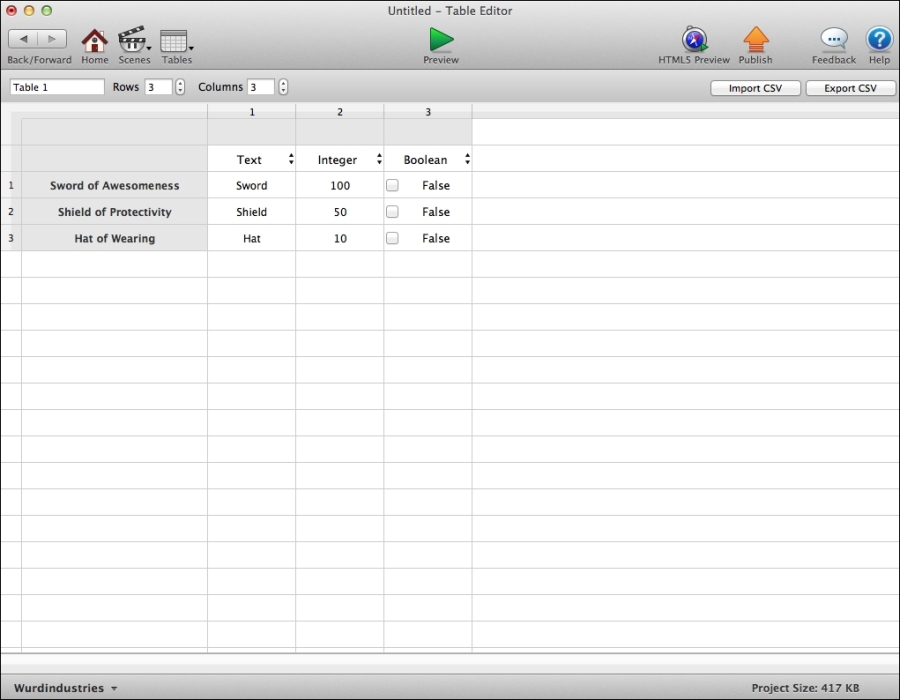
What your tables look like when populated
Do things seem easy to navigate? They sure are. Don't worry if you don't understand some interface elements right now. We are going to get into them in the next few chapters.