
Now that we have downloaded and installed Construct 2, we can start getting our hands dirty and make games with it! Not so fast though. As Construct 2's interface is different compared to other game-making tools, we need to know how to use it. When you open Construct 2, you will see a start page as follows:
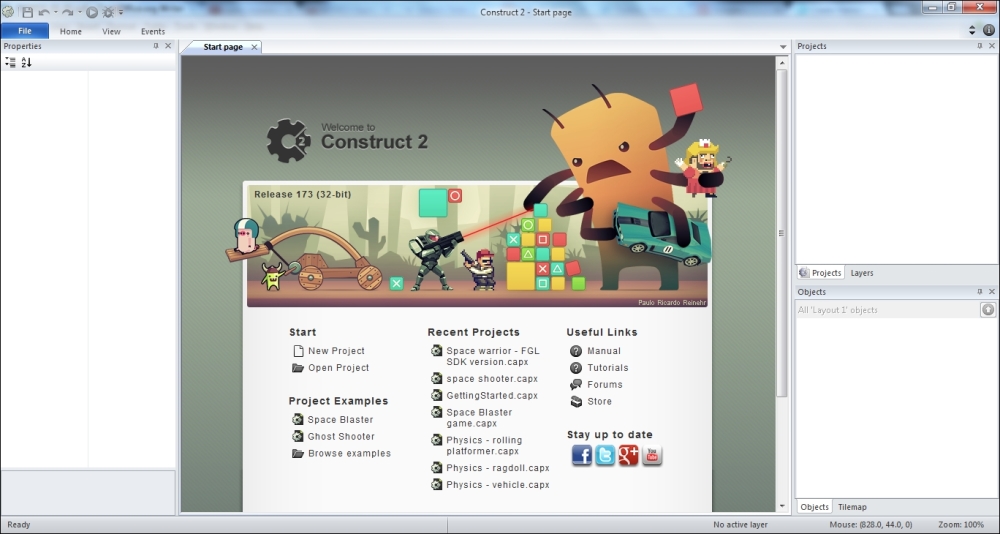
This start page is basically here to make it easier for you to return to your most recent projects, so if you just opened Construct 2, then this will be empty.
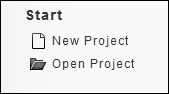
What you need to pay attention to is the new project link on the left-hand side; click on it and we'll start making games. Alternatively, you can click on File in the upper-left corner and then click on New.
You'll see a selection of templates to start with, so understandably this can be confusing if you don't know which one to pick. So, for now, just click on New empty project and then click on Open. Starting an empty project is good when you want to prototype your game. What you see in the screenshot now is an empty layout, which is the place where we'll make our games. This also represents how your game will look.
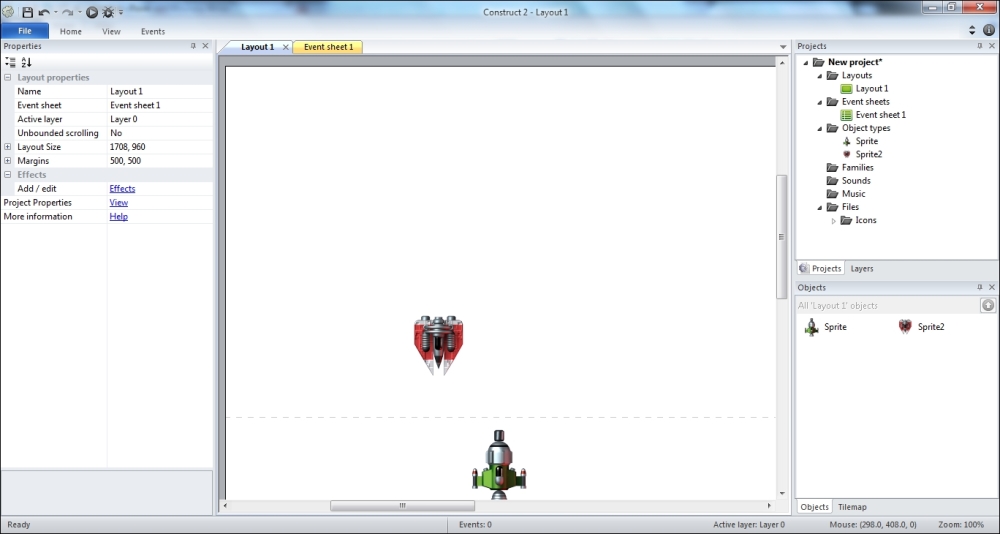
It might be confusing to navigate the first time you see this, but don't worry; I'll explain everything you need to know for now by describing it piece by piece.
The white part in the middle is the layout, because Construct 2 is a what you see is what you get kind of tool. This part represents how your game will look in the end. The layout is like your canvas; it's your workspace; it is where you design your levels, add your enemies, and place your floating coins. It is where you make your game.
The layout size can be bigger than the window size, but it can't be smaller than the window size. This is because the window size represents the actual game window. The dotted line is the border of the window size, so if you put a game object outside it, it won't be initially visible in the game, unless you scroll towards it. In the preceding screenshot, only the red plane is visible to the player. Players don't see the green spaceship because it's outside the game window.
On the right-hand side, we have the Projects bar and the Objects bar. An Objects bar shows you all the objects that are used in the active layout. Note that an active layout is the one you are focused on right now; this means that, at this very instance, we only have one layout. The Objects bar is empty because we haven't added any objects. The Projects bar helps in the structuring of your project, and it is structured as follows:
All layouts are stored in the
Layoutsfolder.Event sheets are stored in the
Event sheetsfolder.All objects that are used in the project are stored in the
Object typesfolder.All created families are in the
Familiesfolder. A family is a feature of Construct 2; I will explain this shortly in this chapter.The
Soundsfolder contains sound effects and audio files.The
Musicfolder contains long background music. The difference between theSoundsfolder and theMusicfolder is that the contents in theMusicfolder are streamed, while the files inside theSoundsfolder are downloaded completely before they are played. This means if you put a long music track in theSoundsfolder, it will take a few minutes for it to be played, but in theMusicfolder, it is immediately streamed. However, it doesn't mean that the music will be played immediately; it might need to buffer before playing.The
Filesfolder contains other files that don't fit into the folders mentioned earlier. One example here isIcons.
Tip
Although you can't rename or delete these folders, you can add subfolders inside them if you want.
On the left-hand side, we have a Properties bar. There are three kinds of properties: layout properties, project properties, and object properties. The information showed in the Properties bar depends on what you clicked last. There is a lot of information here, so I think it's best to explain it as we go ahead and make our game, but for now you can click on any part of the Properties bar and look at the bottom part of it for help. I'll just explain a bit about some basic things in the project properties:
Name: This is your project's name; it doesn't have to be the same as the saved file's name. So, you can have the saved file as
project_wing.capxand the project's name as Shadow wing.Version: This is your game's version number, if you plan on releasing beta versions; make sure you change this first.
Description: Your game's short description; some application stores require you to fill this out before submitting it.
ID: This is your game's unique identification; this comes in the
com.companyname.gamenameformat, so your ID would be something likecom.redstudio.shadowwing.