

As I already mentioned, making an iOS game is a little different than making any other mobile game. For iOS games in particular, there are many steps involved in the preproduction period; these steps should be done first on the App Store developer's portal to be able to run a test on a device.
To be able to run these steps, you must have an Apple iOS developer account; if you don't have one yet, then apply for one. It is a straightforward process, and like purchasing any other account, you will need to provide an Apple account number and a credit card or any other valid online payment method.
Registering for an iOS developer account should be processed quickly, so if you apply as an independent person, you might get the approval within two days. However, if you apply as a company, then it might take up to two weeks or a bit more.
Now, you have an Apple iOS account (your developer account permits you to develop or access the iOS dev center only; you will not be able to access Mac or Safari dev centers). We now have to perform several steps, which should be done in proper order, as some steps will be based on the previous steps. The good thing about the latest updates from Apple is that they made a new and better control panel, which organizes with the correct order. Previously, the control panel was a bit messy, which made it difficult to find what you want.
Generating a certificate is a process that needs to be started in the development device (your Mac) and then completed in the Apple developer's portal.
First, you will need to open KeyChain Access, and through the drop-down menu of KeyChain Access, select Certificate Assistant. Finally, click on Request a Certificate from a Certified Authority.

From the Certificate Assistant window, fill the User Email Address field with your e-mail, insert a common name, and mark the Save to disk option to save the file to your disk. Click on Continue and save it to your desktop (or somewhere you can remember later).
This process will generate a file with a *.certSigningRequest extension. Go directly to the Apple developer's portal, access the iOS developers, and click on the Certificates section.
Click on Add, and you will be moved to a screen where you need to select a certificate type. Keep in mind that we will use the generated *.certSigningRequest extension twice. We will generate a development certificate to be used for the testing phase, and then we will make one for production, which will be used for the final build and store submission version of your games.
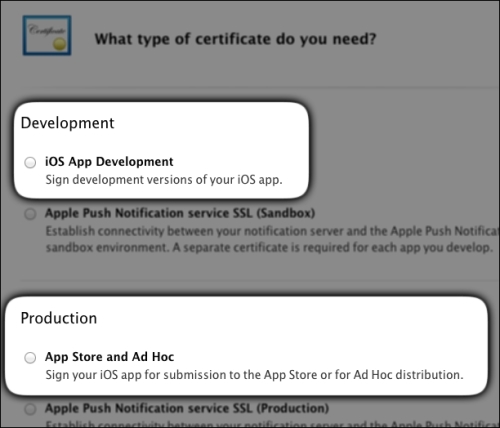
Here, select iOS App Development and click on Continue. In the following screen, you will find some information about how to make the *.certSigningRequest file, which we already made. Then, you can click on Continue and select the file from your desktop (or wherever you saved it).
Click on Generate, and this will provide you with a valid development certificate; download it.
Redo the same process, but this time, select App Store and Ad Hoc and use the same process to generate the production certificate and download it.
Now, as you have two certificates downloaded (files with the *.cer extension), double-click on each of them. This will run KeyChain Access for you and ask you whether you really want to install it. Do the process twice, as we will require one development certificate while building and testing and another one for the distribution build.
After installing both, you will find that they have a green icon next to each of them, and this tells you that both are valid.
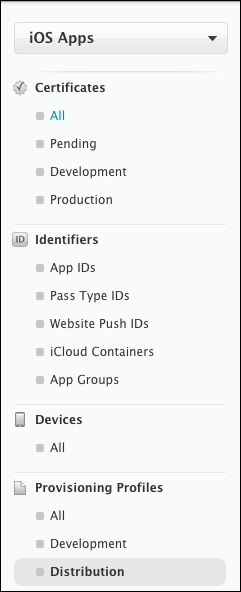
Now, go back to the main panel in your iOS developer account screen, and from the section named Identifiers, choose the subsection App IDs and start adding a new App ID.
The process is very simple and it involves adding some inputs:
App ID Description: You should describe your game/app within a small phrase. Normally, using your game name is enough to fill this input field.
App ID Suffix: This is the most important input (Bundle ID), and this is the one that will be used in your provisioning profile. Usually, you write the word
comfollowed by.and then your company name followed by another.after which you finally write the game name, for example,com.companyName.GameName.App Services: This allows you to select what exactly the game will be supporting. Keep in mind that you can come here again and edit the ID and regenerate it, so don't worry if you forget something.
Finally, click on Continue to finish the process of adding the App ID (Bundle ID).