

We've now created a Unity project and imported a large library of assets via the Unity Standard Asset package, including architectural meshes for walls, floors, ceilings, and stairs. This means that we're now ready to build our first level using these assets! Remember, in Unity, a scene means a level. The word scene and level can be used interchangeably here. They refer simply to a 3D space, that is, the space-time of the game world—the place where things exist. Since all games happen in space and time, we'll need a scene for the coin collection game. To create a new scene, select File | New Scene from the application menu or press Ctrl + N on the keyboard. When you do this, a new and empty scene is created. You can see a visualization or preview of the scene via the Scene tab, which occupies the largest part of the Unity interface. See Figure 1.14:
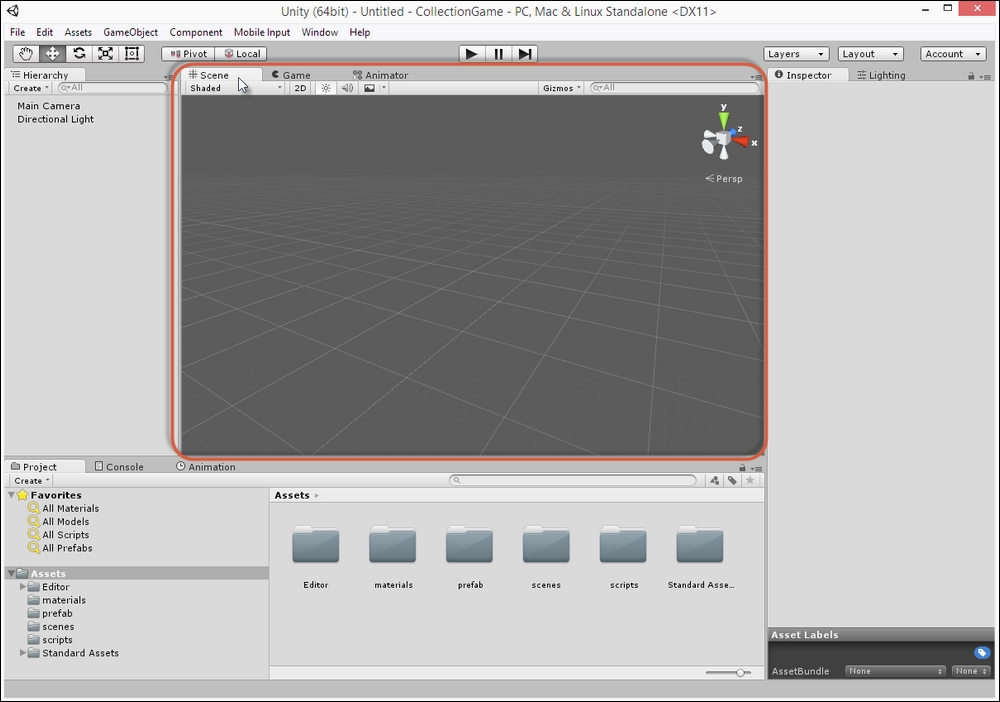
Figure 1.14: The Scene tab displays a preview of a 3D world
Note
As shown in Figure 1.14, other tabs besides the scene are visible and available in Unity. These include a Game tab and an Animator tab; in some cases, there could be more as well. For now, we can ignore all the tabs except Scene. The Scene tab is designed for quick and easy previewing of a level during its construction.
Each new scene begins empty; well, almost empty. By default, each new scene begins with two objects; specifically, a Light to illuminate any other objects that are added and a Camera to display and render the contents of the scene from a specific vantage point. You can view a complete list of all the objects existing in the scene using the Hierarchy panel, which is docked to the left-hand side of the Unity interface. See Figure 1.15. This panel displays the name of every GameObject in the scene. In Unity, the word GameObject simply refers to a single, independent, and unique thing that lives within the scene, whether visible or not: meshes, lights, cameras, props, and more. Hence, the Hierarchy panel tells us about everything in the Scene:
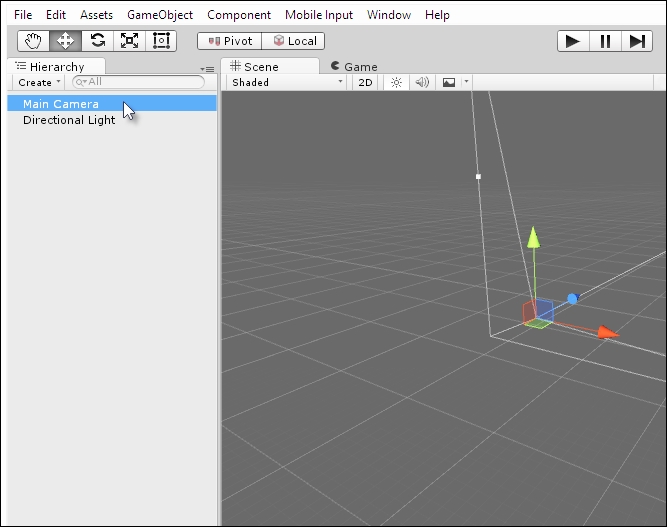
Figure 1.15: The Hierarchy panel
Next, let's add a floor to the scene. After all, the player needs something to stand on! We could build a floor mesh from scratch using third-party modeling software, such as Maya, 3DS Max, or Blender. However, the Unity Standard Asset package, which was imported earlier, contains floor meshes that we can use. This is very convenient. These meshes are part of the Prototyping package. To access them via the Project panel, open the Standard Assets folder by double-clicking it and then access the Prototyping | Prefabs folder. From here, you can select objects and preview them from the Inspector. See Figure 1.16:
Note
You could also quickly add a floor to the scene by choosing GameObject | 3D Object | Plane from the application menu. However, this just adds a dull, grey floor, which isn't very interesting. Of course, you could change its appearance. As we'll see later, Unity lets you do this. However, for this tutorial, we'll use a specifically modeled floor mesh via the Standard Assets package from the Project panel.
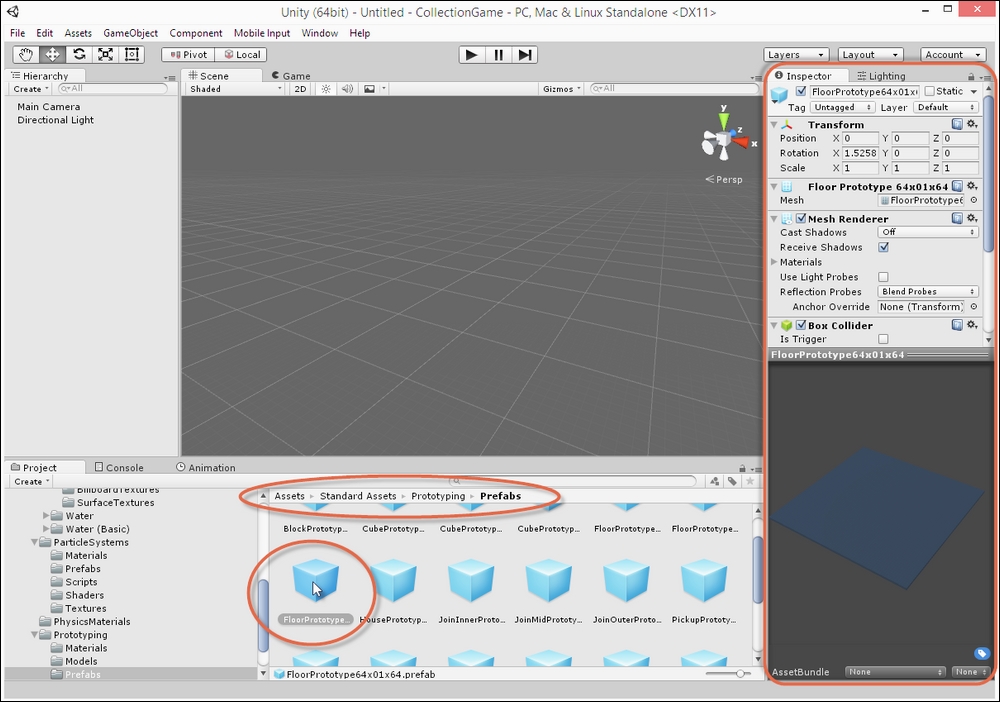
Figure 1.16: The Standard Assets/Prototyping package contains many meshes for quick scene building
The mesh named FloorPrototype64x01x64 (as shown in Figure 1.16) is suitable as a floor. To add this mesh to the scene, simply drag and drop the object from the Project panel to the
Scene view and then release the mouse. See Figure 1.17. When you do this, notice how the Scene view changes to display the newly added mesh within the 3D space, and the mesh name also appears as a listing in the Hierarchy panel:
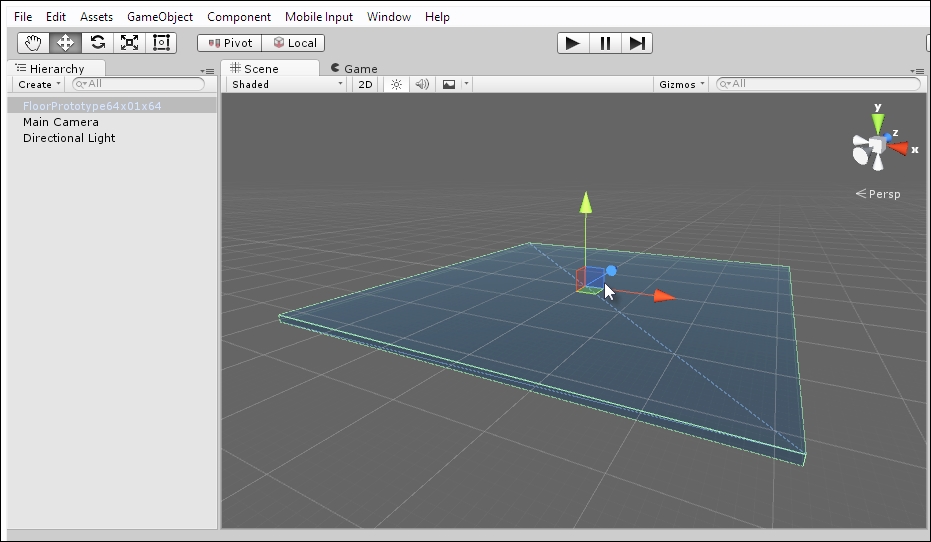
Figure 1.17: Dragging and dropping mesh assets from the Project panel to the Scene view will add them to the scene
The floor mesh asset from the Project panel has now been instantiated as a GameObject in the scene. This means that a copy or clone of the mesh asset, based on the original in the Project panel, has been added to the scene as a separate GameObject. The Instance (or GameObject) of the floor in the scene still depends on the floor asset in the Project panel. However, the asset does not depend on the instance. This means that, by deleting the floor in the scene, you will not delete the asset. However, if you delete the asset, you will invalidate the GameObject. You can also create more floors in Scene if you want by dragging and dropping the floor asset many times from the Project panel to the Scene view.
Each time, a new instance of the floor is created in the Scene as a separate and unique GameObject, although all the added instances will still depend on the single floor asset in the Project panel. See Figure 1.18:

Figure 1.18: Adding multiple instances of the floor mesh to the scene
We don't actually need the duplicate floor pieces. So, let's delete them. Just click on the duplicates in the Scene view and then press Delete on the keyboard to remove them. Remember, you can also select and delete objects by clicking on their name in the Hierarchy panel and pressing Delete. Either way, this leaves us with a single floor piece and a solid start to building our scene. One remaining problem, though, concerns the floor and its name. By looking carefully in the Hierarchy panel, we can see that the floor name is FloorPrototype64x01x64. This name is long, obtuse, and unwieldy. We should change it to something more manageable and meaningful. This is not technically essential but is good practice to keep our work clean and organized. There are many ways to rename an object.
One way is to first select it and then enter a new name in the name field in the Object Inspector. I'll rename it WorldFloor. See Figure 1.19:
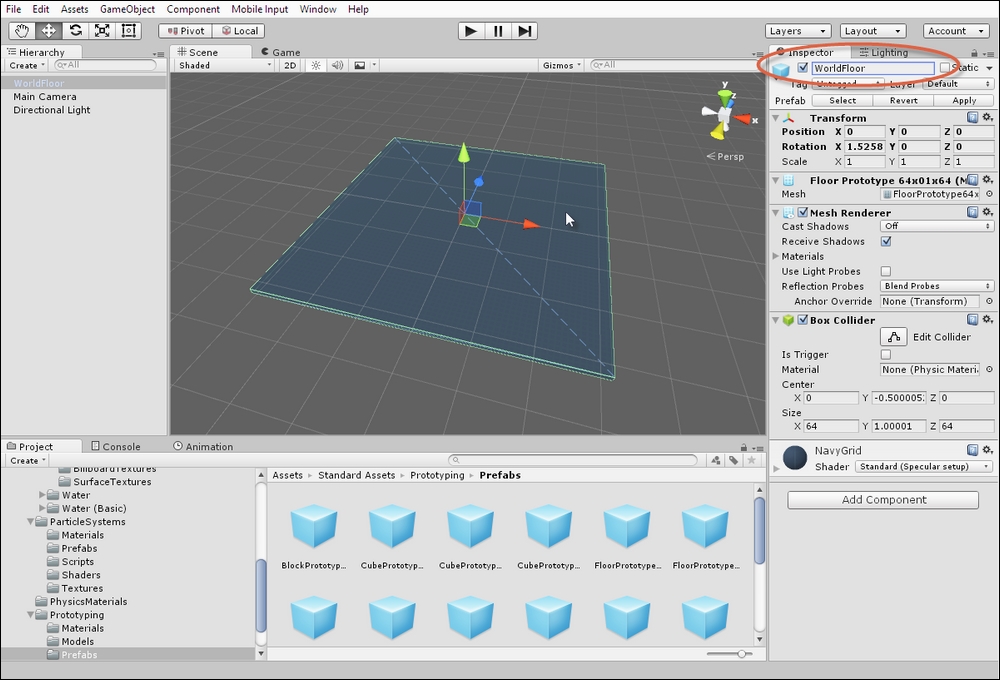
Figure 1.19: Renaming the floor mesh