

Creating a timer
Before we create the timer script, we'll create the object to which we'll attach the script:
- Create an empty game object by selecting GameObject | Create Empty.
- Name the new object
LevelTimer:
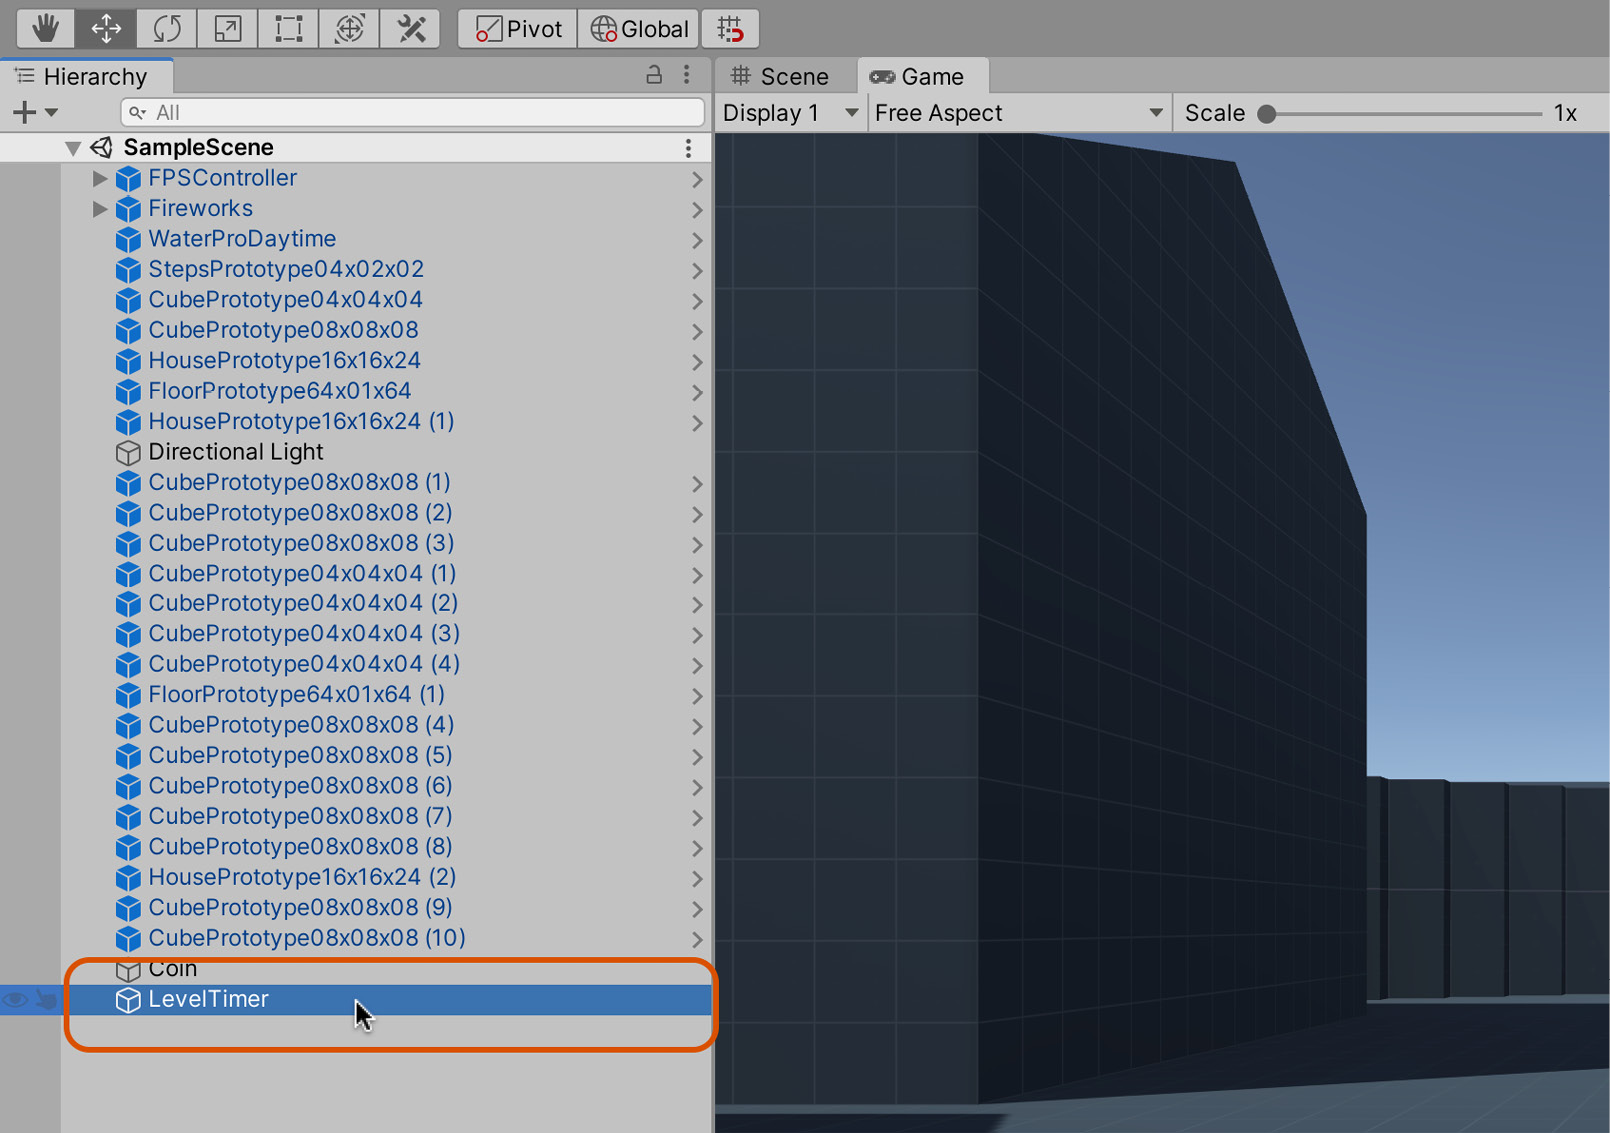
Figure 2.27 – Renaming the timer object
Important note
Remember that the player cannot see empty game objects because they have no Mesh Renderer component. Invisible objects are especially useful to create functionality and behaviors that don't correspond directly to physical and visible entities, such as timers, managers, and game logic controllers.
Next, create a new script file named Timer.cs and add it to the LevelTimer object in the scene. Make sure that the timer script is only added to one object, and no more than one. Otherwise, there will effectively be multiple, competing timers in the same scene. You can always search a scene to find all components of a specified type by using the Hierarchy panel. To do this, take the following steps:
- Click in the Hierarchy search box and type
t:timer. - Press Enter on the keyboard to confirm the search. This will display all objects with a Timer component attached in the Hierarchy panel. The
tprefix in the search string indicates a search by type operation:
Figure 2.28 – Searching for objects with a component of a matching type
- You can easily cancel a search and return the Hierarchy panel to its original state by clicking on the small cross icon to the right-hand side of the search field, as shown in Figure 2.28.
- Now we've added the script to an object, we need to complete the script by writing the code for the timer:
public class Timer : MonoBehaviour
{
	//Maximum time to complete level (in seconds)
	public float MaxTime = 60f;

	[SerializeField] private float CountDown = 0;

	void Start ()
	{
		CountDown = MaxTime;
	}
	void Update ()
	{
		//Reduce time
		CountDown -= Time.deltaTime;
		//Restart level if time runs out
		if(CountDown <= 0)
		{
			//Reset coin count
			Coin.CoinCount=0;
		      SceneManager.LoadScene(SceneManager.                   GetActiveScene().buildIndex);
		}
	}
}
The following points summarize the code sample:
- In Unity, class variables declared as
public(such aspublic float MaxTime) are displayed as editable fields in the Inspector of the Unity editor. These fields enable developers to monitor and set public variables directly from the Inspector without the need to recompile the code for every change.Privatevariables, in contrast, are hidden from the Inspector by default. However, you can force them to be visible, if needed, using theSerializeFieldattribute. Private variables prefixed with this attribute, such as theCountDownvariable, will be displayed in the Inspector just like a public variable, even though the variable's scope remains private. - The
Updatefunction is a native Unity event supported by all classes derived fromMonoBehaviour.Updateis invoked automatically once per frame for all active GameObjects in the scene, notifying them of frame change events.Updateis usually called many times per second; the game's FPS is a general indicator of how many times each second, but the actual number of calls will vary in practice.Updateis especially useful to animate, update, and change objects over time. In the case of theCountDownclass, it'll be used to keep track of time as it passes. More information on theUpdatefunction can be found here: http://docs.unity3d.com/ScriptReference/MonoBehaviour.Update.html.Important note
In addition to the
Updatefunction, Unity also supports two other related functions, namely:FixedUpdateandLateUpdate.FixedUpdateis typically used for physics calculations, as we'll see later, and is called a fixed number of times per frame.LateUpdateis called once per frame for each active object, but theLateUpdatecall will always happen after every object has received anUpdateevent. There are numerous reasons why we would want to perform an action afterUpdate, and a few of them will be explored later in this book. - The static
Time.deltaTimefloating-point variable describes the amount of time (in seconds) that has passed since the previous frame ended. For example, if your game has a frame rate of 2 FPS (a very low frame rate!), then thedeltaTimewill be0.5. This is because, each second, there would be two frames, and thus each frame would be half a second. ThedeltaTimeis useful in our game because, if added over time, it tells us how much time has elapsed or passed since the game began. For this reason, thedeltaTimevariable is used in theUpdatefunction to subtract the elapsed time from the countdown total. More information can be found online at http://docs.unity3d.com/ScriptReference/Time-deltaTime.html. - The static
SceneManager.LoadScenefunction can be called anywhere to change the active scene at runtime. It causes Unity to terminate the active scene, destroying all its contents, and load a new scene. It can also be used to restart the active scene by retrieving the current scene'sbuildIndexusingSceneManager.GetActiveScene().buildIndex.SceneManager.LoadSceneis most appropriate for games with clearly defined levels that have distinct beginnings and endings.
Once you have created the timer script, select the LevelTimer object in the scene, and, using the Inspector, set the maximum time (in seconds) that the player is allowed to complete the level, as shown in Figure 2.29. I've set the total time to 60 seconds. If the player takes longer than this to collect all of the coins, the level is reloaded.
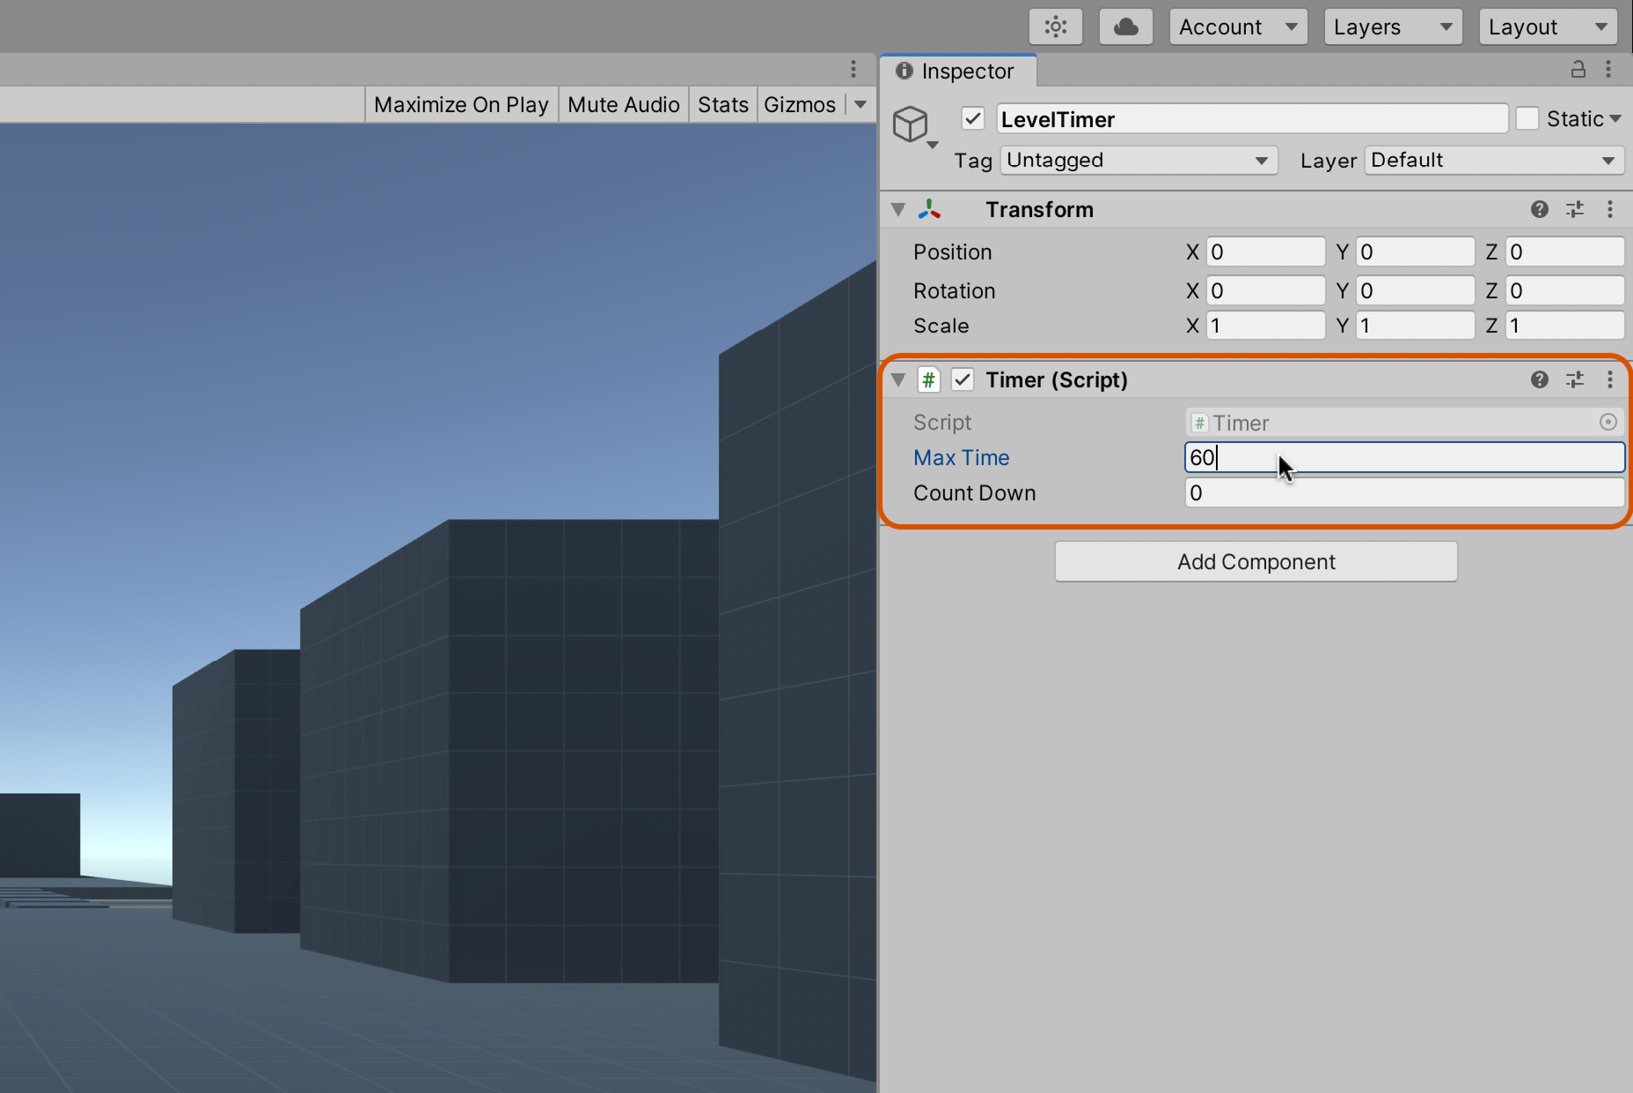
Figure 2.29 – Setting the level's total time
Great work! You now have a completed level with a countdown that works. You can collect coins, and the timer can expire. Overall, the game is taking shape, but there is still no win condition. We'll address this now.
Creating a win condition
The coin collection game is nearly finished. Coins can be collected, and a timer expires, but the win condition itself is not yet handled. When all coins are collected before the time expires, nothing happens to show the player that they've won; the countdown still proceeds and the level even restarts as though the win condition hadn't been satisfied at all. When the win scenario happens, we should delete the timer object to prevent further countdown and show visual feedback to signify that the level has been completed. For the visual feedback, we'll add some fireworks!
Adding fireworks
You can add these from the Unity Particle System packages:
- Navigate to the Standard Assets | ParticleSystems | Prefabs folder.
- Drag and drop the Fireworks particle system in the Scene.
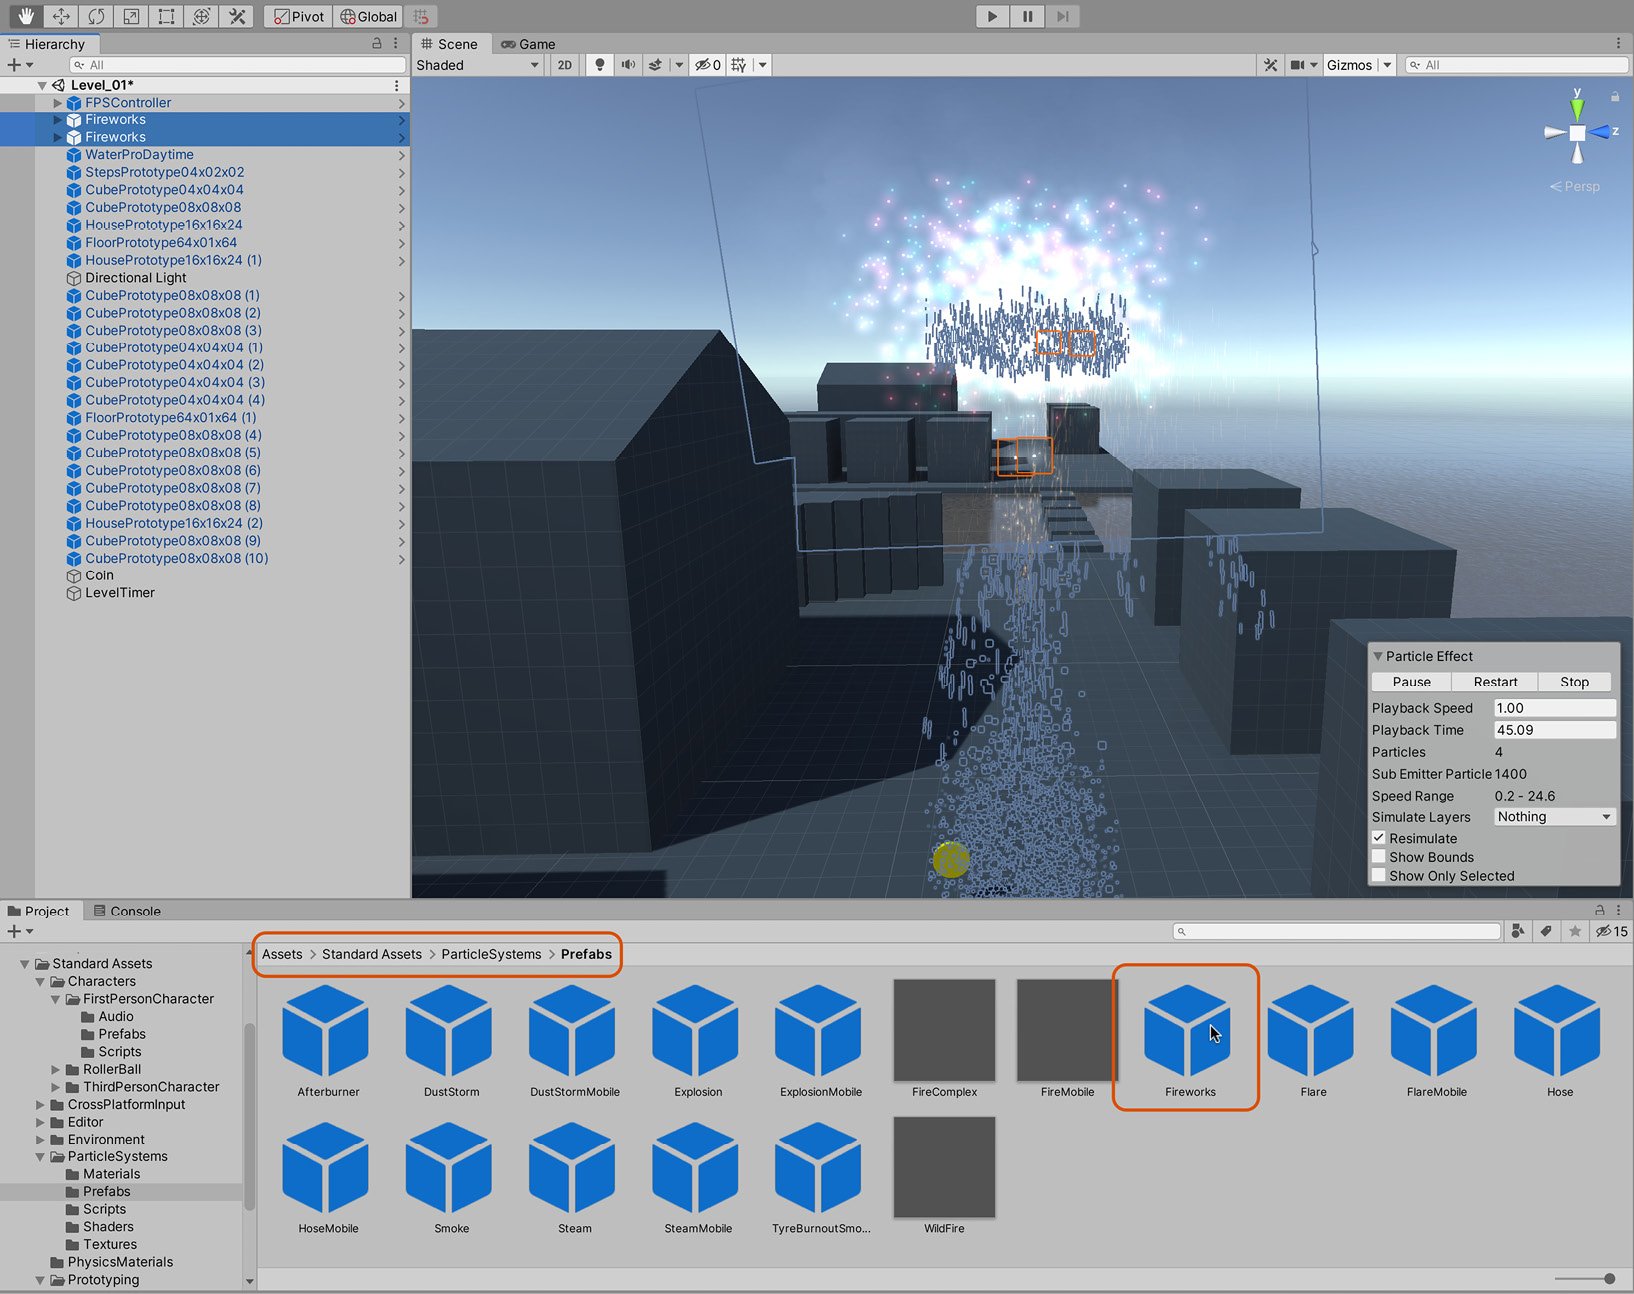
Figure 2.30 – Adding two Fireworks prefabs
As you can see in Figure 2.30, I've added a couple of Fireworks prefabs to the scene. By default, all Fireworks particle systems will play when the level begins. You can test this by pressing play on the toolbar. We only want the fireworks to play when the win condition has been satisfied. To disable playback on level startup, do the following:
- Select the Particle System object in the Scene.
- Disable the Play On Awake checkbox on the Particle System component in the Inspector:
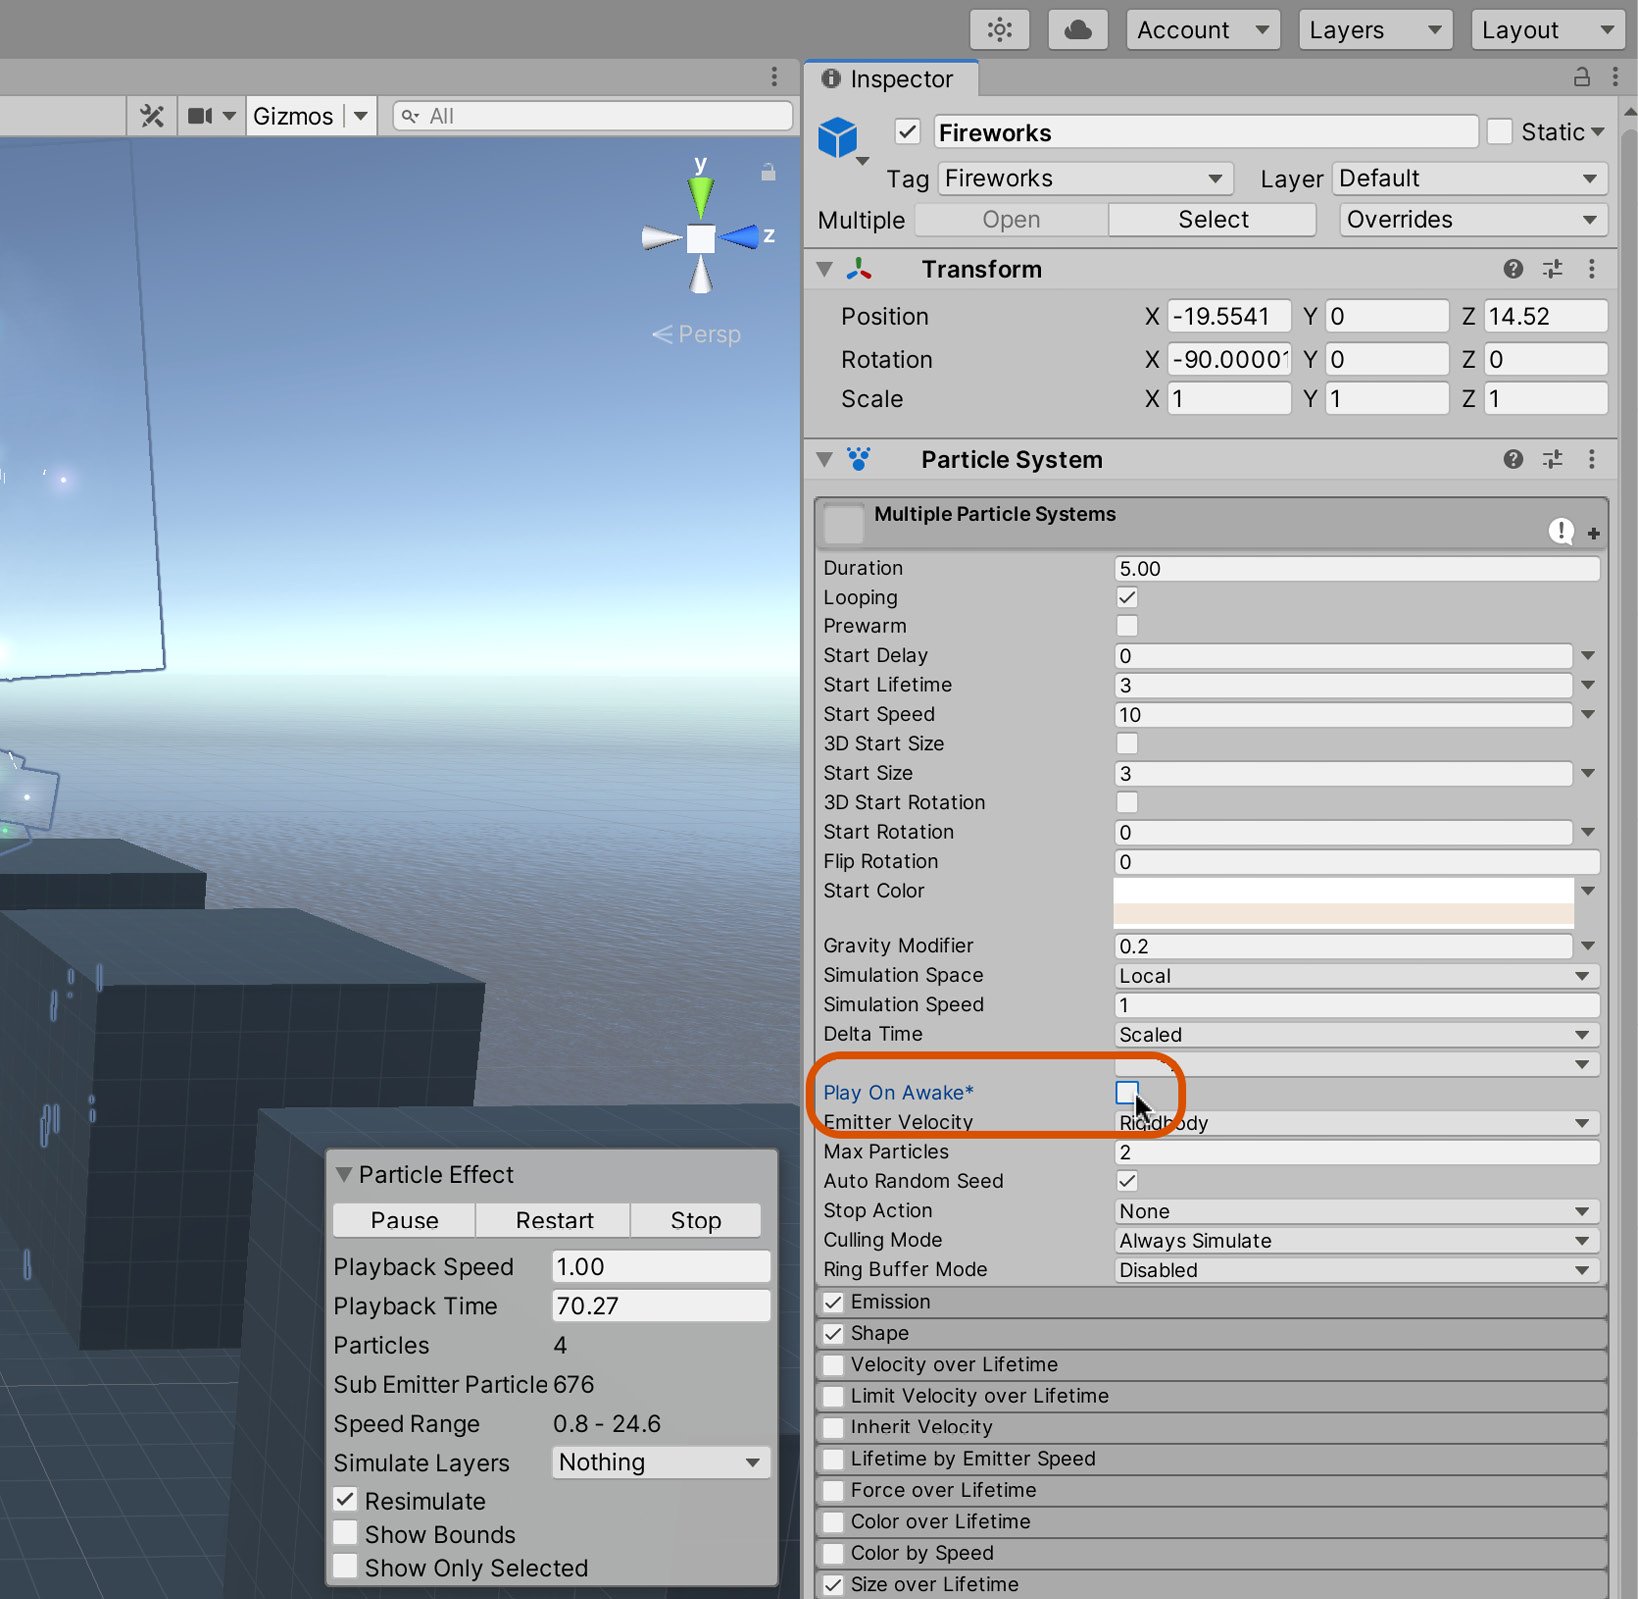
Figure 2.31 – Disabling Play On Awake
Disabling Play On Awake prevents particle systems from playing automatically at level startup. This is fine, but if they are ever to play at all, something must manually start them at the right time. We can achieve this through code. However, we'll first mark all firework objects with an appropriate Tag. The reason for this is that, in code, we'll want to search for all firework objects in the scene and trigger them to play when needed. To isolate the firework objects from all other objects, we'll use Tags. So, let's create a new Fireworks Tag and assign it to the Fireworks objects in the Scene:
- Select the Fireworks object in the Hierarchy panel.
- In the Inspector, at the top, select the Tag drop-down menu.
- Select Add Tag…:

Figure 2.32 – Opening the Tags & Layers settings
- Click the plus sign under the Tags heading.
- Type the name
Fireworksand click Save:
Figure 2.33 – Adding a new Tag
With the Tag created, we can assign it to the Fireworks object
- Once again, select the Fireworks object in the Hierarchy.
- You'll see our custom Tag in the Tag menu; select it:
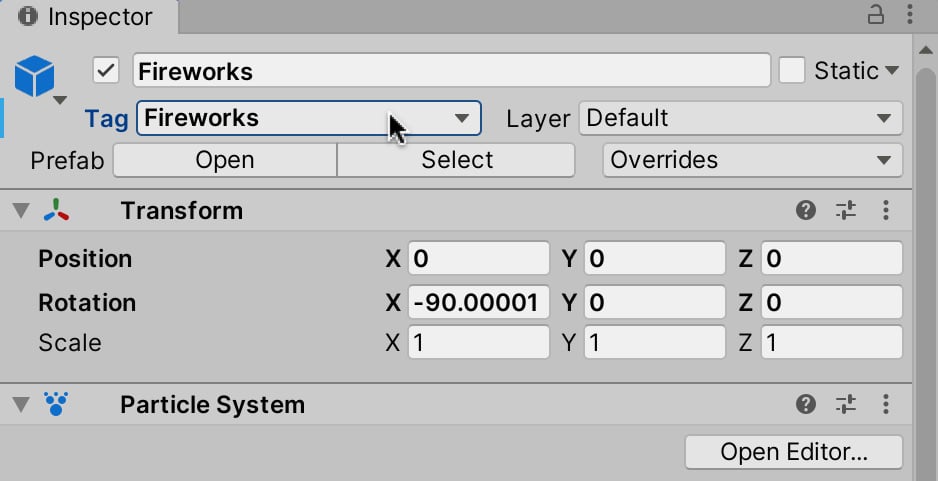
Figure 2.34 – Assigning the custom Tag
The firework object now has a custom Tag that we can use in our code to find the object in the scene, which is exactly what we'll do next to play the fireworks at the right moment.
Lighting the fireworks
With the firework objects now tagged, we can refine the Coin.cs script class to play the fireworks particle system when the player has collected all of the coins:
public class Coin : MonoBehaviour
{
	…
    void OnDestroy()
    {
        --Coin.CoinCount;
    if(Coin.CoinCount <= 0)
    {
        GameObject Timer = GameObject.Find("LevelTimer");         Destroy(Timer);
        GameObject[] FireworkSystems =           GameObject.FindGameObjectsWithTag("Fireworks");          if (FireworkSystems.Length <= 0) { return; }
        foreach(GameObject GO in FireworkSystems)
        {
           GO.GetComponent<ParticleSystem>().Play();
        }
    }
}
}
Let's summarize the preceding code:
- The
OnDestroyfunction is called automatically whenever the GameObject is destroyed. In our game, this occurs when a coin is collected. In the function, anifstatement is used to determine when all coins are collected (the win scenario). - When a win scenario happens, the
GameObject.Findfunction is called to search the complete scene hierarchy for any active object namedLevelTimer. If found, the object is deleted. This prevents the countdown from progressing. If the scene contains multiple objects with a matching name, then only the first object is returned. This is one reason why the scene should have one, and only one, timer.Tip
Try to avoid using
GameObject.Findwherever possible as it's relatively slow. Instead, useFindGameObjectsWithTag.GameObject.Findhas been used here only to demonstrate its existence and purpose. Sometimes, you'll need to use it to find a single, miscellaneous object that has no specific Tag. - In addition to deleting the
LevelTimerobject, theOnDestroyfunction finds all fireworks in the scene, gets theirParticleSystemcomponent, and plays the particle animation. It finds all objects using theGameObject.FindGameObjectsWithTagfunction, which returns an array of objects with the Fireworks Tag. TheGetComponentfunction is used to retrieve a reference to any specified component, giving you direct access to its public properties and methods. TheOnDestroyfunction in the preceding code usesGetComponentto retrieve a reference to theParticleSystemcomponent attached to the object.GetComponentis an important function, which you'll often use as a Unity developer. More information onGetComponentcan be found online at https://docs.unity3d.com/ScriptReference/GameObject.GetComponent.html.Important note
As mentioned, each GameObject in Unity is really made from a collection of attached and related components. An object is the sum of its components. For example, a standard cube (created using GameObject | 3D Object | Cube) is made from a Transform component, a Mesh Filter component, a Mesh Renderer component, and a Box Collider component. These components together make the cube what it is and behave how it does.
You've now completed your first game in Unity! It's time to take it for a test run and then finally to compile an executable that can be run from outside of Unity.