

There are times during development when you may want to see what your game looks like outside of the editor. It can give you a sense of accomplishment; I know, I felt that way the first time I pushed a build to a console devkit. Whether it's for PC, Mac, Linux, web player, mobile, or console, we have to go through the same menu – the Build Settings menu:
- Start off by opening up the project that we created in Chapter 1, Building Your Game. In addition, open the Scene we created (SampleScene.unity, which is inside the Scenes folder):
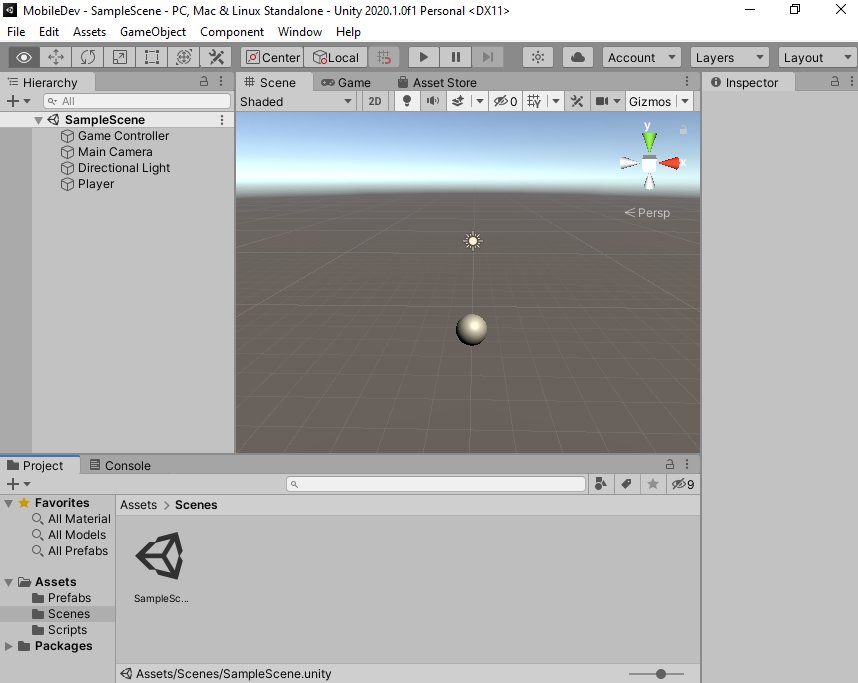
- Since the Scene is our gameplay, let's rename the file by right-clicking on the object in the Project window and selecting Rename. Rename the file Gameplay. Unity will ask whether you want to reload the Scene. Do so by clicking Reload.
- From here, we will open the Build Settings menu by selecting File | Build Settings:
You may alternatively press Ctrl + Shift + B or command + Shift + B to bring the menu up as well.
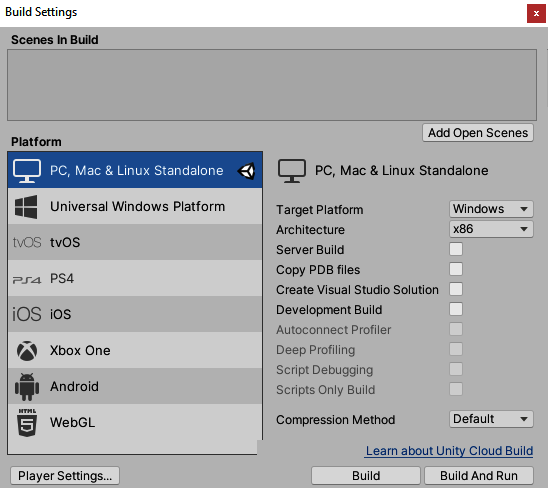
In the preceding screenshot, you will notice that the Build Settings menu came up. This menu contains three sections:
-
- Scenes in Build: This window contains the scenes in our project that we want to include when we build our project. This ensures that things such as test levels won't be included unless you specify so.
- Platform: This is a list of all of the platforms that you can export your game to. The Unity logo shows up on the current platform you're compiling for. In order to change your platform, you'll need to select it from this list and then click on the Switch Platform button, which appears below the list.
- Options: To the right of the Platform section, you'll see some settings that can be tweaked based on how you want the build to work, with certain options that change based on the platform you will work with.
- By default, we have no scenes in our build, so let's go ahead and change that. Click on the Add Open Scenes button; you should see the Gameplay level appear in the list at index 0, which means that when your game is played, this level will be the first one to load:
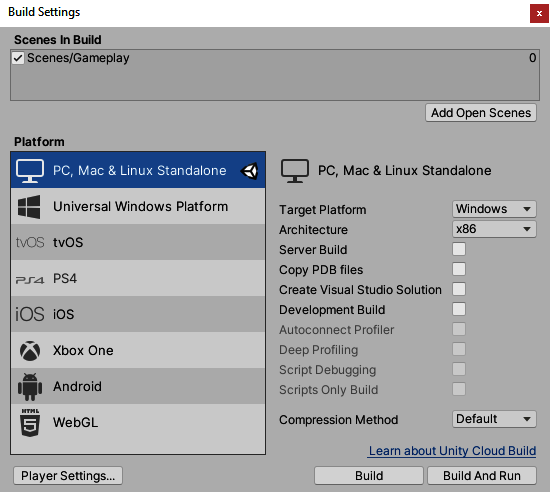
You may also add scenes to the Scenes in Build section by dragging and dropping them from the Project window. You may also drag the scenes to reorder them however you wish.
Now that we know how the build settings work, let's see how to build the project for PC to understand the general case before continuing to build our mobile game.