

In the previous recipe, we showed you how to create a simple Win32 application. By incorporating the Microsoft Foundation Classes (MFC) library into our application, we gain access to a lot of extra functionality and user interface tools. In this recipe, we will show you how to create an Ogre MFC application that displays a 3D robot in a window.
To follow along with this recipe, open the solution located in the Recipes/Chapter01/OgreInMFC folder in the code bundle available on the Packt website.
We'll start by creating a new MFC application using the MFC Application Wizard.
1. Create a new project by clicking File | New | Project. In the New Project dialog-box, expand Visual C++, and click on MFC Application. Name the project
OgreInMFC. For Location, browse to yourRecipesfolder, append\Chapter_01_Examples, and click on OK.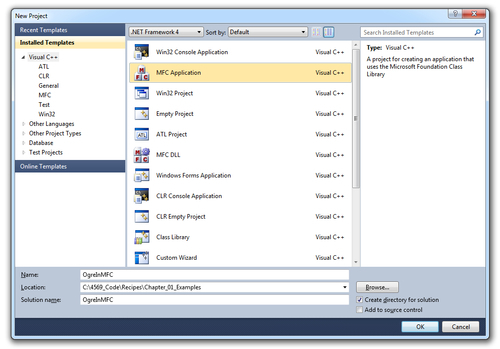
2. In the MFC Application Wizard, click on Next.

For the Application type, select Single document. Unselect Use Unicode libraries, and set Project style to MFC standard. Set the Visual style and colors to Office 2007 (Black Theme), unselect Enable visual style switching, and click on Next.
4. On the Document Template Properties page, change the File extension property to
scene(not necessarily for this recipe, but will be useful later), and click on Next.
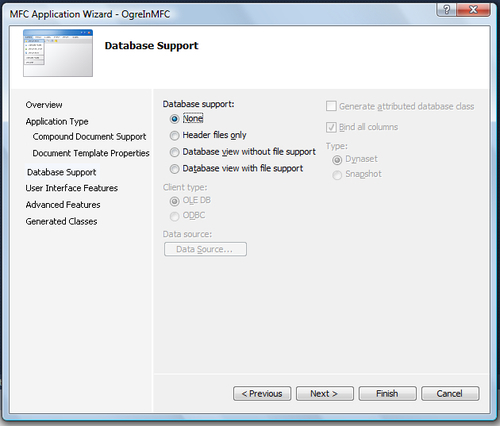
5. On the Database Support page, click on Next.
6. On the User Interface Features page, select Maximized so the application will start with its window maximized. Select Use a classic menu, and click on Next.

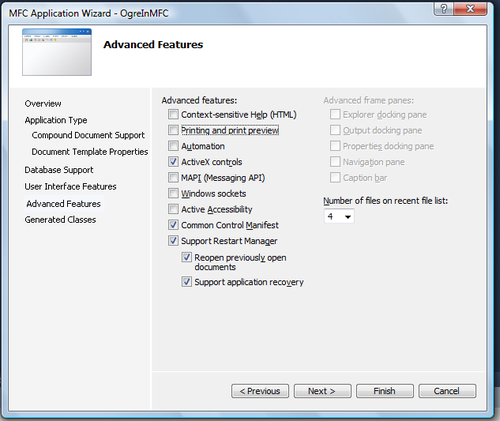
7. On the Advanced Features page, un-select Printing and print preview, and click on Next.
8. On the Generated Classes page, click on Finish to create the project.
9. The next step is to configure the project properties just like we did for our Win32 application, so that the compiler and linker know where to find the Ogre header and library files. Examine the project properties for the sample MFC application, and you will see that the properties are the same as in our Win32 application.
10. Next, copy the
Engine.cppandEngine.hfiles from the Cookbook sample MFC application to our new project folder, and add them to the project.11. Open
OgreInMfc.h, and add a new member variable for ourCEngineinstance, and a declaration of theInitEngine()function that we'll be adding.public: CEngine* m_Engine; void InitEngine(void);
12. Now, in
OgreInMfc.cpp, modify theCOgreInMfcAppconstructor to give our new member variable a default value.COgreInMfcApp::COgreInMfcApp() : m_Engine(NULL)
13. Then, add our familiar
InitEngine()function.void COgreInMfcApp::InitEngine(void){ m_Engine = new CEngine(); }14. Finally, call
InitEngine()at the end ofCOgreInMfcApp::InitInstance().InitEngine();
In our Win32 application, all of our Ogre setup code was done in the
CEngineconstructor. This time, we do not have a window handle inInitInstance(), so we can't set up the render window here. TheCEngineconstructor only creates the Ogre engine instance and initializes it.15. Now, add a function to the
OgreInMfcViewclass inOgreInMfcView.hcalledEngineSetup()that will contain the rest of our Ogre setup code.void EngineSetup(void);
While we're here, let's add a few more member variables that we'll need.
bool m_First;

Ogre::Camera*m_Camera;
Ogre::RenderWindow*m_RenderWindow;
Now open
OgreInMfcView.cpp, and create theEngineSetup()function.void COgreInMfcView::EngineSetup(void) {}16. First, we need to get the
Ogre::Rootinstance from CEngine, and use it to create a scene manager namedMFCOgre.Ogre::Root *Root = ((COgreInMfcApp*)AfxGetApp())->m_Engine- >GetRoot(); Ogre::SceneManager *SceneManager = NULL; SceneManager = Root->createSceneManager(Ogre::ST_GENERIC, "MFCOgre");
We also create a generic scene manager, and name it MFCOgre.
17. Next, we create a render window with our window handle, just as we did in the Ogre Win32 application.
Ogre::NameValuePairList parms;
parms["externalWindowHandle"] =
  Ogre::StringConverter::toString((long)m_hWnd);
parms["vsync"] = "true";

CRect   rect;
GetClientRect(&rect);

Ogre::RenderTarget *RenderWindow = Root->getRenderTarget("Ogre in
  MFC");

if (RenderWindow == NULL){
  try{
    m_RenderWindow = Root->createRenderWindow("Ogre in MFC",
      rect.Width(), rect.Height(), false, &parms);
  }
  catch(...){
    MessageBox("Cannot initialize\nCheck that graphic-card driver
      is up-to-date", "Initialize Render System", MB_OK |
      MB_ICONSTOP);
    exit(EXIT_SUCCESS);
  }
}
18. Then, we instruct the
Ogre::ResourceGroupManagerto initialize all resource groups.// Load resources Ogre::ResourceGroupManager::getSingleton().initialiseAllResourceGroups();
19. Next, we create and initialize our camera. We also add it to a new scene node.
// Create the camera
m_Camera = SceneManager->createCamera("Camera");
m_Camera->setNearClipDistance(0.5);
m_Camera->setFarClipDistance(5000);
m_Camera->setCastShadows(false);
m_Camera->setUseRenderingDistance(true);
m_Camera->setPosition(Ogre::Vector3(200.0, 50.0, 100.0));
Ogre::SceneNode *CameraNode = NULL;
CameraNode = SceneManager->getRootSceneNode()-
>createChildSceneNode("CameraNode");
20. After the camera is set up, we need to create a viewport that will take the contents of the camera's view, and draw it in our render window. We also need to set the camera's aspect ratio to match the aspect ratio of the render window.
Ogre::Viewport* Viewport = NULL;

if (0 == m_RenderWindow->getNumViewports()){
  Viewport = m_RenderWindow->addViewport(m_Camera);
  Viewport->setBackgroundColour(Ogre::ColourValue(0.8f, 1.0f,
    0.8f));
}

m_Camera->setAspectRatio(Ogre::Real(rect.Width()) /
  Ogre::Real(rect.Height()));
The last lines of code in
EngineSetup()create a robot entity that uses therobot.meshresource, and attach it to a new scene node. They also point the camera at the center of the robot's bounding box.Ogre::Entity *RobotEntity = SceneManager->createEntity("Robot", "robot.mesh"); Ogre::SceneNode *RobotNode = SceneManager->getRootSceneNode()- >createChildSceneNode(); RobotNode->attachObject(RobotEntity); Ogre::AxisAlignedBox Box = RobotEntity->getBoundingBox(); Ogre::Vector3 Center = Box.getCenter(); m_Camera->lookAt(Center);21. Next, we need to add a message handler for the
WM_PAINTmessage, and callEngineSetup()the first time the Ogre engine instance is available.22. To add the
WM_PAINTmessage handler, open the Class View and expand OgreInMfc. Then right-click on COgreInMfcView, and selectProperties. In the Properties window, click on the Messages icon, then scroll down till you findWM_PAINT. Click in the box next to WM_PAINT, and click on<add>OnPaint. Inside the resultingOnPaint()function, we add the following code:CEngine *Engine = ((COgreInMfcApp*)AfxGetApp())->m_Engine; if (Engine == NULL) return; Ogre::Root *Root = Engine->GetRoot(); if (m_First && Root != NULL){ m_First = false; EngineSetup(); }23. Once the Ogre engine instance is available, we need to instruct Ogre to render by calling
renderOneFrame(), so add the following code to the end of theOnPaint().if (Root != NULL){ Root->renderOneFrame(); }24. Open
OgreInMfcDoc.cpp, and add a call toUpdateAllViews()inCOgreInMfcDoc::OnNewDocument(), so that our view'sOnPaintmethod is called every time the user clicks on the New document button.BOOL COgreInMfcDoc::OnNewDocument(){ if (!CDocument::OnNewDocument()) return FALSE; UpdateAllViews(NULL); return TRUE; }
In this recipe, we divide the process of setting up Ogre into two steps. First, we create an instance of the Ogre engine and initialize it in the CEngine constructor, just as we do in the Creating a Win32 Ogre application recipe. The rest of the setup happens in the COgreInMfcView::EngineSetup() function.
When the user runs the program and clicks on the New button, the resulting COgreInMfcDoc::OnNewDocument() function call contains UpdateAllViews(NULL);, which will call our COgreInMfcView::OnPaint() method, and display our 3D scene. The following is a screenshot from our new MFC application:
