
Let's quickly create some new polygroups for our model to ease the sculpting process:
1.Load the creature and enable symmetry.
2.Go to Tool | Polygroups and press the Group Visible button to create one polygroup for the entire mesh to get rid of the border polygroups we got by the local subdivision.
3. Pick the Pen A brush
4. Enable polypainting, set the RBG Slider to 100, and turn off Zadd. Fill the object with an intense color by going to Color | FillObject.
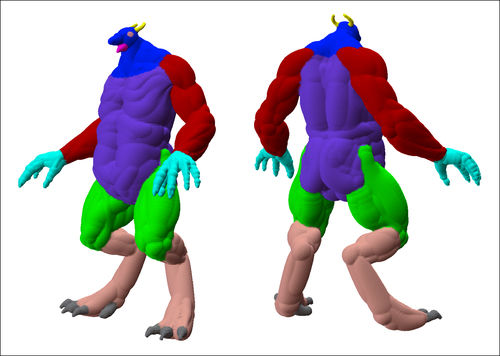
5. Now we can paint the mesh in different colors, where we would like the polygroups to appear. Choose strong, contrasting colors so that ZBrush can easily distinguish them. Paint in a region for the head, especially the jaw, the arms, and the legs, as shown in the next image:
6. If we would like to continue polypainting a region with a certain color, we can pick its color by pressing C.
7. Make sure there are no holes or unpainted areas in your polypaint.
8. Apart from painting in the legs, arms...