

The process of setting up the Android Software Development Kit (SDK) has improved vastly with the introduction of Android Studio, as the latest SDKs come preinstalled with the Android Studio install package. In order to develop the projects detailed in the following chapters, it would be very helpful to understand how you can install (or even uninstall) SDKs within Android Studio.
There are a number of ways to access the SDK Manager. The most straightforward way is through the following Android Studio main toolbar:

Another option would be via the Launch menu where you will be faced with the following options:
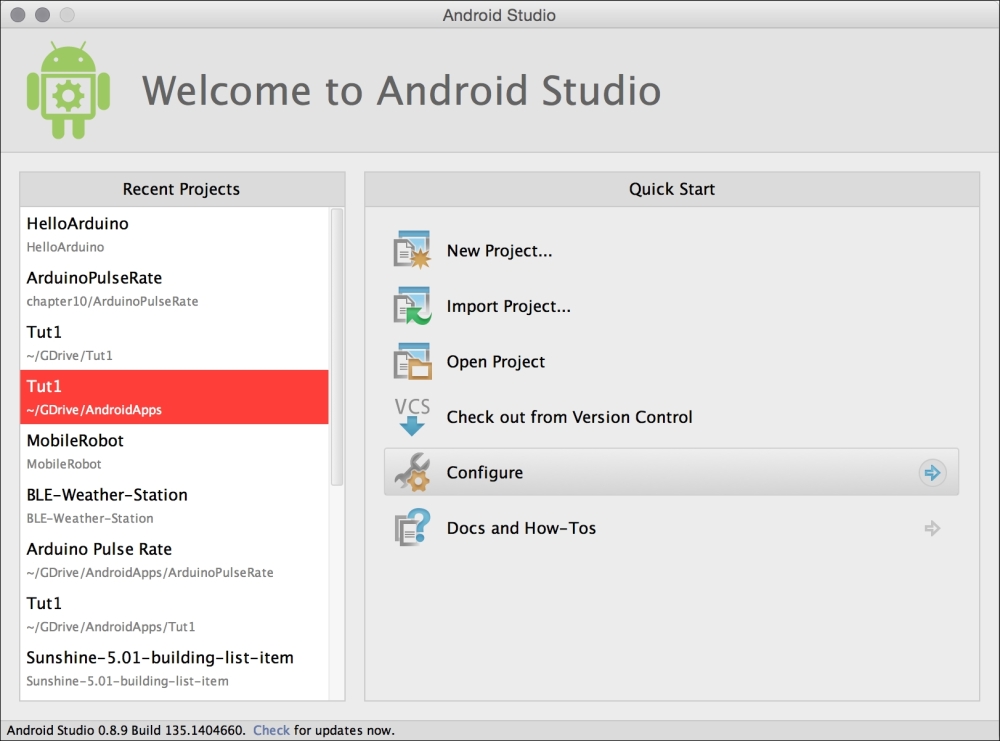
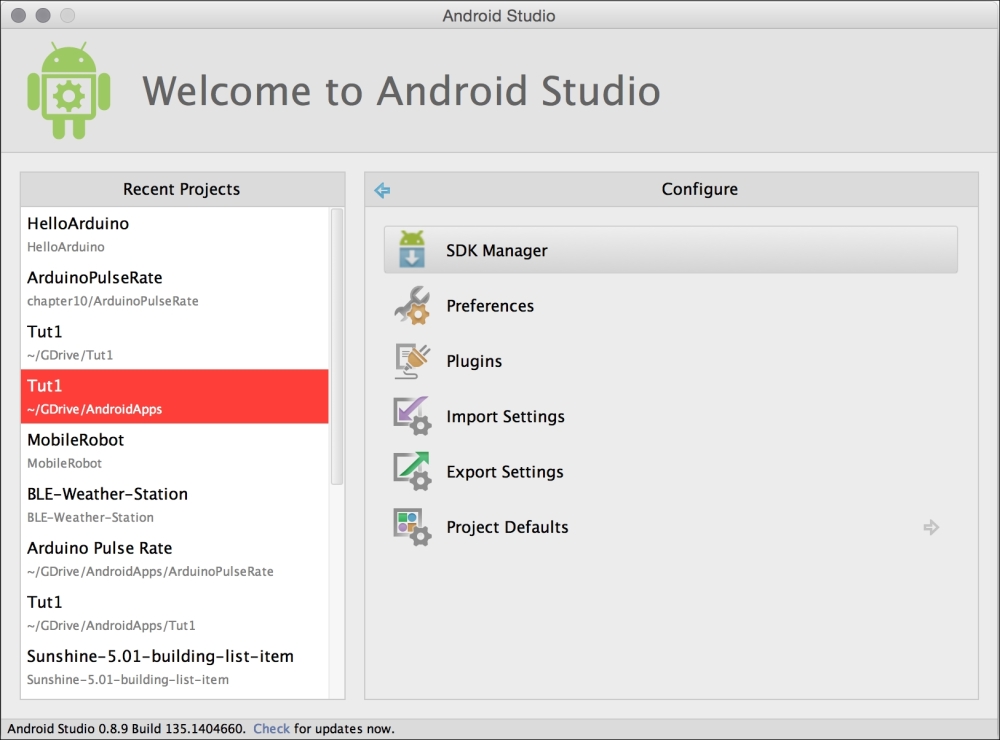
In order to access the SDK Manager, you will need to click on Configure, where the following screen will appear, and then click on SDK Manager:
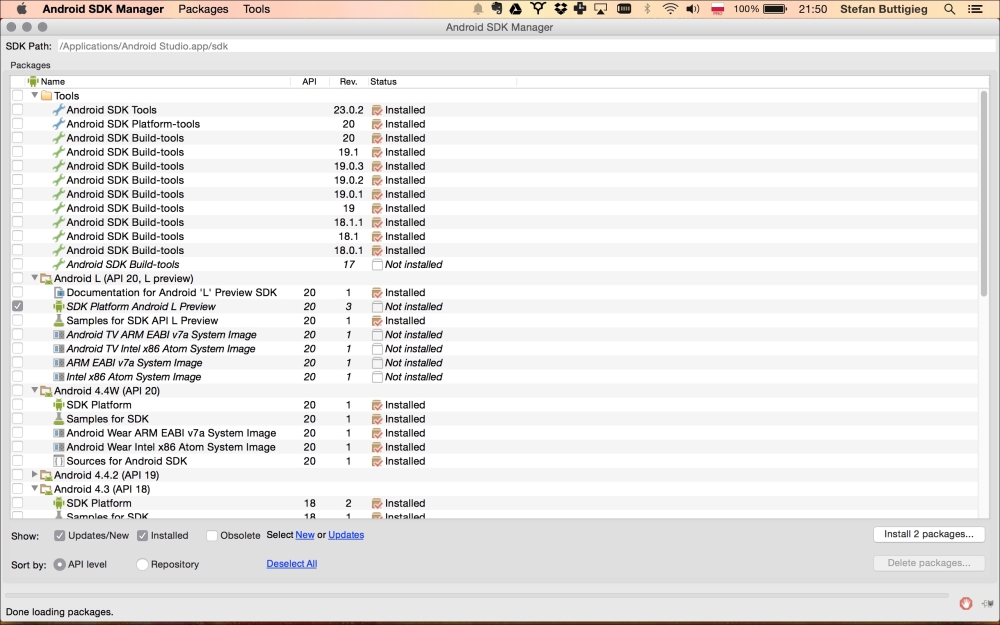
The previous screenshot shows us what the SDK Manager looks like. If you need to install any packages, you need to check the mark of that particular package, click on Install packages, and then finally accept the licenses, as shown in the following screenshot:
The following are the three main steps that need to be executed in order to enable your Android device for development:
Enable Developer options on your specific Android device.
Enable USB debugging.
Entrust the computer with an installed IDE via secure USB debugging (devices with Android 4.4.2).
Depending on your device, this option might vary slightly, but from Android 4.2 and higher, the Developer options screen is hidden by default.
To make it available, go to Settings | About phone and tap on Build number seven times. You will find Developer options enabled by returning to the previous screen.
USB debugging enables the IDE to communicate with the device via the USB port. This can be activated after enabling Developer options and is done by checking the USB debugging option by navigating to Settings | Developer options | Debugging | USB debugging.
You have to accept the RSA key on your phone or tablet before anything can flow between the device via Android Debug Bridge (ADB). This is done by connecting the device to the computer via a USB, which triggers a notification entitled Enable USB Debugging.
Check Always allow from this Computer followed by clicking on OK.