

Most of the boards made by Arduino don't come with Internet connectivity, which is something that we really need to build Internet of Things projects with Arduino. We are now going to review all the options that are available to us with the Arduino platform, and see which one is the best to build IoT projects.
The first option, which has been available since the advent of the Arduino platform, is to use a shield. A shield is basically an extension board that can be placed on top of the Arduino board. There are many shields available for Arduino. Inside the official collection of shields, you will find motor shields, prototyping shields, audio shields, and so on.
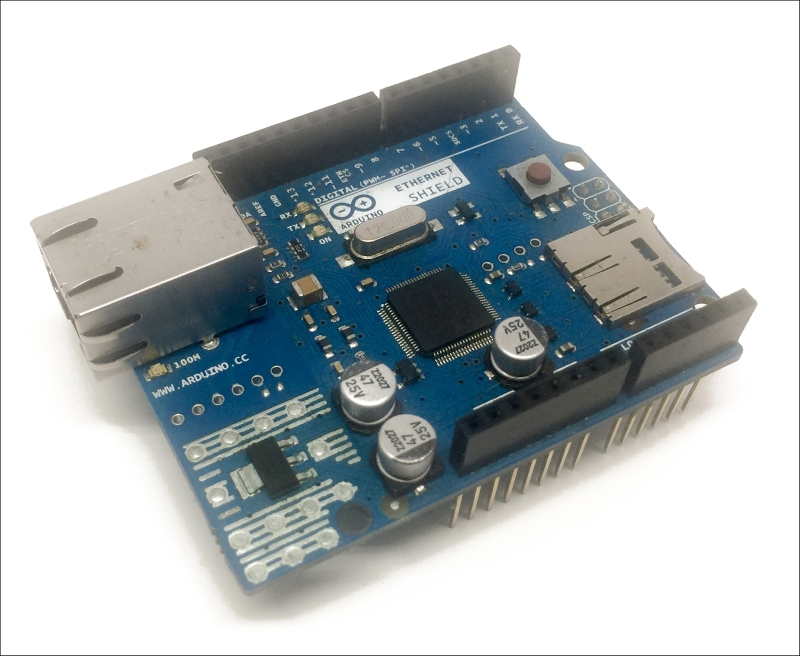
Some shields will add Internet connectivity to the Arduino boards, for example, the Ethernet shield or the Wi-Fi shield. This is an image of the Ethernet shield:
The other option is to use an external component, for example, a Wi-Fi chip mounted on a breakout board, and then connect this shield to Arduino.
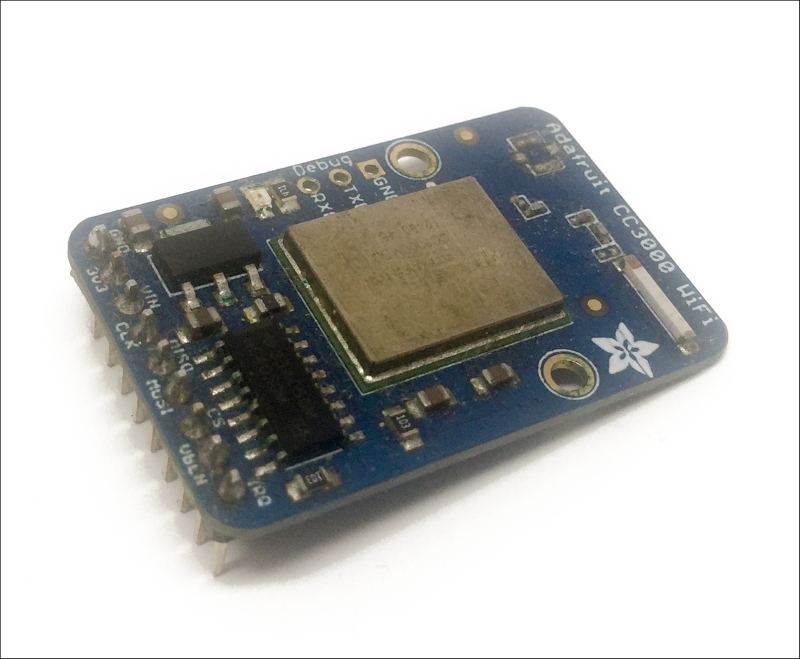
There are many Wi-Fi chips available on the market. For example, Texas Instruments has a chip called the CC3000 that is really easy to connect to Arduino. This is an image of a breakout board for the CC3000 Wi-Fi chip:
Finally, there is the possibility of using one of the few Arduino boards that has an onboard Wi-Fi chip or Ethernet connectivity.
The first board of this type introduced by Arduino was the Arduino Yun board. It is a really powerful board, with an onboard Linux machine. However, it is also a bit complex to use compared to other Arduino boards.
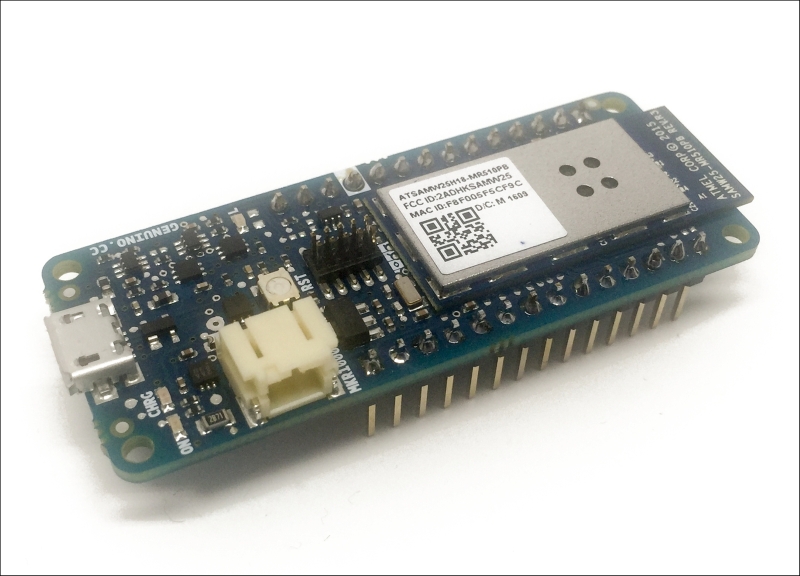
Then, Arduino introduced the MKR1000 board, which is a board that integrates a powerful ARM Cortex M0+ process and a Wi-Fi chip on the same board, all in the small form factor.
Here is an image of this board:
All the solutions above would work to build powerful IoT projects using Arduino. However, as we want to easily build those projects and possibly integrate them into projects that are battery-powered, I chose to use the MKR1000 board for all the projects in this book.
This board is really simple to use, powerful, and doesn't require any connections to hook it up with a Wi-Fi chip. Therefore, I believe this is the perfect board for IoT projects with Arduino.
Of course, there are other options to connect Arduino boards to the Web. One option that's becoming more and more popular is to use 3G or LTE to connect your Arduino projects to the Web, again using either shields or breakout boards. This solution has the advantage of not requiring an active Internet connection like a Wi-Fi router, and can be used anywhere, for example, outdoors.