
There are many operating systems that are available for the Raspberry Pi board, most of which are based on Linux. However, the one that is usually recommended is Raspbian, which is an operating system based on Debian that was specifically made for Raspberry Pi.
In order to install the Raspbian operating system on your Pi, the first step is to download the latest Raspbian image from the official Raspberry Pi website:
https://www.raspberrypi.org/downloads/raspbian/
Next, insert the micro SD card into your computer using an adapter (an adapter is usually given with the SD card). To actually configure the SD card, it's best to refer to the official installation guides. If you use Windows, please refer to the following URL:
https://www.raspberrypi.org/documentation/installation/installing-images/windows.md
If you are using OS X, please refer to the following:
https://www.raspberrypi.org/documentation/installation/installing-images/mac.md
Finally, if you are using Linux, you can refer to the following:
https://www.raspberrypi.org/documentation/installation/installing-images/linux.md
Now, once you have Raspbian installed on your SD card, insert it into Raspberry Pi and connect the Raspberry Pi board to the power source via the micro-USB port.
Then, after a while, you should see the desktop of your freshly installed Raspbian operating system:
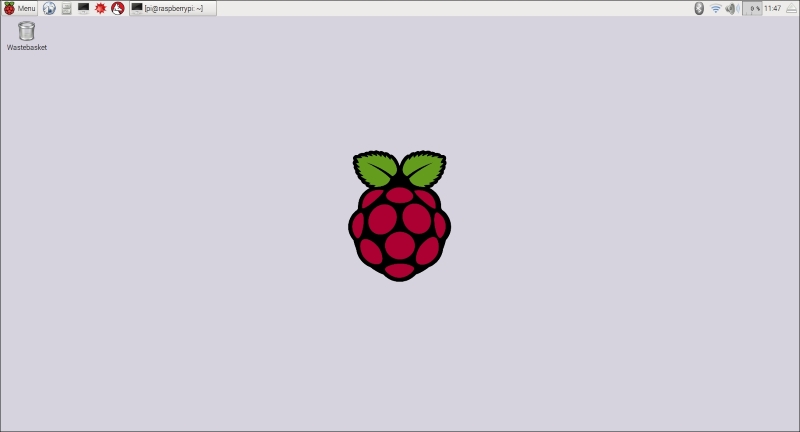
If you can see this screen, congratulations; you now have a fully functional Raspberry Pi Zero board. Throughout the rest of this chapter, we are going to see how to configure the board so it can be accessed remotely, and how to install the Node.js framework on it.