Book Image

Building Smart Homes with Raspberry Pi Zero

By : Marco Schwartz
Book Image

Building Smart Homes with Raspberry Pi Zero

By: Marco Schwartz

Overview of this book

The release of the Raspberry Pi Zero has completely amazed the tech community. With the price, form factor, and being high on utility—the Raspberry Pi Zero is the perfect companion to support home automation projects and makes IoT even more accessible. With this book, you will be able to create and program home automation projects using the Raspberry Pi Zero board. The book will teach you how to build a thermostat that will automatically regulate the temperature in your home. Another important topic in home automation is controlling electrical appliances, and you will learn how to control LED Lights, lamps, and other electrical applications. Moving on, we will build a smart energy meter that can measure the power of the appliance, and you’ll learn how to switch it on and off. You’ll also see how to build simple security system, composed of alarms, a security camera, and motion detectors. At the end, you will integrate everything what you learned so far into a more complex project to automate the key aspects of your home. By the end, you will have deepened your knowledge of the Raspberry Pi Zero, and will know how to build autonomous home automation projects.
Table of Contents (17 chapters)
Building Smart Homes with Raspberry Pi Zero
Credits
About the Author
About the Reviewer
www.PacktPub.com
Preface
Index

Building a wireless security camera


We are now going to build the module that will act as a wireless security camera. You can have one or many of those modules inside your home; it will allow you to observe what is going on in your home from a central location.

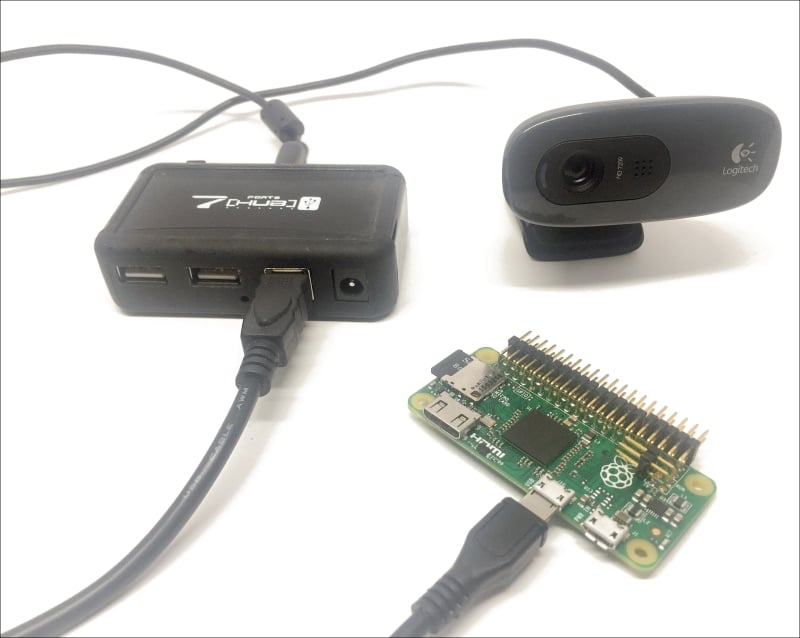
The hardware configuration for this part will be really simple, as we are using an USB camera. However, you will need to use an USB hub here, as we will need to connect the USB camera and the usual WiFi dongle on the Raspberry Pi.

This is the final result:

Let's now test the camera first, by taking a simple picture from the command line. You will need to install the fswebcam utility. To do so, simply type the following command inside a terminal:

sudo apt-get install fswebcam

Then, still from a terminal, you can take a picture with the following command:
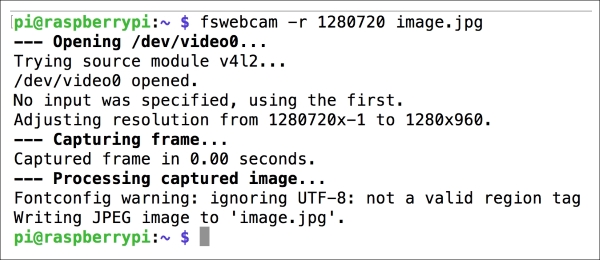
fswebcam -r 1280×720 image.jpg

This will make a lot of messages appear inside the terminal, confirming that the picture has been taken:

You can now use an image utility to open the picture...