Book Image

Practical Internet of Things with JavaScript

By : Arvind Ravulavaru
Book Image

Practical Internet of Things with JavaScript

By: Arvind Ravulavaru

Overview of this book

In this world of technology upgrades, IoT is currently leading with its promise to make the world a more smarter and efficient place. This book will show you how to build simple IoT solutions that will help you to understand how this technology works. We would not only explore the IoT solution stack, but we will also see how to do it with the world’s most misunderstood programming language - JavaScript. Using Raspberry Pi 3 and JavaScript (ES5/ES6) as the base to build all the projects, you will begin with learning about the fundamentals of IoT and then build a standard framework for developing all the applications covered in this book. You will then move on to build a weather station with temperature, humidity and moisture sensors and further integrate Alexa with it. Further, you will build a smart wearable for understanding the concept of fall detection. You will then extend it with the 'If This Then That' (IFTTT) rules engine to send an email on fall detection. Finally, you will be working with the Raspberry Pi 3 camera module and surveillance with a bit of facial detection using Amazon Rekognition platform. At the end of the book, you will not only be able to build standalone exciting IoT applications but also learn how you can extend your projects to another level.
Table of Contents (17 chapters)
Title Page
Credits
About the Author
About the Reviewer
www.PacktPub.com
Customer Feedback
Dedication
Preface

Integrating web app and API engine


Launch the broker, API engine, and web app. Once all of them are successfully launched, navigate to http://localhost:4200/. Log in with the credentials we have created. Once we have successfully logged in, we should see the following screen:
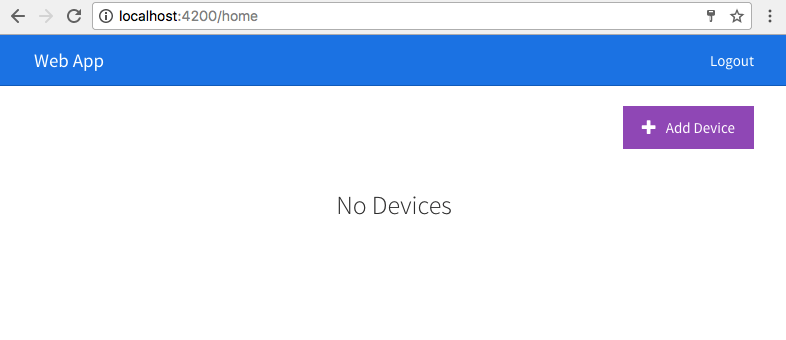
Which is true, as we do not have any devices in our account. Click on Add Device and we should see something as follows:
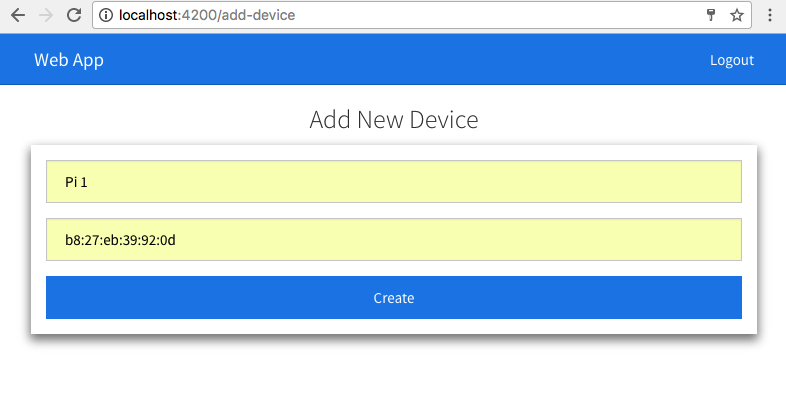
Add a new device by giving it a name. I named my device Pi 1 and added the mac address. We will use the mac address of the device as a unique way of identifying the device.

Click on Create and we should see a new device created, it will redirect us to the home page and display the newly created device, which can be seen in the following screenshot:

Now, when we click on the View button, we should see the following page:

In the examples across this book, we will keep updating this template and keep modifying it as we need to. For now, this is a dummy template represented by web-app/src/app/device/device...