

The Advanced Interface Mode of Captivate allows you to apply your own unique (custom) workspaces. Depending on the project you are working on, the size of your computer screen, your working habits, and so on, you might want to have several workspaces and quickly switch between them. In this section, you will first learn how to reset to the default workspace. Then, you will create and save a new custom workspace.
The default workspace you see when you first open Captivate is called the Classic workspace, as shown in the top-right corner of your screen:
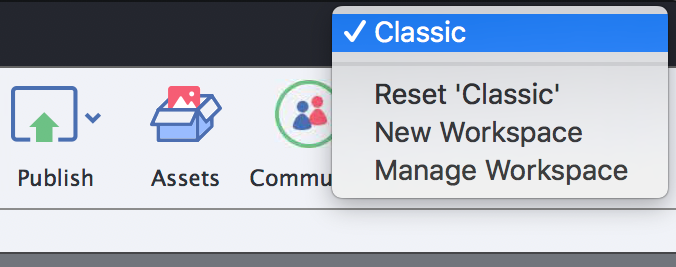
- Click the Classic button at the top-right corner of the screen.
- Choose Reset Classic in the drop-down menu, as shown in the following screenshot.
After doing this, your Captivate screen reverts to what it looked like when you opened the application at the beginning of this chapter:
The default Classic workspace is an excellent starting point for defining a custom workspace.
- Use the Window | Timing Properties menu item to activate the Timing inspector on the right side of the screen.
- Select the Adobe Media Encode CC 2018 title on the slide and note that the Timing inspector updates.
Just like the Properties inspector, the Timing inspector always shows the properties pertaining to the object you select.
- Use the Window | Properties menu item to activate the Properties inspector.
- Drag the Properties inspector out of the Properties/Timing group and drop it on top of the Filmstrip label on the other side of the screen. This docks the Properties inspector with the Filmstrip.
After this last action, your screen should look like the following screenshot:
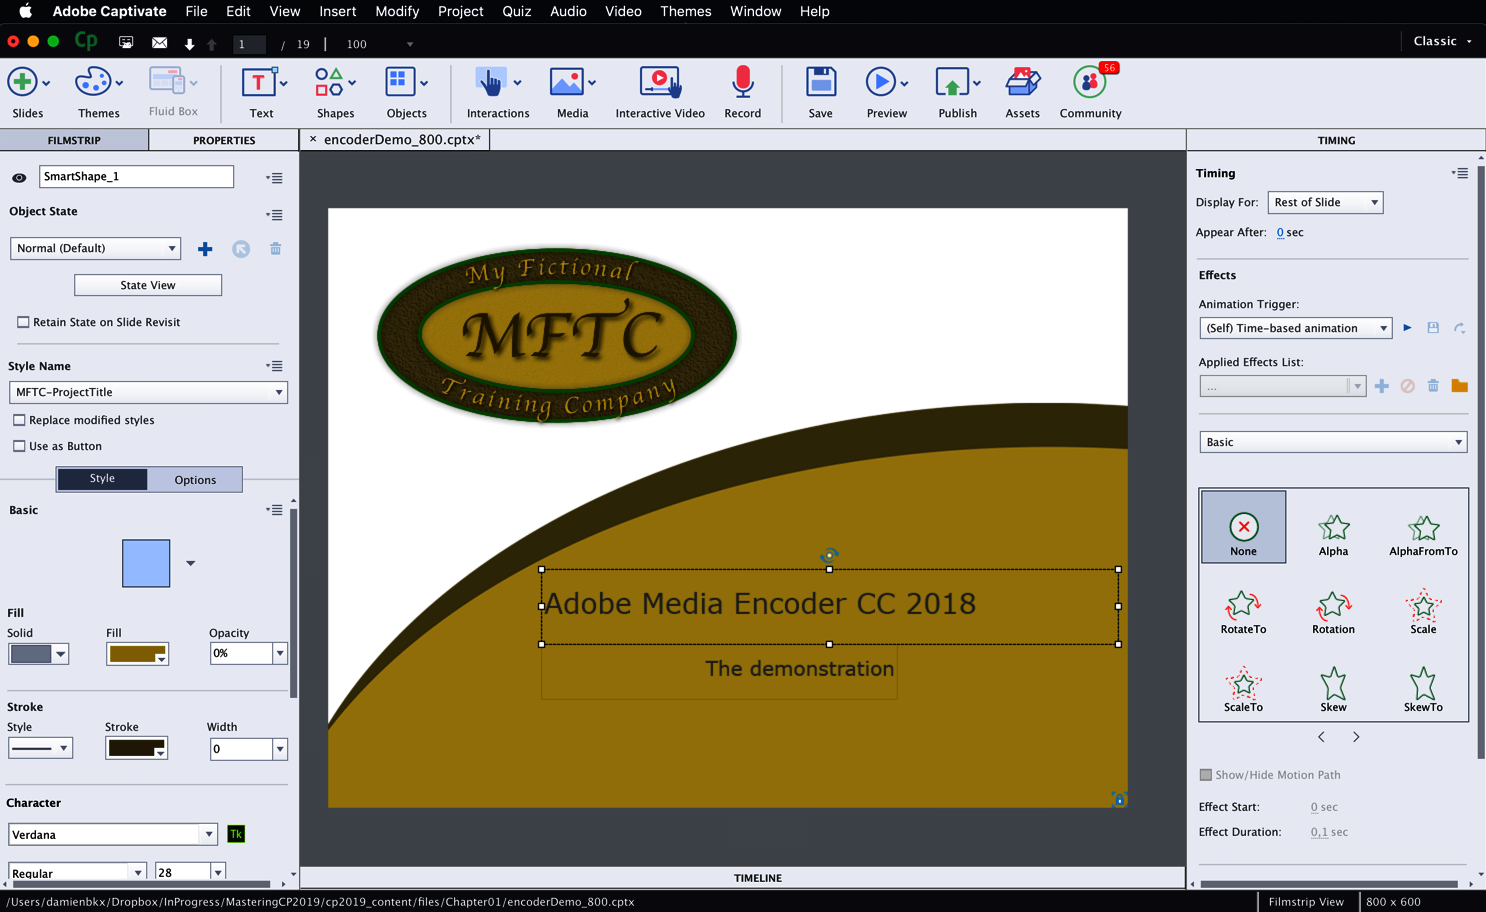
This workspace is very practical when you have to precisely define the timing and apply effects to the selected object. You will now save this panel layout as a new workspace.
- Click the same Classic button you used earlier at the top right corner of the screen.
- Choose New Workspace from the drop-down menu.
- In the New Workspace dialog, name your new workspace Timing and click OK.
Note that a Timing button now replaces the Classic button. You can use this button to switch between the Classic workspace and your own custom Timing workspace!
- Click the Timing button at the top-right corner of the screen.
- Select the Classic workspace in the drop-down menu to reapply the default Classic workspace.
- Click the Classic button and reapply the Timing workspace.
This demonstrates how you can quickly switch between your saved workspaces.