

I've got plenty of worksheets, homework handouts, and old exam papers, which I've currently handed out to my students using a shared drive. The big problem I have with our shared drive is that my students always claim that they can never find the work I hand out to them (and if you've seen what a mess the shared drive is at my school, you'd be inclined to believe them).
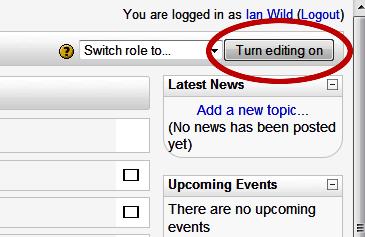
Let's take a past exam paper and upload that to my Moodle course. First, you'll need to press the Turn editing on button. You'll find this in the top right-hand corner of the page:
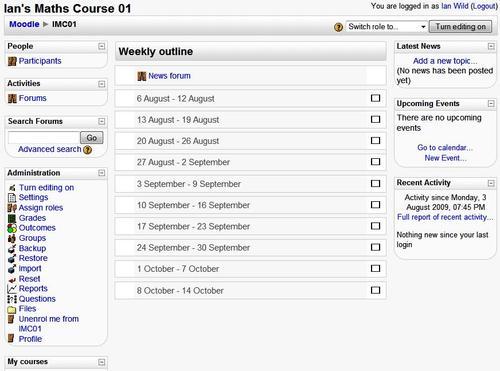
Now, I have the opportunity to add resources and activities to my course and arrange and configure the blocks on the left and right sides of the page:

In each week, there are two drop-down menus. If you haven't already, try exploring these menus now to see what options you have:
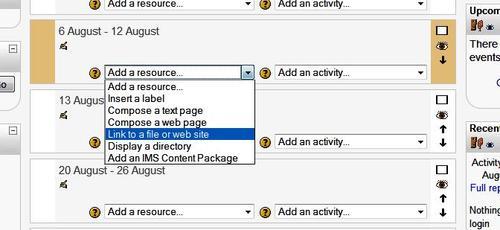
I'm going to choose the first week listed in my course. Click on the Add a resource drop-down menu and select Link to a file or web site:

Now, I'm going to upload a file to my course as follows:
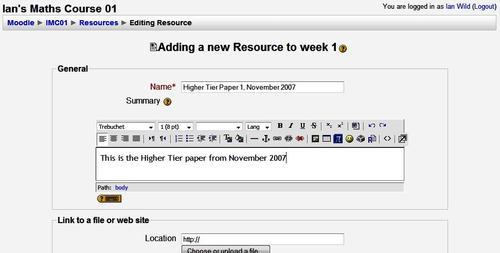
1. Clicking on the Link to a file or web site menu option displays the Adding a new Resource... page:
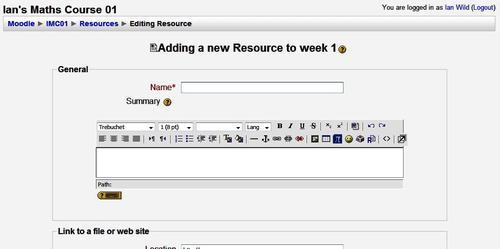
2. Give the link a Name and type a brief description into the Summary box:
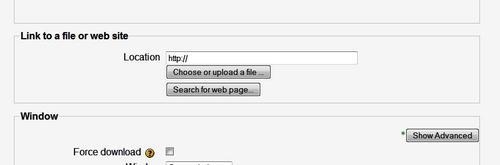
3. I'm going to upload an old exam paper, so I need to scroll down to the Link to a file or web site box and press the Choose or upload a file button:
4. Each course has its own file area—a bit like My Documents in Windows. A new window is displayed showing the contents of the files area for this course, which is empty at the moment:
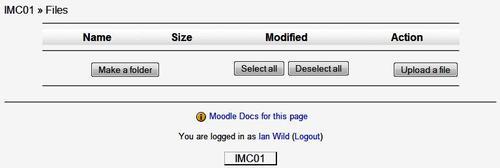
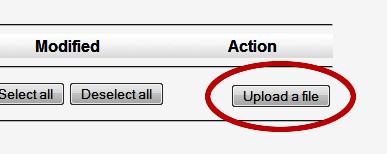
5. I need to upload the exam paper to the course files area, and to do that I first need to click on the Upload a file button under the Action heading:
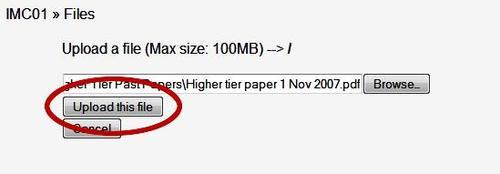
6. I'm now given the opportunity to choose a file on my computer (or from a drive on the network). Select the file you wish to upload, and click on the Upload this file button:
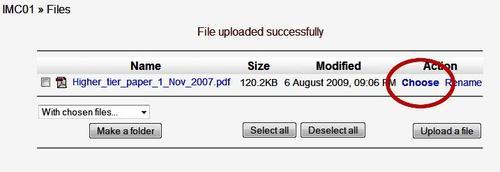
7. Now that the file is uploaded, you'll see it listed in the course files area. To select the file, you need to click on Choose:
8. The name of the file will now be specified in the Link to a file or web site box:

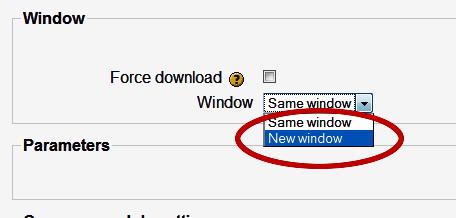
9. You now need to configure how the file is going to be displayed. I've had problems in the past with students clicking on a file in Moodle, which the browser then opens in the browser itself, making Moodle disappear. For now, I'm going to scroll down to the Window box and select New window from the Window drop-down menu (I'll speak more about how files can be displayed later in this section):
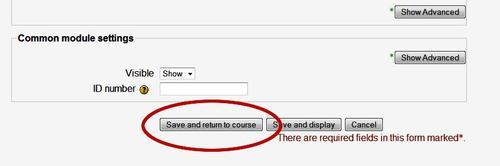
10. Scroll down to the bottom of the page and press the Save and return to course button:
11. I now have a link to the exam paper on my course's front page:

And that's all, there is to it! Try clicking on the link to make sure that the file is displayed correctly.
Before moving on, here are some hints and tips regarding file upload:
Want to upload a lot of files all in one go? Use a compression utility and upload the ZIP file. Alternatively, in Windows, select your files and right-click on them. Slide down to the Send To option and choose Compressed (zipped) Folder. Moodle contains a built-in decompression utility. It will also remember folder structures, if you have folders within folders.
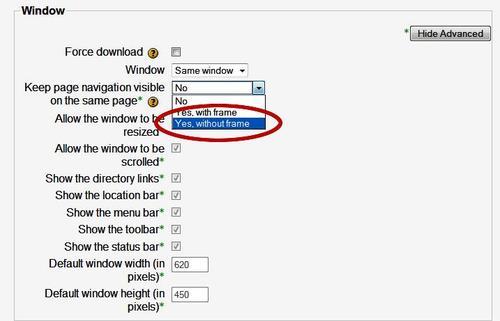
Want to change the way a file is displayed? Rather than having the file opened in a new window, I can choose to display a navigation bar across the top of the page. I can choose that setting on the Adding a new Resource page. To reveal the setting, you will have to press the Show Advanced button in the Window box. Set Window to Same window and Keep navigation visible on the same page to Yes, without frame:
Here's how that old exam paper is now displayed:

You can upload any digital file to Moodle. But remember, your students will need to have the correct software installed on their computers to view the file. If in doubt, speak to your System Administrator.