

The creation of scalable vector graphics assets for a matching composite pictures exercise is very complex and involves professional skills. We are going to simplify this process by using existing clipart.
1. Create a new folder in Windows Explorer (
C:\School).2. Start Inkscape and minimize it. You will use it later.
3. Start Word 2007. You will be working in a new blank document.
4. Click on Insert | Clip Art. The Clip Art panel will appear on the right-hand side of the main window.
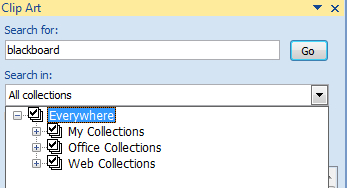
5. Click on the Search in combo box and activate the Everywhere checkbox. This way, Word will search for clipart in all the available collections, including the Web Collections as shown in the following screenshot:
6. Click on the Search for text box and enter
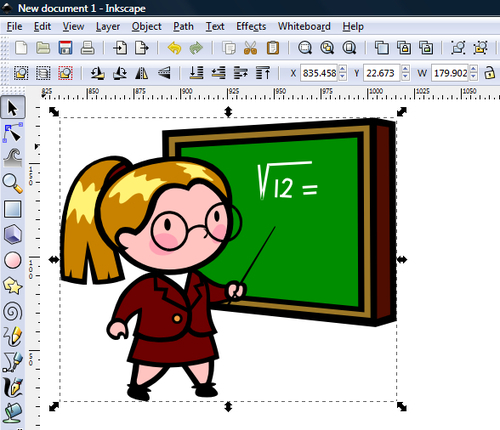
blackboard.7. Click on the Go button. Word will begin downloading and displaying clipart related to the blackboard keyword, as shown in the next screenshot:
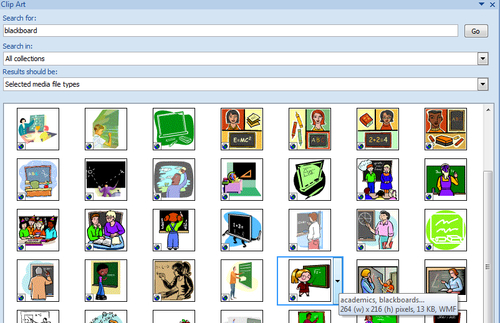
8. Position the mouse pointer over the desired clipart's thumbnail. Since you want to change the picture size without losing quality using Inkscape, make sure it is a WMF (Windows Meta-File) or an EMF (Enhanced Meta-File) file. Word displays the file format on the right-hand side of the tooltip that appears when you move the mouse pointer over each picture's thumbnail.
Note
WMF is an old scalable vector format. Neither Moodle nor Hot Potatoes offer direct support to WMF graphics. However, using the next steps, we can also combine any vector formats supported by Inkscape, such as SVG (Scalable Vector Graphics), AI (Adobe Illustrator), PDF (Adobe PDF), and EMF (Enhanced Meta-File), among others.
9. Right-click on the desired clipart's thumbnail and select Preview/Properties in the context menu that appears. Word will display a new dialog box showing a larger preview of the scalable clipart and a temporary file name, as shown in the next screenshot:
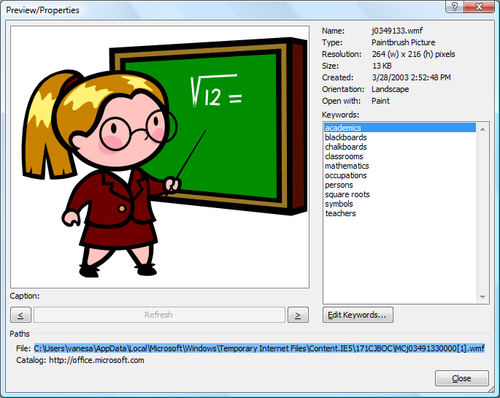
10. Triple-click on the long path and file name shown after File. This way, you will be sure that the temporary file's full path is selected. Then, right-click on it and select Copy in the context menu that appears.
11. Next activate Inkscape—remember that it was running minimized. You can use Alt + Tab or Windows + Tab. Don't close the clipart's preview window.
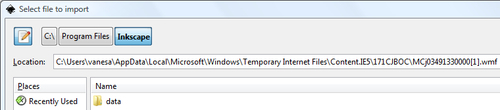
12. Select File | Import from the main menu. Click on the Type a file name button (the pencil with a paper sheet icon) and paste the previously copied temporary file's full path in the Location text box. The path is going to be similar to
C:\Users\Username\AppData\Local\Microsoft\Windows\Temporary Internet Files\Content.IE5\171CJBOC\MCj03491330000[1].wmf, as shown in the next screenshot:
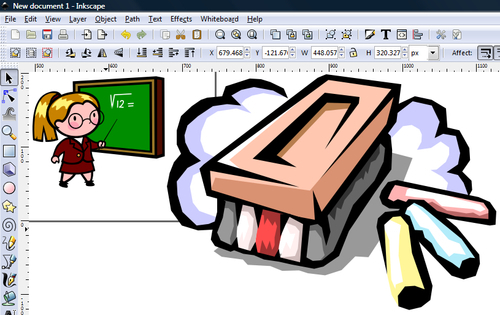
14. Return to Word 2007, close the Preview/Properties dialog box and repeat the aforementioned steps (6 to 13) for each vector graphic to combine inside a box—Inkscape's drawing area. In this case, repeat those steps searching for an
eraser. Now, two scalable clipart items will appear with different sizes in Inkscape's drawing area, as shown in the following screenshot:
15. Select File | Save from Inkscape's main menu. Save the file as
image010101.svgin the previously created folder,C:\School.16. Now, repeat the aforementioned steps (6 to 14) to create a new drawing composed of two vector graphics, a
caseandscissors. Two new scalable clipart items will appear with different sizes in Inkscape's drawing area, as shown in the next screenshot:
17. Select File | Save from Inkscape's main menu. Save the file as
image010102.svgin the previously created folder,C:\School.
We combined two pairs of 2D scalable clipart items in Inkscape's drawing areas. We searched for vector assets in Office Online Clip Art & Media and we imported the temporary files created by Word into Inkscape's drawing area.
We now have the following two boxes:
image010101.svg:A blackboard and an eraserimage010102.svg:A case and a pair of scissors
The exercise will look nice using these vector digital art assets.