

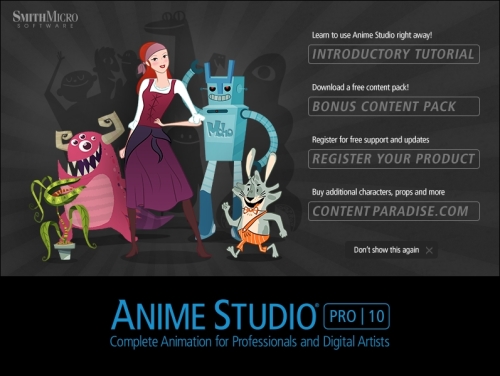
When you open Anime Studio for the first time, you will be greeted by a splash screen designed to help you get started with the software. Feel free to register your product if you wish to receive updates. You can download the bonus content package if you wish, and Content Paradise can be accessed at any time through the Help menu if you want to browse their items at some point.
However, we really have no use for the splash screen beyond this. This splash screen will launch each time you open the software, unless you click on the Don't show this again button on the bottom, as shown in the following screenshot:
The next prompt you will have to deal with involves setting up a folder for your library. The library allows us to house reusable assets along with brushes, audio files, and so on. The library will be discussed more in a later chapter, but it may be best to set the folder up now so you don't have to deal with this message, as shown in the following screenshot, each time Anime Studio is launched:

The following are the steps required to set up your content folder:
Select Choose from the prompt window.
Your file browser will appear. Locate a folder where you would like to store these assets. This is usually a folder that is easy to access and is in a safe spot so it doesn't accidently get deleted.
A progress bar will appear indicating the folder is being created.
If you go to your file browser and look at the folder you just selected, you will find subfolders indicating different library items, as shown in the following screenshot:

When you launch Anime Studio, a startup file that features a cartoon character, will be the first thing you see by default. This quirky character is Anime Studio Pro 10's mascot and it gives you an opportunity to play with the tools or even use him in one of your own projects.
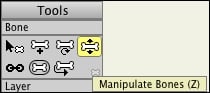
Let's create some movement for this character. If you page forward through the dots or keyframes on the timeline, you will see that some movement has already been placed. You can study this if you like or alter it in any way. The good thing about this is he's already rigged up and good to go. All we have to do is use the Manipulate Bones tool and the timeline, as shown in the following screenshot:
Perform the following steps to create movement:
Make sure you are on frame 0 on your timeline. That's the area on the bottom of your application with all the numbers and dots.
Select the Manipulate Bones tool from the left-hand side tool bar. It's the last one on the top row of the list in the Bone section and looks like a horizontal bone with two black arrows on the bottom and top.
Move your cursor and notice how the character's hand follows. Also, note how the arm pieces bend and move in conjunction to the hand. This is the magic of bones at work.
Try moving another limb, such as a leg, to see how other parts of the character's body react.
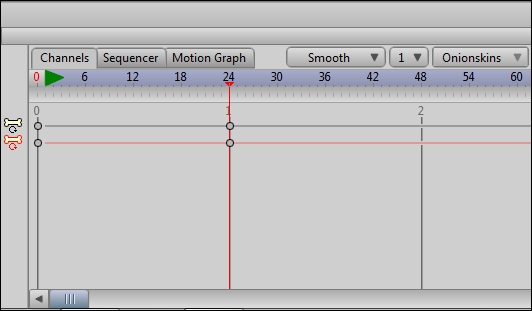
This gives you an idea of how you can move the bones of a character. But what if you want to do some animation with these bones? Well, that's easy! If you look at the bottom of the program, you will notice a long area with numbers. This is referred to as the timeline, as shown in the following screenshot:
Let's have some fun and try to animate this character we have on screen by performing the following steps:
Hold down your mouse button and highlight all the keyframes on the timeline. You can also do this by holding Ctrl (command if you're on a Mac) and hitting the A key on your keyboard.
Hit the Delete key on your keyboard. This will ensure you have a clean slate when creating this test animation.
Try clicking on the number 24 and then moving the limbs of the character.
Click on frame 1 and then hit the play button located above the timeline. You should see these limbs now animate between frames 1 and 24. Congratulations! You just created your first animation!