

Before diving into creating our first document in Anime Studio, let's take a look at the program's preferences. This will allow us to adjust the colors of the user interface as well as set some of the more advanced options. Most options here will more than likely remain untouched. However, it's good to know what you can adjust should you decide to modify some preferences down the road.
In order to access the programs preferences, go to Edit at the top of the window and choose Preferences. A new window will appear, as shown in the following screenshot:
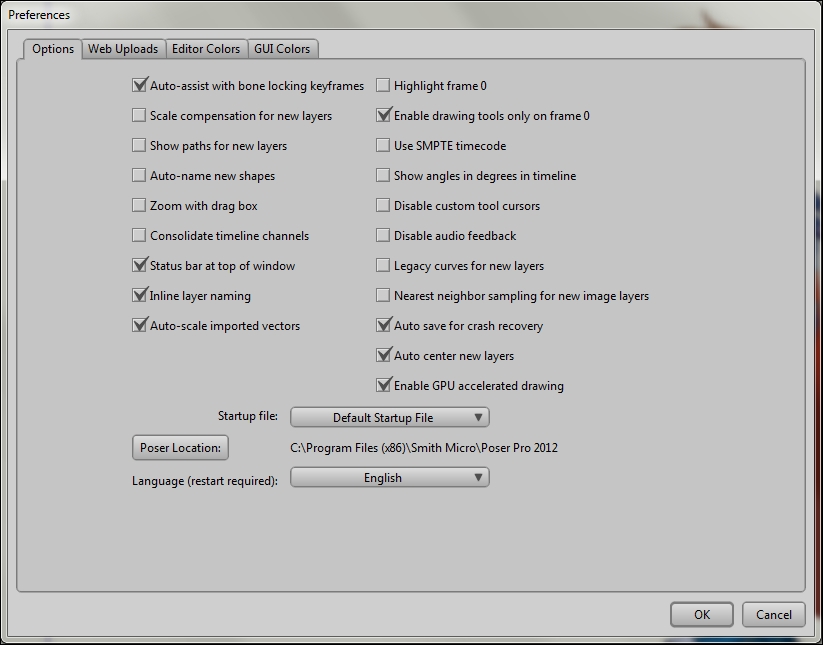
The following are some of the major preferences in the Options tab:
Consolidate timeline channels: This is present by default in the Pro version of Anime Studio. This option, when checked, creates a less complicated timeline at the expense of flexibility. For this book, we will not be checking this option.
Enable drawing tools only on frame 0: This disallows the user to use drawing tools past frame 0. When this is disabled, it can be useful for frame-by-frame animation. Since Anime Studio was not designed to work this way, it can cause conflicts and confusion in more complicated projects. For this book, the option will be left enabled (in other words, we will only be drawing on frame 0).
Startup file: This drop-down menu allows you to select what file you'd like to see whenever you boot Anime Studio. By default, as we know by now, we get an anime style character rigged with bones as our current startup file. With this menu, you can choose a new file or opt out of having any file launch with the software.
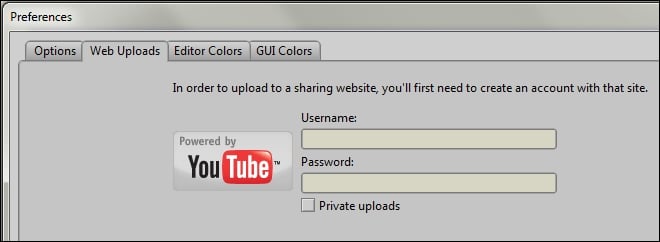
With the Web Uploads tab, you can export your videos straight to YouTube, without having to go through your web browser. This can be convenient if you want to upload your animations quickly and easily. For this book, we will be creating pieces of work that will need to be put through a video editor before being uploaded, so we will not be using this option. But you may find it to be of use should you decide to create simpler animations down the road. The Web Uploads tab is shown in the following screenshot:
The last two tabs in the Preferences window allow you to change the colors in the Anime Studio interface. The Editor Colors tab deals more with the tools of Anime Studio. Here you can change the way the background color looks in your workspace as well as adjust the default line thickness when creating strokes with your objects, as shown in the following screenshot:
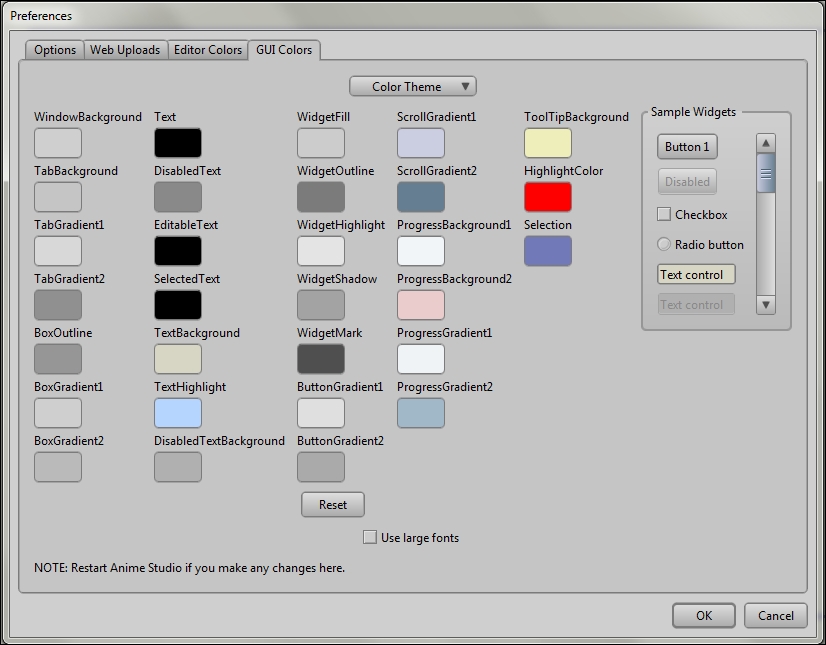
The GUI Colors tab allows you to adjust the color theme for the entire Anime Studio interface. There are built-in themes you can access from the Color Theme drop-down menu. Plus, you can adjust all of the colors individually to create your own look. This book will be taking screen caps using the default color scheme.