-
Book Overview & Buying
-
Table Of Contents

Arduino Robotic Projects
By :
Arduino Robotic Projects
By:
Overview of this book
Table of Contents (21 chapters)
Arduino Robotic Projects

Credits
About the Author
About the Reviewers
www.PacktPub.com
Preface
 Free Chapter
Powering on Arduino
Getting Started with the Arduino IDE
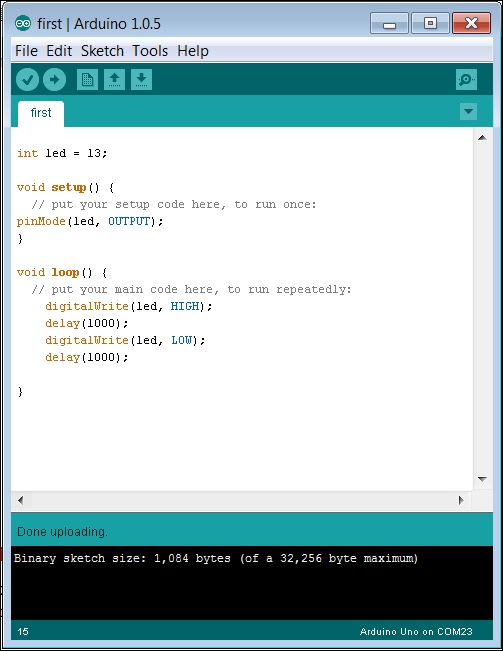
Simple Programming Concepts Using the Arduino IDE
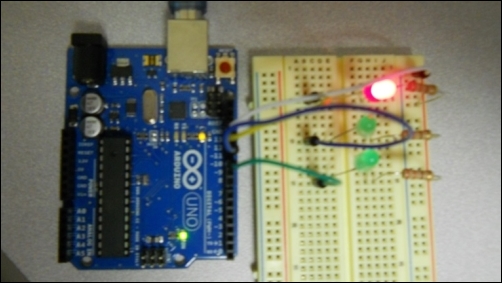
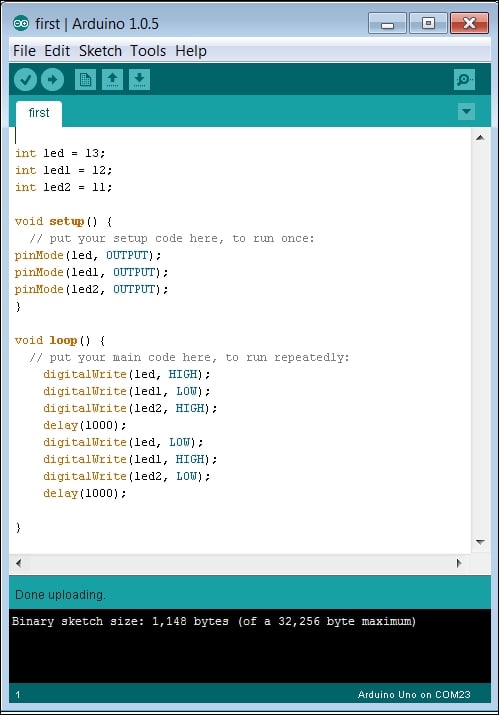
Accessing the GPIO Pins
Working with Displays
Controlling DC Motors
Controlling Servos with Arduino
Avoiding Obstacles Using Sensors
Even More Useful Sensors
Going Truly Mobile – the Remote Control of Your Robot
Using a GPS Device with Arduino
Taking Your Robot to Sea
Robots That Can Fly
Small Projects with Arduino
Index