Book Image

Arduino for Kids

By : Rishi Gaurav Bhatnagar, Vijay Varada
Book Image

Arduino for Kids

By: Rishi Gaurav Bhatnagar, Vijay Varada

Overview of this book

The mission of this book is to integrate technology with the tools that children already use for crafts so that they feel that the technology is an extension of their playtime. We use coding, sensors, and micro-controllers integrated with art and craft supplies, origami, and Playdough. There are 10 fun-filled chapters that talk to children directly, and give clear instructions for non-technical parents too. We use Arduino as the controller of choice due to its easy availability and large community. By the end of the book, children will comfortably be able to set up their Arduino, read and understand code, manipulate code, and ultimately write their own code for projects. They will also be able to use basic sensors and know how components connect to each other. All the learning takes place with lots of colorful pictures and the circuits are neatly presented using wiring.
Table of Contents (18 chapters)
Arduino for Kids
Credits
Foreword
About the Authors
About the Reviewers
www.PacktPub.com
Customer Feedback
Preface

Get the LEDs working


Let's brainstorm, what do we know about LEDs? We know how they work, we know there is an example on making LEDs blink, we know how we can use the LED on pin 13 to do quick checks if the board is working fine.

As a first step, let's get the LEDs working through the pin 13 using the LED blink example. You already know how to navigate to the example don't you my friend?

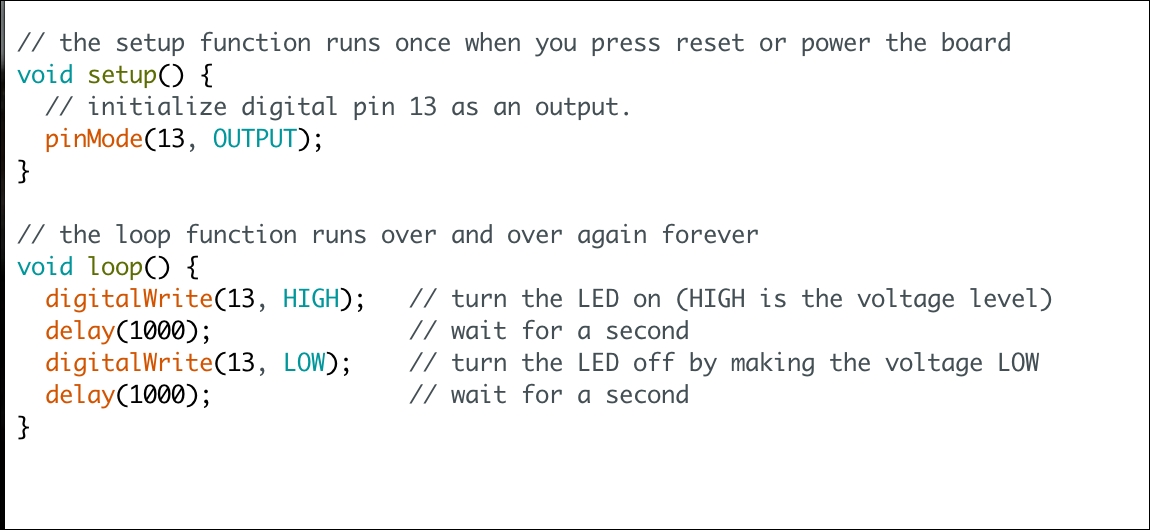
Here is how the code looks like right now:

Code:

// the setup function runs once when you press reset or power the board
void setup(){
  // initialize digital pin 13 as an output.
  pinMode(13, OUTPUT); 
} 
// the loop function runs over and over again forever
void loop() {
  digitalWrite(13, HIGH); // turn the LED on (HIGH is the voltage level)
  delay(1000); // wait for a second
  digitalWrite(13, LOW); // turn the LED off by making the voltage LOW
  delay(1000); // wait for a second
} 

Let's go ahead and upload this code on our board. I am using...