

As the following screenshot shows the LXDE desktop manager comes with an initial setup and a few preinstalled programs:
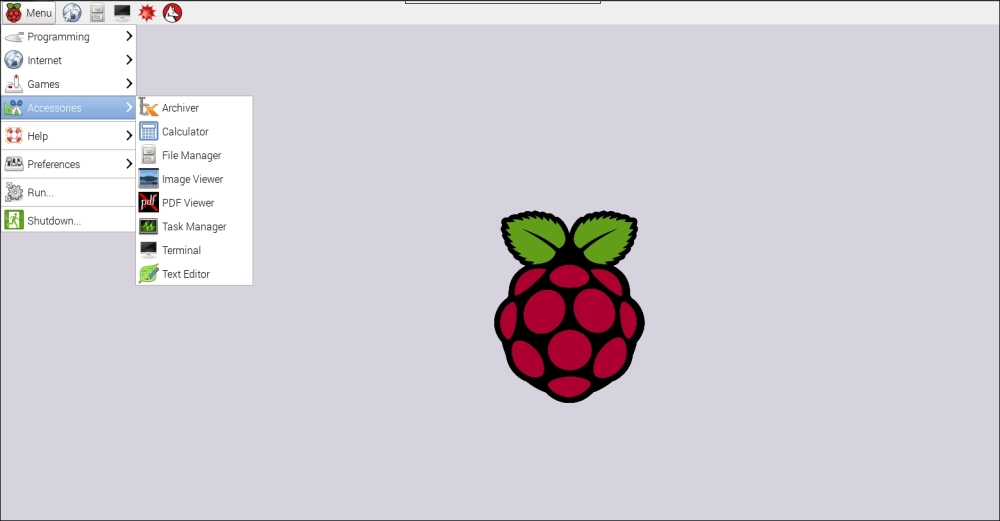
The LXDE desktop management environment
By clicking on the screen image on the tab bar located at the top, you will be able to open a terminal screen that we will use to send commands to the Pi.
The next step is to install a component called x11vnc. This is a VNC server for X, the window management component of Linux. Issue the following command on the terminal:
sudo apt-get install x11vnc
This will download and install x11vnc to the Pi. We can even set a password to be used by VNC clients that will remote desktop to this Pi using the following command and provide a password to be used later on:
x11vnc –storepasswd
Next, we can get the x11vnc server running whenever the Pi is rebooted and the LXDE desktop manager starts. This can be done through the following steps:
Go into the
.configdirectory on the Pi user'shomedirectory located at/home/pi:cd /home/pi/.configMake a subdirectory here named
autostart:mkdir autostartGo into the
autostartdirectory:cd autostartStart editing a file named
x11vnc.desktop. As a terminal editor, I am usingnano, which is the easiest one to use on the Pi for novice users, but there are more exciting alternatives, such as vi:nano x11vnc.desktopAdd the following content into this file:
[Desktop Entry]
Encoding=UTF-8
Type=Application
Name=X11VNC
Comment=
Exec=x11vnc -forever -usepw -display :0 -ultrafilexfer
StartupNotify=false
Terminal=false
Hidden=false
Save and exit using (Ctrl+X, Y, Enter) in order if you are using nano as the editor of your choice.
Now you should reboot the Pi to get the server running using the following command:
sudo rebootAfter rebooting using the
sudo rebootcommand, we can now find out what IP address our Pi has been given in the terminal window by issuing theifconfigcommand. The IP address assigned to your Pi is to be found under theeth0entry and is given after theinet addrkeyword. Write this address down:
Example output from the ifconfig command
The next step is to download a VNC client to your Android device.
In this project, we will use a freely available client for Android, namely androidVNC or as it is named in the Play Store—VNC Viewer for Android by androidVNC team + antlersoft. The latest version in use at the writing of this book was 0.5.0.