
At the end of this chapter, you want to be able to access the board from your own computer, without having it connected to an external screen.
The first step is to connect the Raspberry Pi board to your local Wi-Fi network. If you connected a Wi-Fi dongle to the Pi, you should see the Wi-Fi icon at the top of your Pi desktop. Click on it, and select your Wi-Fi network:
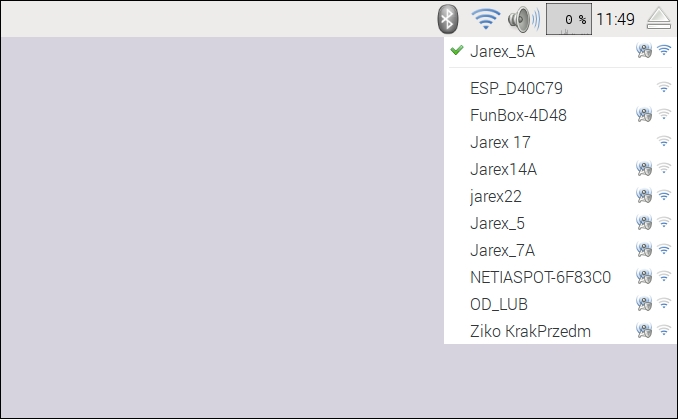
You will then be asked to enter the password for your network, and a few seconds later, you should be connected to your local Wi-Fi network and to the Internet.
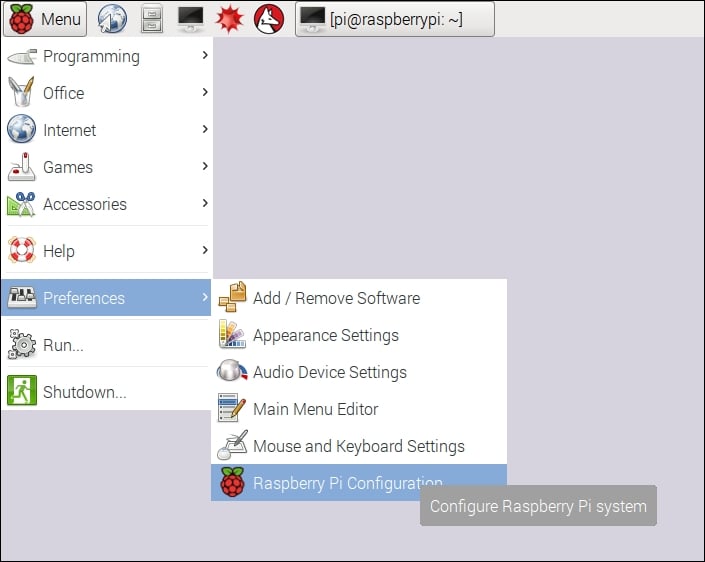
Next, we need to enter the Raspberry Pi configuration panel so we can set some essential settings. You can find the Raspberry Pi Configuration tool inside the main Menu:
Inside the configuration tool, first press on Expand Filesystem:
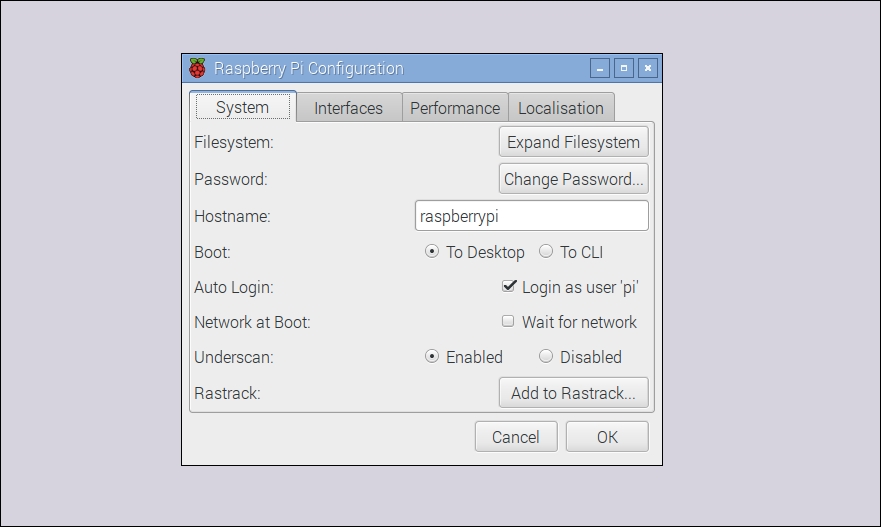
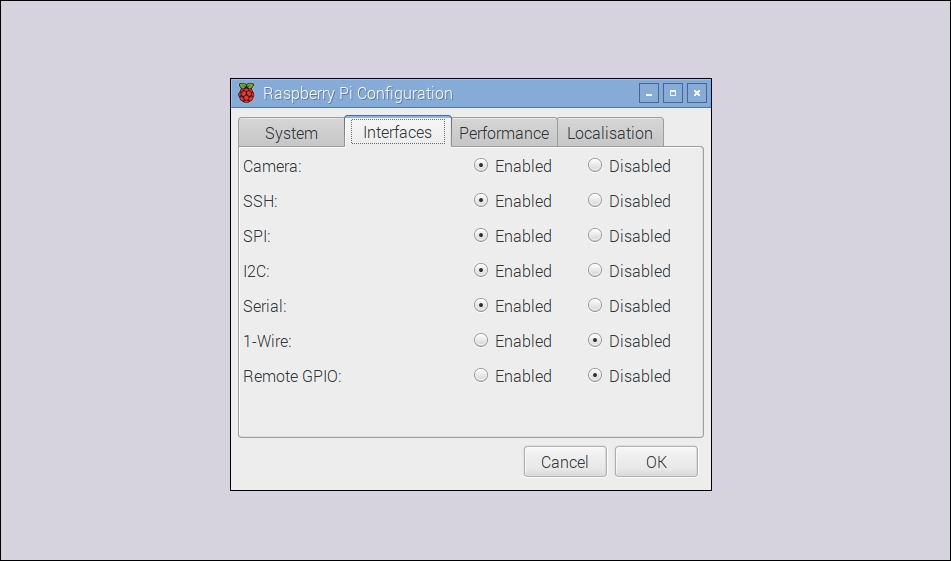
This will make sure that the Pi now has access to all the space available on the SD card. Also, click on the Interfaces tab and check that SSL is checked:
Inside the same configuration tool, you can also give a network name to your Pi. I simply called mine pizero.
We are now going to perform some tests from your computer to make sure that Raspberry Pi is correctly configured for remote access and that it has access to the Internet.
To do so, open a terminal window on your computer (or use PuTTY if you are using Windows), and type the following:
This should initiate a connection to your Pi board and ask for your password. Once you type in your password, you should now be connected to the Pi board. If that doesn't work at this point, try replacing the name of your Raspberry Pi with the IP address of the board (you can get this by typing ifconfig inside a Terminal on the Pi itself).
Then, from your computer, type the following:
sudo apt-get updateThen type the following command:
sudo apt-get upgradeThis will upgrade your Pi board by downloading all the latest packages from the official Raspberry Pi repository, so it's a great way to make sure that your board is connected to the Internet.