

In this section, we will solder some headers onto the Raspberry Pi, load the OS onto a micro SD card, and fire the Raspberry Pi Zero for the first example.
In this book, we will discuss the different aspects of Python programming using the Raspberry Pi's GPIO pins. The Raspberry Pi Zero ships without the GPIO header pins. Let's go ahead and solder the GPIO pins. We have also uploaded a video tutorials to this book's website that demonstrates soldering the headers onto the Raspberry Pi Zero.
As mentioned before, the Raspberry Pi's GPIO section consists of 40 pins. This is arranged in two rows of 20 pins each. We will need either two sets of 20-pin male headers or a 20-pin double-row male header. These are available from vendors such as Digikey and Mouser. The headers for the Raspberry Pi are also sold as a kit by vendors like the Pi Hut (https://thepihut.com/collections/raspberry-pi-zero/products/raspberry-pi-zero-essential-kit).
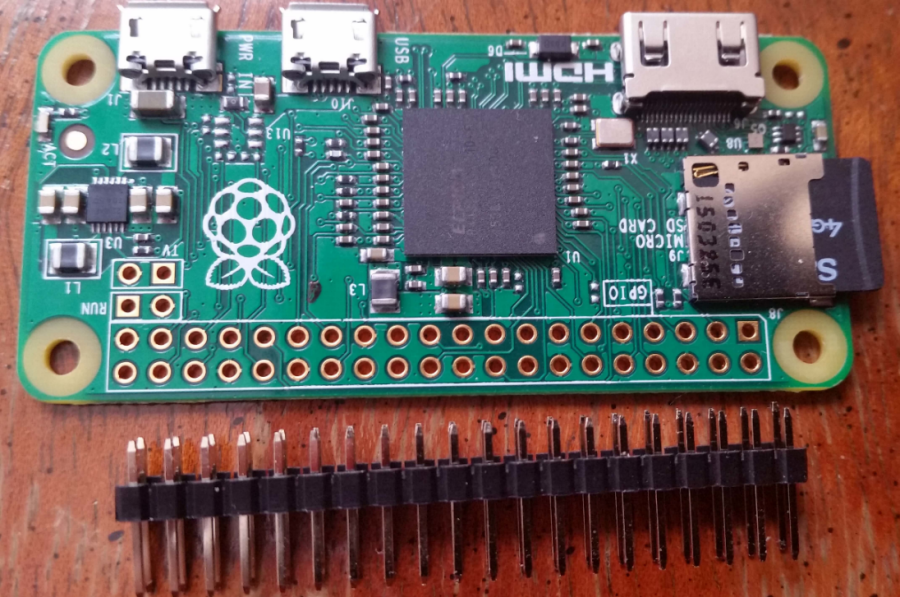
2x20 headers for the Raspberry Pi Zero
In order to solder the headers onto the Raspberry Pi Zero, arrange the headers on a breadboard, as shown in the following figure:
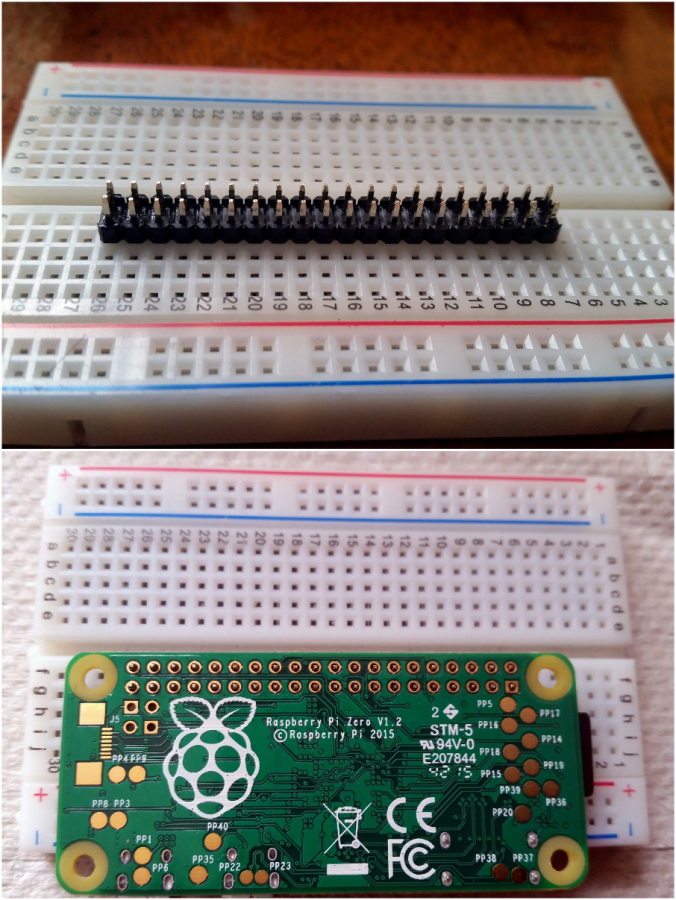
Arranging the headers to solder onto the Raspberry Pi
Perform the following steps:
- Arrange the Raspberry Pi on top of the headers upside down.
- Gently hold the Raspberry Pi (to make sure that the headers are positioned correctly while soldering) and solder the headers onto the Raspberry Pi.
- Inspect the board to ensure that the headers are soldered properly and carefully remove the Raspberry Pi Zero off the breadboard.
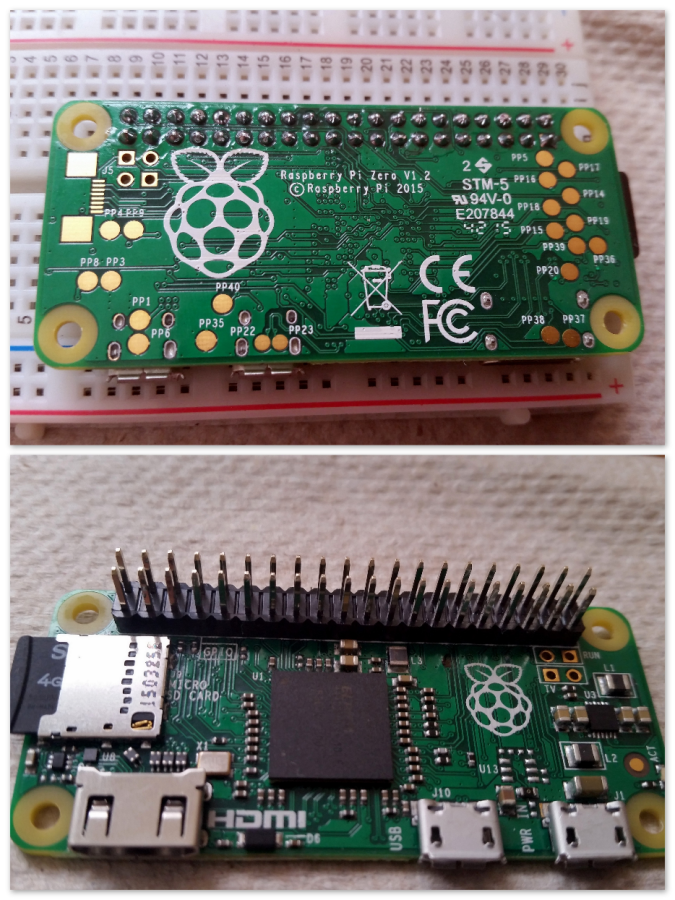
Headers soldered onto the Raspberry Pi
We are all set to make use of the GPIO pins in this book! Let's move on to the next section.
Note
Soldering the headers onto the Raspberry Pi using a breadboard might damage the breadboard if the right temperature setting isn't used. The metal contacts of the breadboard might permanently expand resulting in permanent damage. Training in basic soldering techniques is crucial, and there are plenty of tutorials on this topic.
Setting up a Raspberry Pi zero inside an enclosure is completely optional but definitely useful while working on your projects. There are a plenty of enclosures sold by vendors. Alternatively, you may download an enclosure design from Thingiverse and 3D print them. We found this enclosure to suit our needs at http://www.thingiverse.com/thing:1203246 as it provides access to the GPIO headers. 3D printing services such as 3D Hubs (https://www.3dhubs.com/) would print the enclosure for a charge of $9 via a local printer. Alternately, you can also use predesigned project enclosures or design one that can be constructed using plexiglass or similar materials.
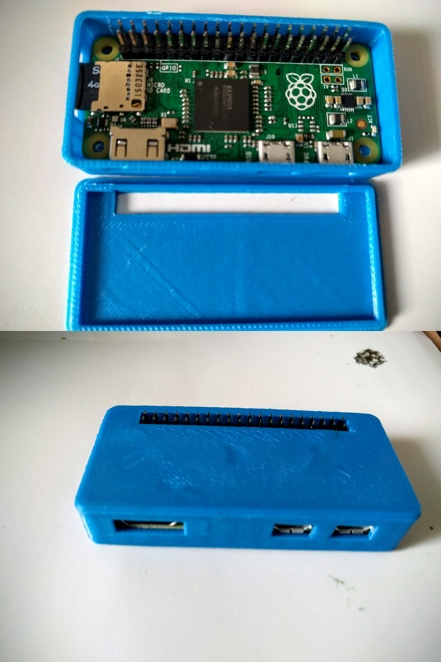
Raspberry Pi Zero in an enclosure
Let's go ahead and prepare a micro SD card to set up the Raspberry Pi Zero. In this book, we will be working with the Raspbian OS. The Raspbian OS has a wide user base, and the OS is officially supported by the Raspberry Pi Foundation. Hence, it is easier to find support on forums while working on projects as more people are familiar with the OS.
If you had purchased a micro SD card that comes pre-flashed with the Raspbian New Out of the Box Software (NOOBS) image, you may skip the micro SD card preparation:
- The first step is downloading the Raspbian NOOBS image. The image can be downloaded from https://www.raspberrypi.org/downloads/noobs/.
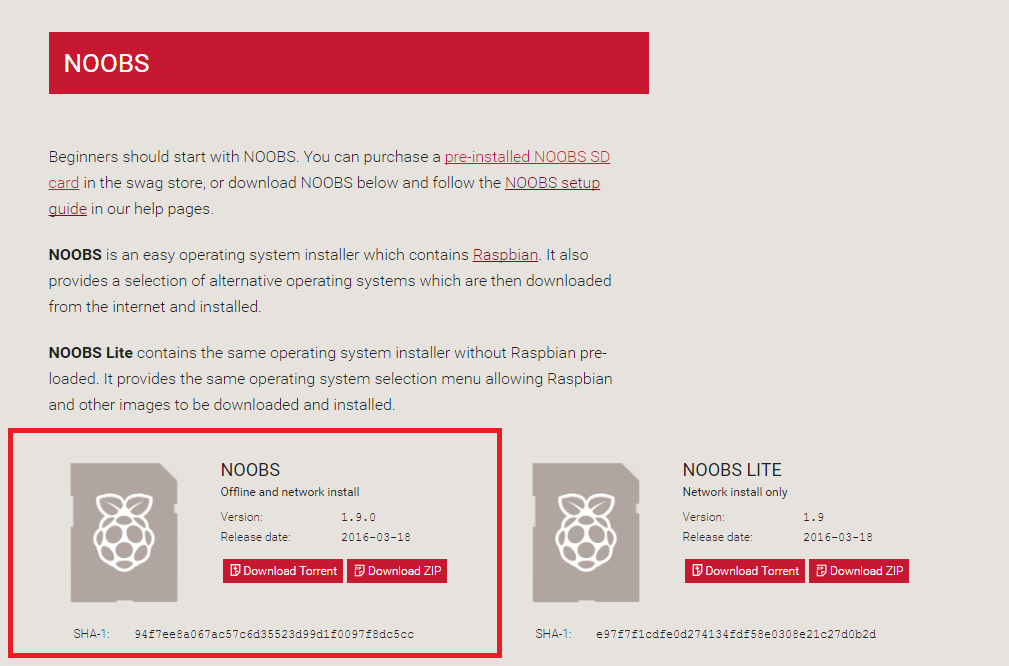
Downloads the Raspberry Pi NOOBS image
- Format your SD card using the SD Card Formatter tool. Make sure that the
FORMAT SIZE ADJUSTMENTisONas shown in the snapshot (available from https://www.sdcard.org/downloads/formatter_4/index.html):
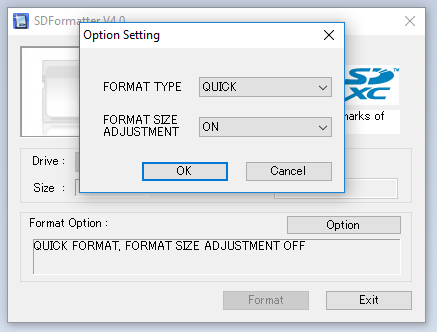
Format the SD card
- Extract the downloaded ZIP file and copy the contents of the file to the formatted micro SD card.
- Set up the Raspberry Pi (not necessarily in the same order):
- Interface the HDMI cable from the monitor via the mini HDMI interface
- USB hub via the USB OTG interface of the Raspberry Pi Zero
- Micro-USB cable to power the Raspberry Pi Zero
- Plug in a Wi-Fi adapter, a keyboard, and a mouse to the Raspberry Pi Zero
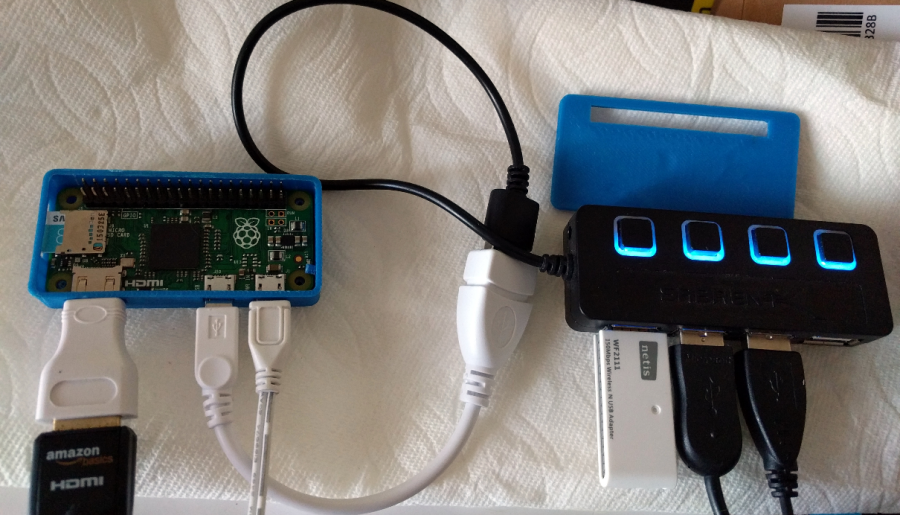
Raspberry Pi Zero with the keyboard, the mouse, and the Wi-Fi adapter
- Power up the Raspberry Pi, and it should automatically flash the OS onto the SD card and launch the desktop at startup.
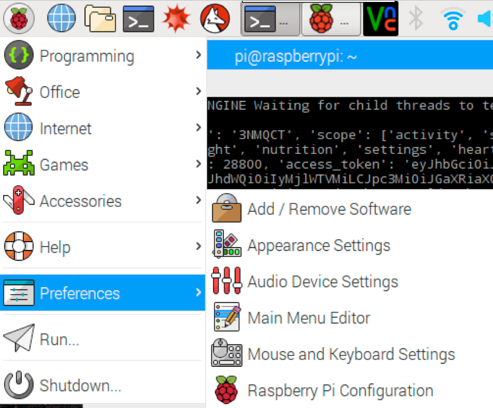
- The first step after startup is changing the Raspberry Pi's password. Go to menu (the Raspberry Pi symbol located at the top-left corner) and select
Raspberry Pi ConfigurationunderPreferences.
Launch Raspberry Pi configuration
- Under the System tab, change the password:
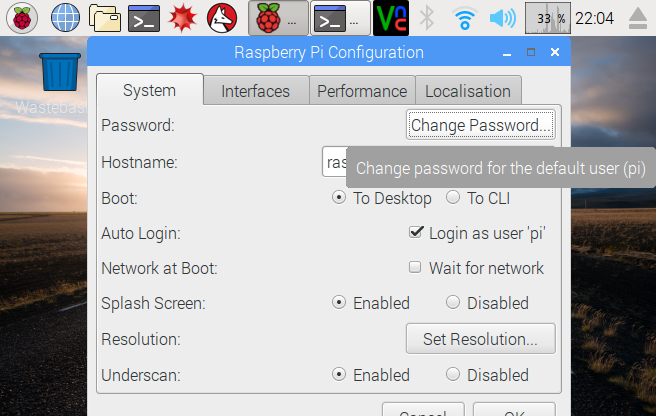
Change the password
- Under the
Localisationtab, change the locale, time zone, and keyboard settings based upon your region.
- When the installation is complete, connect the Raspberry Pi Zero to the wireless network (using the wireless tab on the top right).
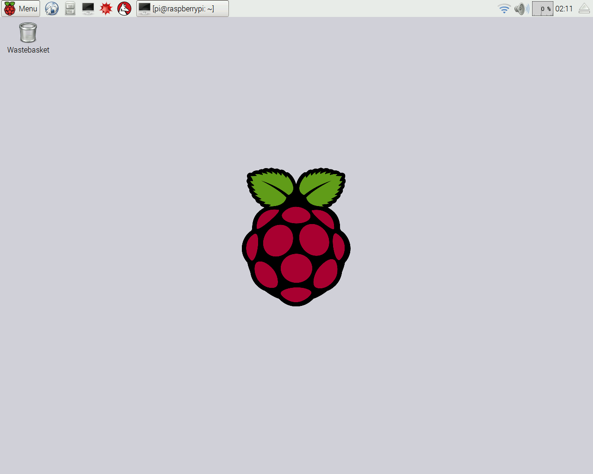
Raspberry Pi desktop upon launch
- Let's launch the command-line terminal of the Raspberry Pi to perform some software updates.
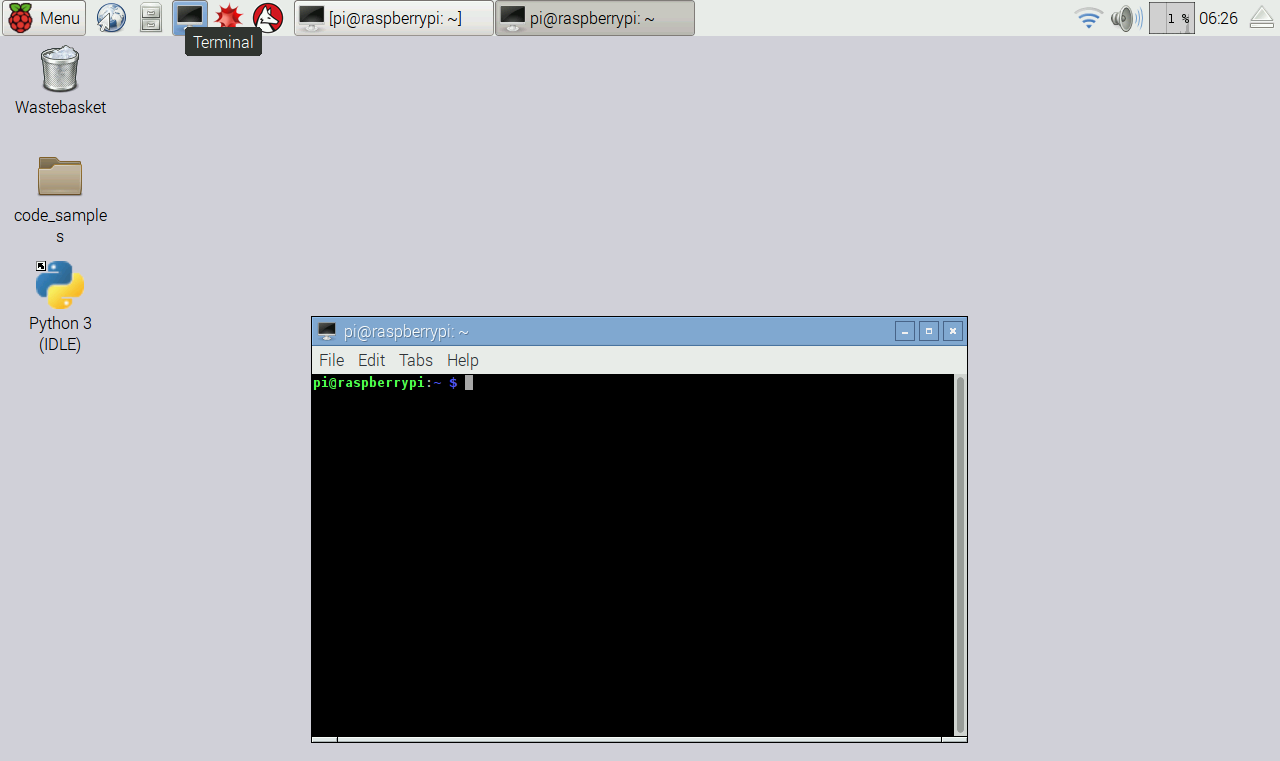
Launching the command-line terminal
- Run the following commands from the command-line terminal:
sudo apt-get update
       sudo apt-get upgrade
The OS upgrade should complete within a couple of minutes.
Note
The Raspberry Pi Foundation hosts a video on its website that provides a visual aid to set up the Raspberry Pi. This video is available at https://vimeo.com/90518800.