Book Image

Hands-On Internet of Things with Blynk

By : Pradeeka Seneviratne
Book Image

Hands-On Internet of Things with Blynk

By: Pradeeka Seneviratne

Overview of this book

Blynk, known as the most user-friendly IoT platform, provides a way to build mobile applications in minutes. With the Blynk drag-n-drop mobile app builder, anyone can build amazing IoT applications with minimal resources and effort, on hardware ranging from prototyping platforms such as Arduino and Raspberry Pi 3 to industrial-grade ESP8266, Intel, Sierra Wireless, Particle, Texas Instruments, and a few others. This book uses Raspberry Pi as the main hardware platform and C/C++ to write sketches to build projects. The first part of this book shows how to set up a development environment with various hardware combinations and required software. Then you will build your first IoT application with Blynk using various hardware combinations and connectivity types such as Ethernet and Wi-Fi. Then you'll use and configure various widgets (control, display, notification, interface, time input, and some advanced widgets) with Blynk App Builder to build applications. Towards the end, you will learn how to connect with and use built-in sensors on Android and iOS mobile devices. Finally you will learn how to build a robot that can be controlled with a Blynk app through the Blynk cloud and personal server. By the end of this book, you will have hands-on experience building IoT applications using Blynk.
Table of Contents (10 chapters)

Adding a Button widget

These steps will show you how to add a Button widget to your project, which is a controller widget that can be used to turn an LED on and off.

The working area of the app builder is referred to as a canvas and has a dotted background with horizontal and vertical guides that allow you to easily arrange and align different types of widgets:
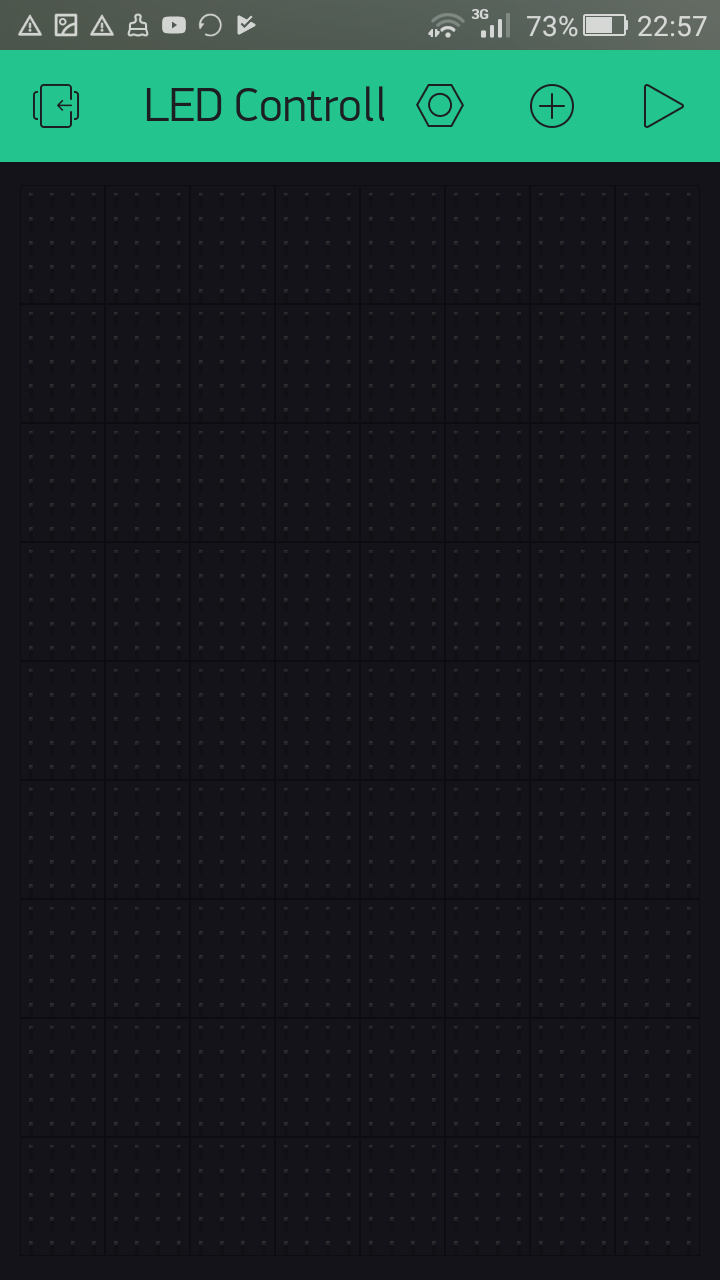
Canvas
  1. Tap anywhere on the canvas or the plus icon on the toolbar to get the Widget Box. The Widget Box lists all the widgets available under different categories to build the application.
  2. On the Widget Box, tap Button under CONTROLLERS:
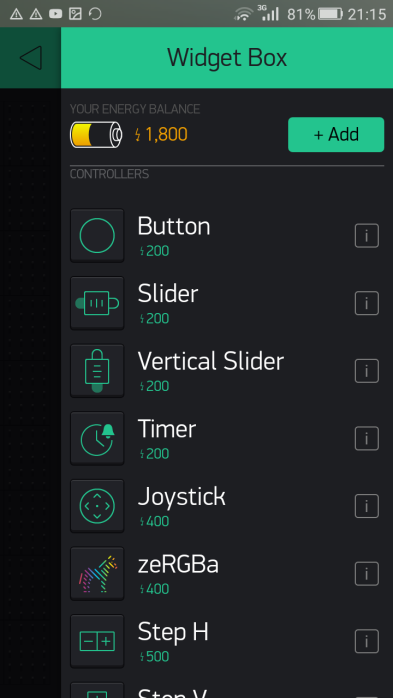
Button widget under CONTROLLERS
  1. A Button widget will be added onto the canvas:
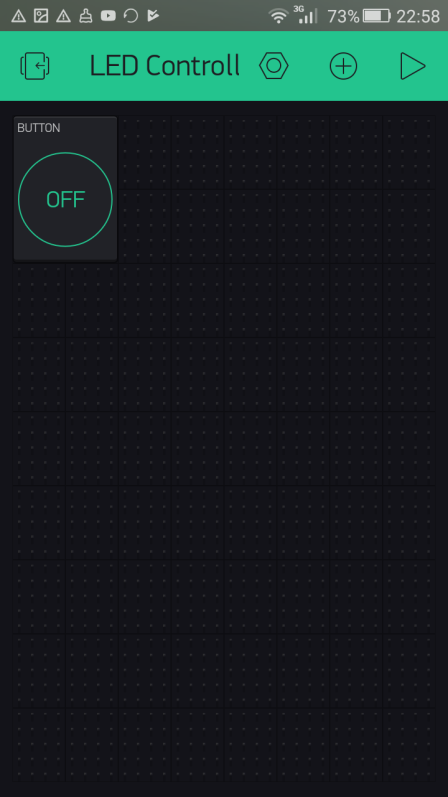
Button widget
  1. Tap the Button widget to open the Button Settings page.
  2. Tap PIN under OUTPUT and choose Digital followed by GP18 PWM from the list (this is the physical Pin 10/BCM Pin 18/GPIO Pin 18 in...