

Tapping
There is not a dedicated command for tapping, so we have to use the drilling command instead. Since we just reviewed the command for drilling, we will just cover the important settings for tapping.
We have to thread the first 20 millimeters of the holes with an ISO M8 x 1.25 thread. To do this, we have to choose a tap with the same pitch and diameter. Luckily, there are many tapping tools at our disposal in the default tool library; therefore, we don’t have to create or import a new tool.
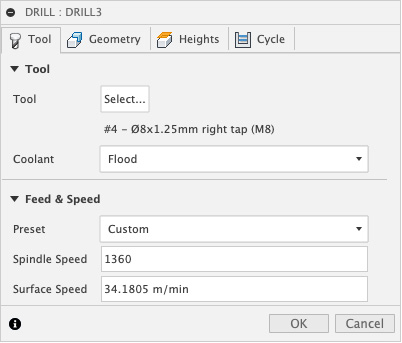
Figure 9.28: Drilling’s Tool tab (used for Tapping)
CoroPlus suggests a Spindle Speed setting of 1360 RPM, resulting in a Surface Speed setting of 34.1805 m/min, so all we have to do is input those values inside the panel.
Then, we have to specify all of the holes to machine using the Geometry panel; we won’t repeat this procedure, since it’s identical to how we drilled the pilot holes in the last section.
However, we should...