

You now have your Ubuntu system up and working, and you can type in commands and see their result in the terminal window. However, you need to add some additional basic functionality before adding all the cool capabilities that will make your robots walk, talk, and interact. First, you need to connect to the Internet so that you can update your system and add additional functionality. Second, in many of your projects, you will be working with graphical programs, most notably when you connect webcams or other image sensors.
You're going to need a graphical user interface (GUI), so let's tackle that problem.
Simply run a LAN cable from a router or switch to the BeagleBone board, plug it in the LAN connector, and restart the BeagleBone.
Now type ifconfig at the prompt. You should get a display like the following:
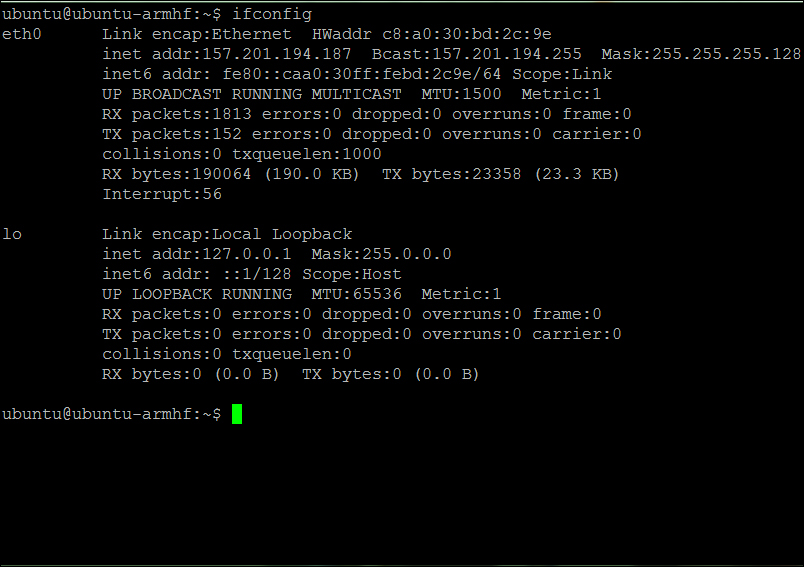
This tells you that you are connected to the Internet and have a valid Internet address. In this case the valid address is 157.201.194.187. This address has been assigned by your Internet router.
Tip
Generally there are two types of IP addresses that your board can be assigned: one is called static and the other dynamic. In the static case you will always be assigned the same address. In the dynamic case, the address may change each time the system boots, as it asks the system for an address, which it then uses for that session. Most systems are configured for the dynamic case; however, if your system isn't changing, you will most likely get the same address each time you power on and log in to the system. To learn more about DHCP, try http://www.teracomtraining.com/tutorials/teracom-tutorial-dynamic-IP-addresses-and-DHCP.htm.
Once you get here, you'll want to update your operating system. Type in sudo apt-get update. The system will prompt you for the [sudo] password, which is the same as the password you have already been using. Once you enter this, the system will automatically go out and find all the updates associated with the system and applications that you have installed. This may take a very long time, depending on how out-of-date your system has become.
Now that you are connected to the Internet and have updated your Ubuntu system, you need to install a graphical user interface. Ubuntu generally comes with a very full-featured windowing system. However, it uses a good deal of memory and can interfere with the performance you may need later. So you are going to install a "light" Windows system on top of your Ubuntu distribution. There are several choices; I like to use Xfce. It is stable, seems to work well, and offers a fairly complete set of capabilities while not overwhelming your system resources. To install this, type sudo apt-get install xfce4 in the command prompt. Again, the system will prompt you for your password and then start the install. This install will take a significant amount of time as it is installing not only the windowing system, but a number of packages the windowing system depends on.
Just a brief note about installing SW. You will be using apt-get to install SW throughout this book. This is the command that Ubuntu uses to go out and find SW and then install it on your machine. The nice thing about this is that it will also normally search and find dependencies and download them as well. Thus not only the package you want, but the packages that are needed for that package are installed as well. However, a bit of caution: this is not fool-proof! You will find times when the SW you have installed will not function because of a dependency that the system does not know about.
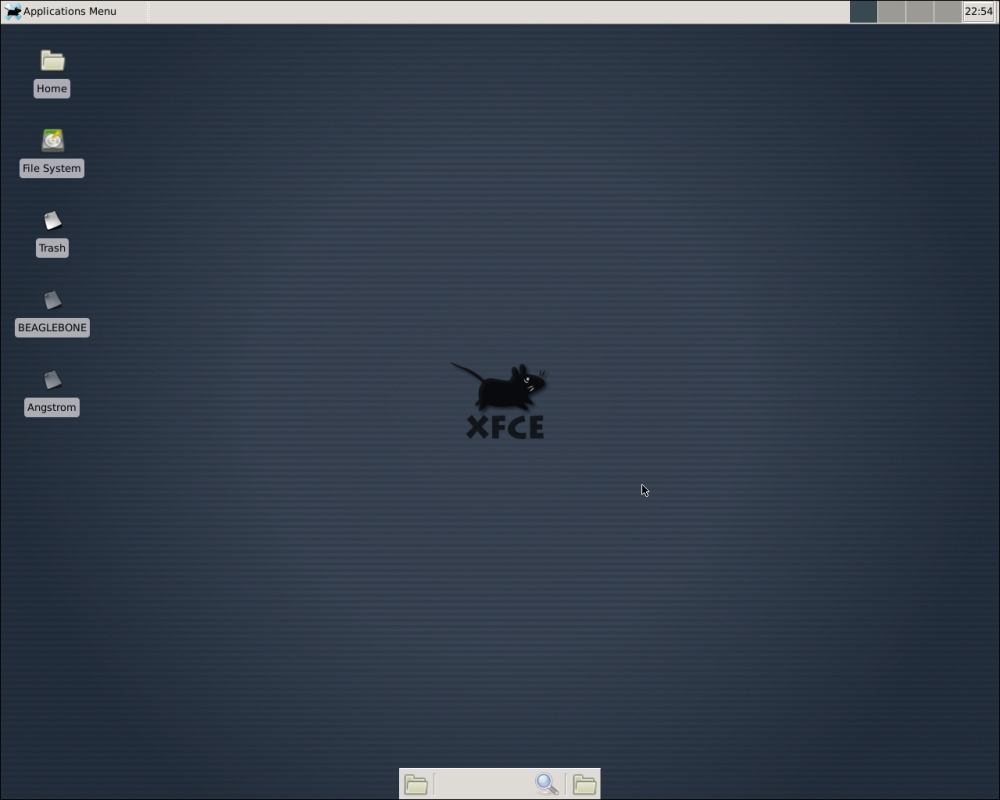
Once the Xfce Windows system is installed, reboot your system by typing sudo reboot. The system will go down and then should come back to the log-in screen. Log in, then type startx at the prompt. After some time the Windows system will come alive. The first time you run the system you will get Welcome to the first start of the panel and a prompt, which will ask you which setup you want for the first setup. Choose the User default config selection.
Then you will see the following screen:
You're probably asking yourself why you didn't copy your image to the internal eMMC memory card instead of just leaving your card in the system. There are two reasons, really. The first is space. The 2 GB that are available in the eMMC is not sufficient to build many, if not most, of the projects you're going to be working on, so you'll need a card anyway. Second, you will find occasions where you want to start over from scratch. Using a card makes this very easy; the eMMC process is a bit more permanent. There are several sites that can show you how to create your Ubuntu system on the eMMC internal memory space, but I'm not going to cover that here. Unfortunately, there are some downsides to not using the eMMC internal memory space, the system will boot slower and you have the additional cost of the external card, but in the long run it will be worth it.