Now that the device is installed, you can run the IDE. Select the IDE icon that should have been installed on the desktop as shown in the following screenshot:
When you select this icon, the IDE should start and you should see something like the following screenshot:
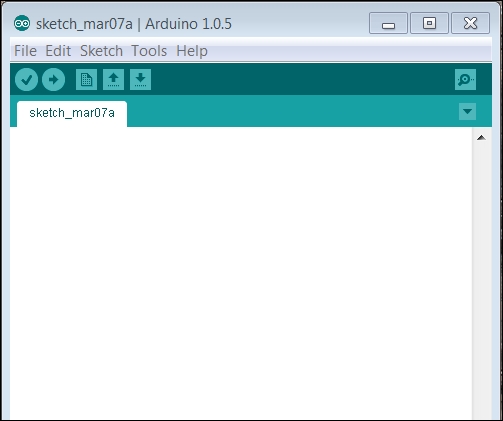
This is the environment you will use to develop your applications. The IDE will then make it easy to compile the code, upload it to the device, and run it.
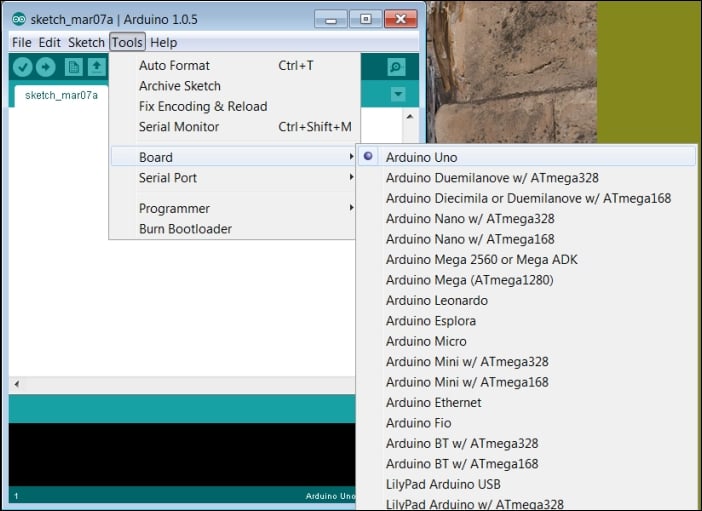
First, you'll need to set the IDE to create code for the proper processor because different Arduino boards have slightly different hardware configurations. Fortunately, the IDE lets you set that by choosing the correct board. To do this, navigate to Tools | Board | Arduino Uno as shown in the following screenshot: