

In order to remotely access the BeagleBone, the Tightvnc server needs to be installed with the following command:
sudo apt-get install tightvncserver
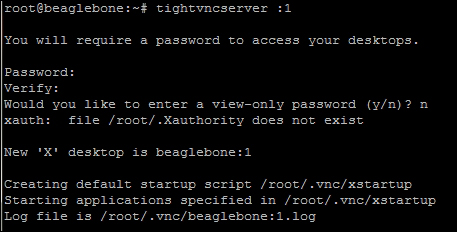
Once the server is installed, it needs to be set up as follows:
tightvncserver :1
This will then ask for a password to access the desktop. Enter a password and verify it. This will be the password used to login to the BeagleBone with the VNC remote viewing client. If a remote connection is needed, to view what is happening on the BeagleBone, a separate password can be entered.
After the server is set up, reboot and re-login. Open a terminal and enter the following command to get the IP address of the BeagleBone:
ifconfig
This will be needed on the remote PC to access the system.

Run the VNC server in order to allow the BeagleBone to start accepting remote connections with the tightvncserver :1 command.
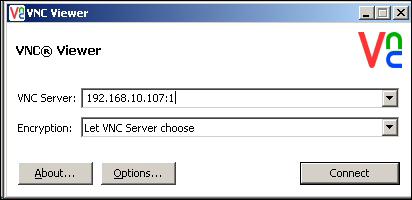
On the remote computer, a VNC viewer should be installed. There are many options to choose from, which will work. In the remote address, enter the BeagleBone's IP address and add the :1 at the end and connect to the BeagleBone.
When you run the VNC viewer, you will see a ''connection'' screen similar to the one shown in the following screenshot:
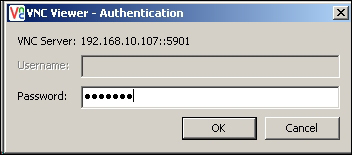
The default encryption method is to let VNC choose, so just go with the default. The next window that pops up will be the login window, where you have to enter the password that you were prompted for when you installed the VNC Server, as shown in the following screenshot:
Tip
Downloading the example code
You can download the example code files from your account at http://www.packtpub.com for all the Packt Publishing books you have purchased. If you purchased this book elsewhere, you can visit http://www.packtpub.com/support and register to have the files e-mailed directly to you.