Book Image

Build Supercomputers with Raspberry Pi 3

By : Carlos R. Morrison
Book Image

Build Supercomputers with Raspberry Pi 3

By: Carlos R. Morrison

Overview of this book

Author Carlos R. Morrison (Staff Scientist, NASA) will empower the uninitiated reader to quickly assemble and operate a Pi3 supercomputer in the shortest possible time. The lifeblood of a supercomputer, the MPI code, is introduced early, and sample MPI code provides additional practice opportunities for you to test the effectiveness of your creation. You will learn how to configure various nodes and switches so that they can effectively communicate with each other. By the end of this book, you will have successfully built a supercomputer and the various applications related to it.
Table of Contents (20 chapters)
Build Supercomputers with Raspberry Pi 3
Credits
About the Author
About the Reviewer
www.PacktPub.com
Customer Feedback
Dedication
Preface
6
Creating a Mountable Drive on the Master Node

Formatting the remaining slave SD cards


Before copying the image to the slave cards, you must first format them by using the SD formatter for the Windows applications. So go ahead now and switch over to the Windows environment. Download the SD formatter for Windows applications file from the following website; https://www.sdcard.org/downloads/formatter_4/eula_windows/index.html. Insert a loaded SD card adapter into the SD card drive slot on the main PC, and double-click on the applications icon. Select the drive containing the SD card to be formatted (in the authors case it was the L drive). Click on the Option button, and change the settings as shown in the following screenshot. Click the OK button:

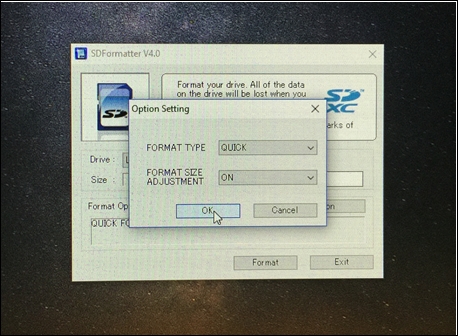
SD card formatter setting

Next, click on the Format button. The format process will take a few seconds. Repeat the process for the remaining slave cards:
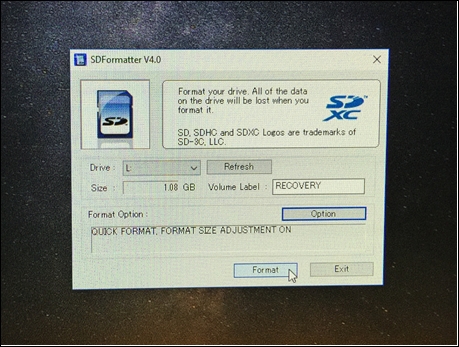
SD card formatter

We will now proceed to copy the Slv1 image file to the six or fourteen formatted slave SD cards.