

One of the most popular features in React Native is the navigator. This component allows us to add or remove views easily. When we add a new view, the navigator will transition with a nice animation to the new view, and when removing the latest view, the navigator will go to the previous view with a nice animation as well.
Before we start working on this recipe, we need to create a new app using the React Native CLI--let's name it UsingNavigator. We are going to create a simple music app similar to Spotify. At the home page, we will display a list of songs, and we are going to display the details, whenever any of these songs are tapped.
For this recipe, we are going to use three classes, so let's create an src folder where all our code will be. Then we'll create three files, MainApp.js, Home.js, and Detail.js.
This time, we are going to start by updating the
index.ios.jsandindex.android.jsfiles. We are going to require theMainAppclass, which, for now, is empty, because we want to test our app while adding the new features:import React, { Component } from 'react'; import { AppRegistry } from 'react-native'; import MainApp from './src/MainApp'; AppRegistry.registerComponent('UsingNavigator', () => MainApp);Let's create the main class. Here, we are going to import all the views that we want to display in the navigator, as well as the dependencies for this component:
       import React, { Component } from 'react';
       import {
         StyleSheet,
         Navigator,
       } from 'react-native';
       import Home from './Home';
       import Detail from './Detail';
Once we have the dependencies, we need to create the class. Inside the
rendermethod, we will only define theNavigator. This component will be responsible for loading the correct scene based on the route. Using theconfigureSceneproperty, we can set the default animation for all transitions. For this example, we will animate the new view from the bottom to the top of the screen, but we can also define an animation from left to right, or any other direction. I recommend you go to the documentation to see all the available options that we have:class MainApp extends Component { renderScene(route, navigator) { // Defined on step 4 } render() { return ( <Navigator ref="navigator" style={styles.container} configureScene={(route) => Navigator.SceneConfigs.FloatFromBottom} initialRoute={{}} renderScene={this.renderScene} /> ); } } const styles = StyleSheet.create({ container: { flex: 1, }, }); export default MainApp;The
renderScenemethod will get executed every time we push or pop a scene. Here, we need to decide which view we will render by returning the component based on the route. We could have as many views as needed. In this case, we only have theDetailand theHome:renderScene(route, navigator) { if (route.song) { return ( <Detail song={route.song} navigator={navigator} /> ); } return <Home navigator={navigator} />; }We are done with the main class. Now we can work on the
Homecomponent. We will start by importing all the dependencies for this class:import React, { Component } from 'react'; import { StyleSheet, View, Image, Text, ScrollView, TouchableHighlight, } from 'react-native';We are going to define the data for the songs in the
stateof the component. We will have several sections with a list of songs, for example,'Just for you','Recently played', and'Popular music'. For now, I will define the structure of one section only, because I don't want to clutter this book, but you can duplicate the same structure of data to create more sections. Here's what the class looks like with the data:class Home extends Component { state = { forYou: { // Please duplicate this data title: 'Just for you', root: 'https://s3.amazonaws.com/crysfel/public/book/01/07', songs: [ {title:'Some nice song', image: '1.jpg'}, {title:'One more nice song', image: '2.jpg'}, {title:'Here is one more song', image: '3.jpg'}, {title:'Really nice song', image: '4.jpg'}, {title:'I love this song', image: '5.jpg'}, {title:'This is a song', image: '6.jpg'}, ], }, }; onSelectSong(song) { // Defined on step 10 } renderSong(section, song, index){ // Defined on step 9 } renderSection(options) { // Defined on step 8 } render() { // Defined on step 7 } } export default Home;In the
rendermethod, we are going to define a title bar and three sections. Remember to duplicate the data on the state in order for this to work correctly:render() { const { forYou, played, // Name of the duplicated data popular, // Name of the duplicated data } = this.state; return ( <View style={styles.container}> <Text style={styles.title}>Home</Text> {this.renderSection(forYou)} {this.renderSection(played)} {this.renderSection(popular)} </View> ); }For each section, we are calling the
renderSectionmethod, which will render the title of the section and the list of songs in this group. We are going to use theScrollViewcomponent to allow the user to scroll through the list horizontally. To render the songs, we need to loop thesongsarray of each section. We can do this by using themapmethod and an arrow function:renderSection(options) { return ( <View style={styles.section}> <Text style={styles.sectionTitle} > {options.title.toUpperCase()} </Text> <ScrollView horizontal showsHorizontalScrollIndicator={false}> { options.songs.map( (song, index) => this.renderSong(options, song, index) ) } </ScrollView> </View> ); }Now we need to render the song. We will display the image and the title for each song. The image is hosted on Amazon S3. We are going to use the
TouchableHighlightcomponent because we want to detect the press event to show the detail of each song. It's important to mention that this component only accepts a single child; therefore, we need to use a wrapper to group the image and the title; otherwise, we will get errors:renderSong(section, song, index){ return ( <TouchableHighlight onPress={() => this.onSelectSong(song)} style={styles.song} key={index} > <View> <Image source={{uri:`${section.root}/${song.image}`}} style={styles.image} /> <Text style={styles.songTitle}>{song.title}</Text> </View> </TouchableHighlight> ); }In the previous step, we are calling the
onSelectSongmethod when the user presses the button. This function is the one that will run the transition on the navigator. All we need to do is call thepushmethod on the navigator and pass the details object. TherenderScenemethod will check if thesongobject is there, and will show the scene that we need:onSelectSong(song) { this.props.navigator.push({song}); }We are done with JSX. Now we need to add some styles to make this look pretty. Let's start by adding styles to the title bar and the main
container:const styles = StyleSheet.create({ container: { flex: 1, backgroundColor: '#0c1b1a', }, title: { backgroundColor: '#37b298', color: '#fff', padding: 10, paddingTop: 30, textAlign: 'center', fontWeight: 'bold', fontSize: 18, }, });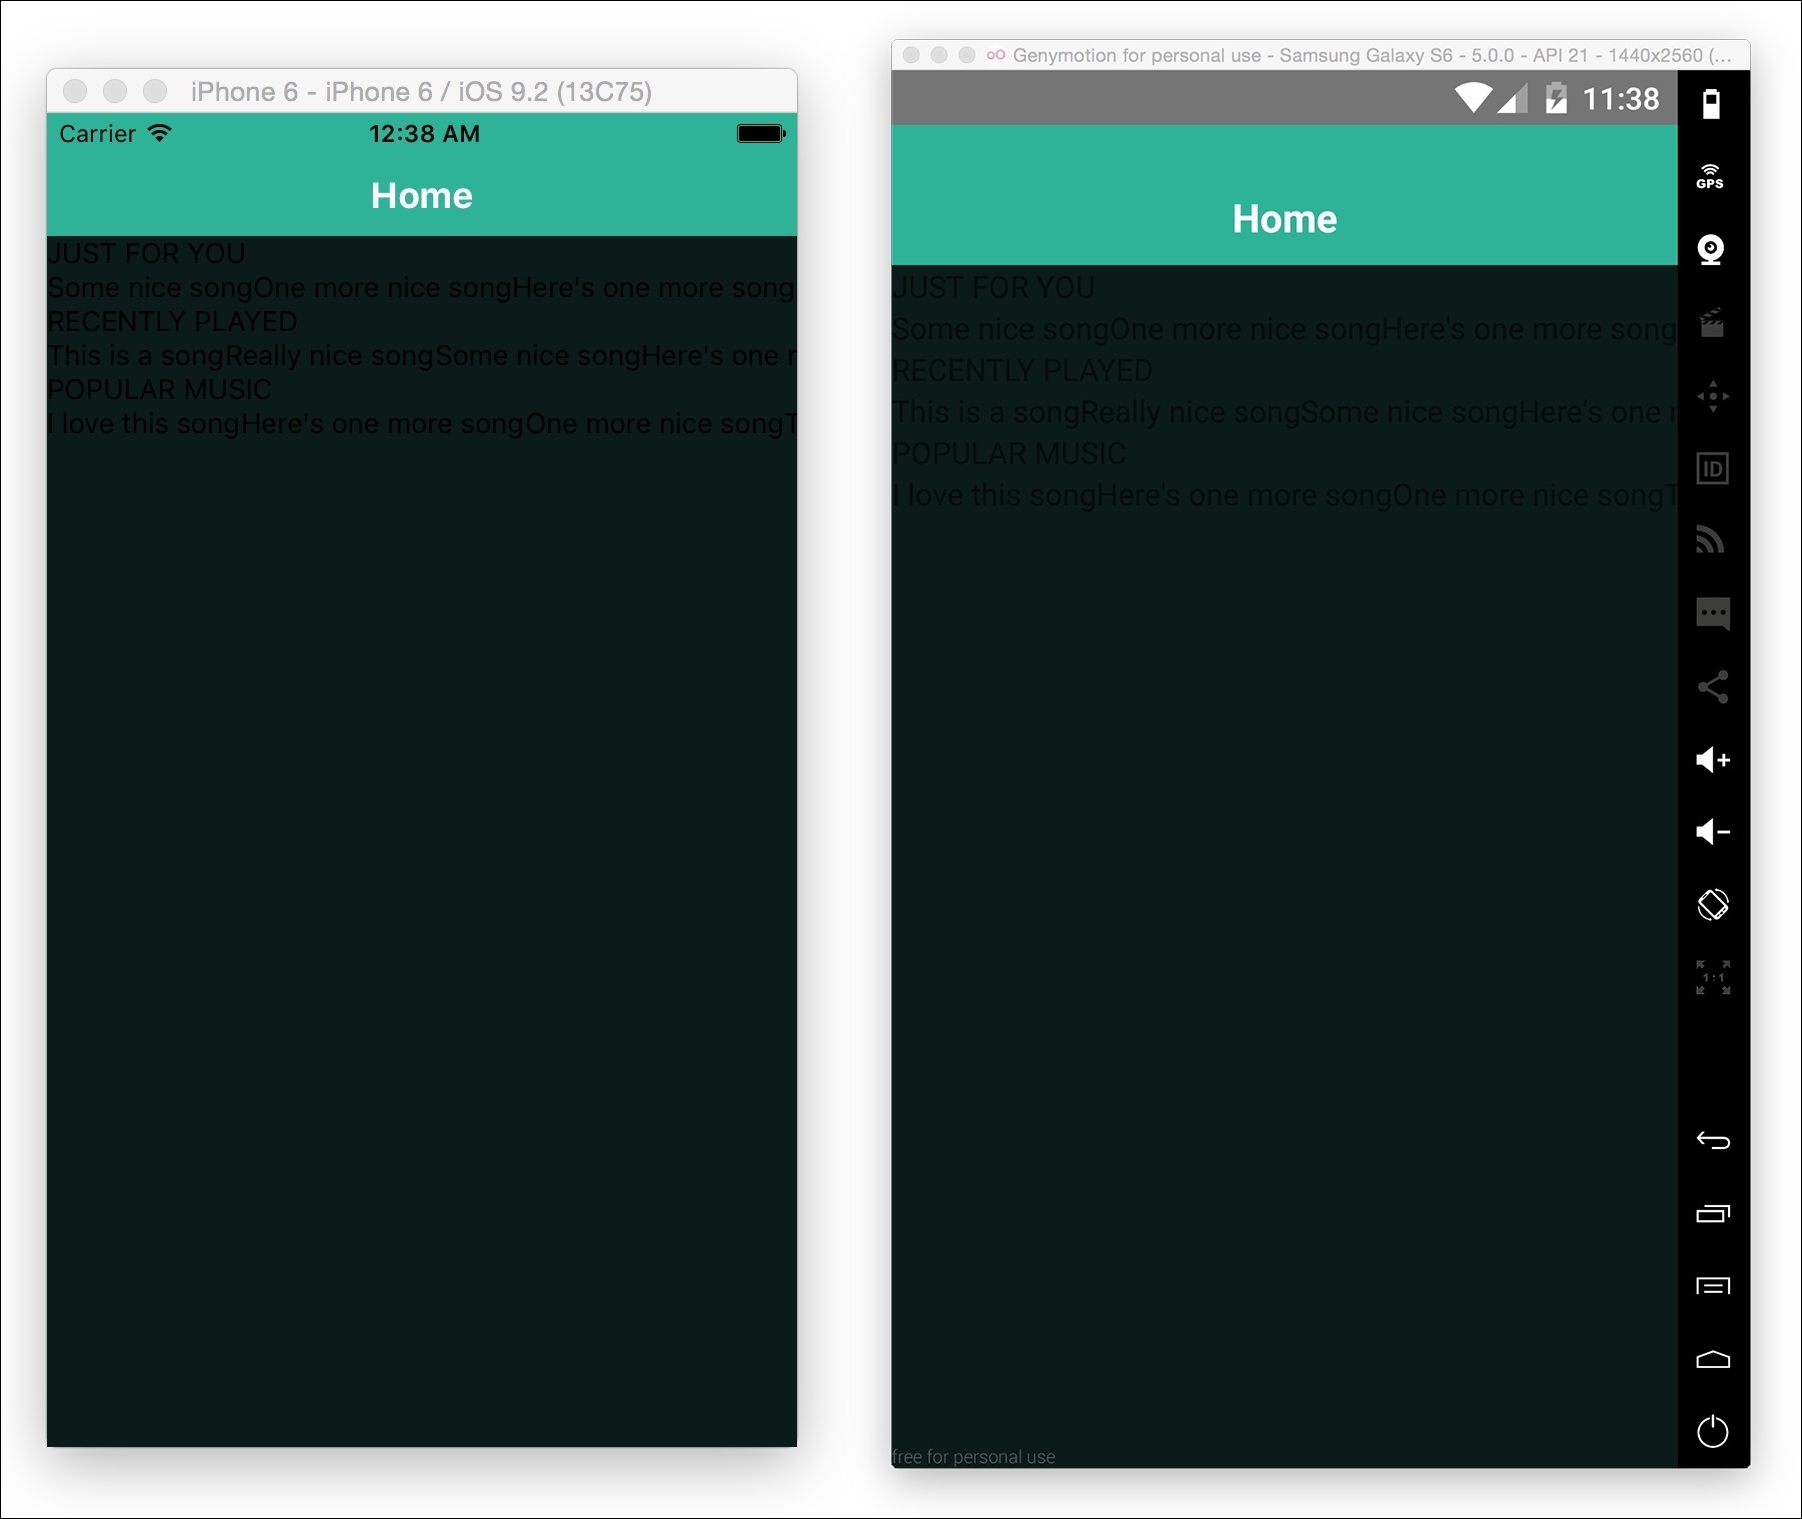
Next, let's style the
sectionTitle, theimage, and thesongTitle, something really simple--just adding some padding, color, and setting the width and height for each image:section: { padding: 10, }, sectionTitle: { color: '#fff', fontWeight: '200', paddingBottom: 10, }, song: { backgroundColor: '#081412', marginRight: 10, }, image: { width: 120, height: 120, }, songTitle: { color: '#f1f1f1', fontWeight: '200', fontSize: 12, flex: 1, padding: 5, width: 100, }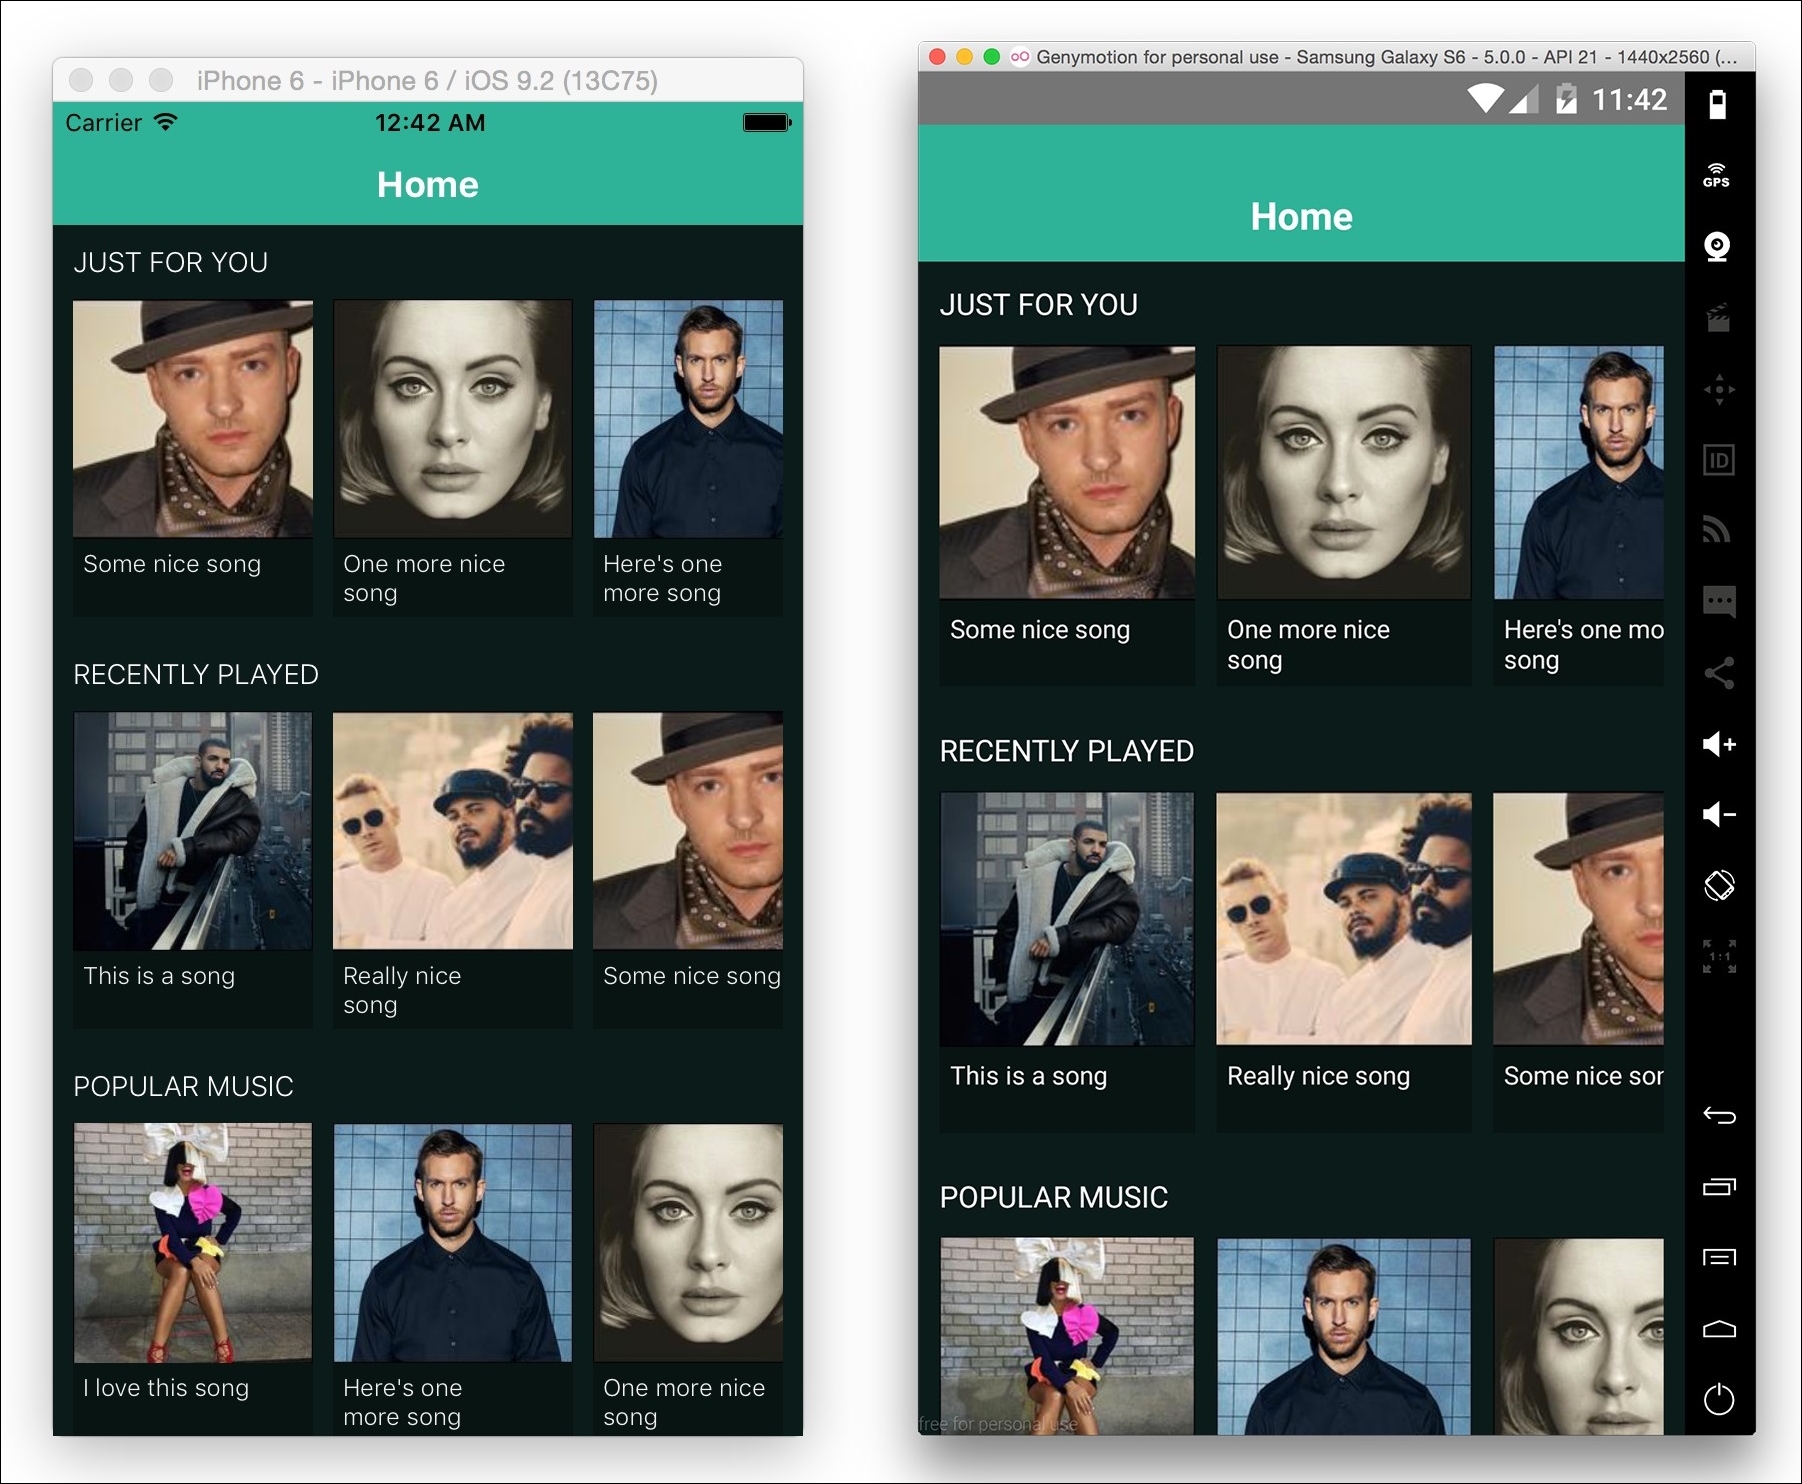
It's looking amazing! We can now scroll the list of each section horizontally. If we tap on any of the songs, we will get an error because we haven't defined the detail view. Let's start by importing the dependencies on the
Detail.jsfile. We are going to import thePropTypesobject. This object allows us to define the types of property our component will support. This step is very important because we can receive data from other components by using properties. In this example, we will receive the data from the home component, which will be an object with the song's data:import React, { Component, PropTypes } from 'react'; import { StyleSheet, View, Image, Text, } from 'react-native'; const { object } = PropTypes; const root = 'https://s3.amazonaws.com/crysfel/public/book/01/07';The class is a lot simpler. We are only defining the image and title from the song that we will receive in the properties; then we will display a list of other songs from the same artist. To make things a lot simpler, this list will be a hardcoded list of
Textelements:class Detail extends Component { static propTypes = { song: object, navigator: object, }; render() { const { song } = this.props; return ( <View style={styles.container}> <View style={styles.info}> <Image source={{uri: `${root}/${song.image}`}} style={styles.image} /> <Text style={styles.title}>{song.title}</Text> <View style={styles.playContainer}> <Text style={styles.play}>Play song</Text> </View> </View> <Text style={styles.other}>01 - One more song</Text> <Text style={styles.other}>02 - Other song here</Text> <Text style={styles.other}> 03 - This is the last song</Text> <Text style={styles.other}> 04 - Maybe this is the last song?</Text> <Text style={styles.other}> 05 - Why not one more song?</Text> <Text style={styles.other}> 06 - Finally this is the last song</Text> </View> ); } } export default Detail;Now let's style this component. We are going to display the image as a circle, and then we will display the title of the song we are receiving:
       const styles = StyleSheet.create({
         container: {
           backgroundColor: '#0c1b1a',
           flex: 1,
         },
         info: {
           padding: 50,
           alignItems: 'center',
         },
         image: {
           width: 150,
           height: 150,
           borderRadius: 75,
         },
         title: {
           fontSize: 20,
           fontWeight: '200',
           color: '#fff',
           marginTop: 23,
         },
       });
Finally, we will display the list of additional songs and the play button, which is really simple:
       playContainer: {
         backgroundColor: '#37b298',
         padding: 10,
         paddingRight: 50,
         paddingLeft: 50,
         borderRadius: 10,
         marginTop: 20,
       },
       play: {
         color: '#fff',
       },
       other: {
         color: '#f1f1f1',
         padding: 10,
         marginRight: 10,
         marginLeft: 10,
         backgroundColor: '#081412',
         marginBottom: 1,
       },
At this point, we should have something similar to the following screenshot:

The navigator is a very important component. Almost every application requires some sort of navigator to add some nice transitions. In this recipe, we covered the cross-platform navigator, which works on iOS and Android. This is because everything is on the JavaScript side. If we require something native, we should take a look at NavigatorIOS and ViewPagerAndroid.