

Adding rows to a list
The most common actions users might want to be able to perform on a list include adding, editing, or deleting items.
In this recipe, we'll go over the process of implementing those actions on a SwiftUI list.
Getting ready
Create a new SwiftUI project and call it ListRowAdd.
How to do it…
Let's create a list with a button at the top that can be used to add new rows to the list. The steps are as follows:
- Create a state variable in the
ContentViewstruct that holds an array of numbers:@State var numbers = [1,2,3,4]
- Add a
NavigationViewstruct and aListview to theContentViewstruct's body:NavigationView{ List{ ForEach(self.numbers, id:\.self){ number in Text("\(number)") } } } - Add a
.navigationBarTitlemodifier to the list with a title:.navigationBarTitle("Number List", displayMode: .inline) - Add a
navigationBarItemsmodifier to the list with a function to trigger an element being added to the row:.navigationBarItems(trailing: Button("Add", action: addItemToRow)) - Implement the
addItemToRowfunction and place it immediately after thebodyview's closing brace:private func addItemToRow() { self.numbers.append(Int.random(in: 5 ..< 100)) }
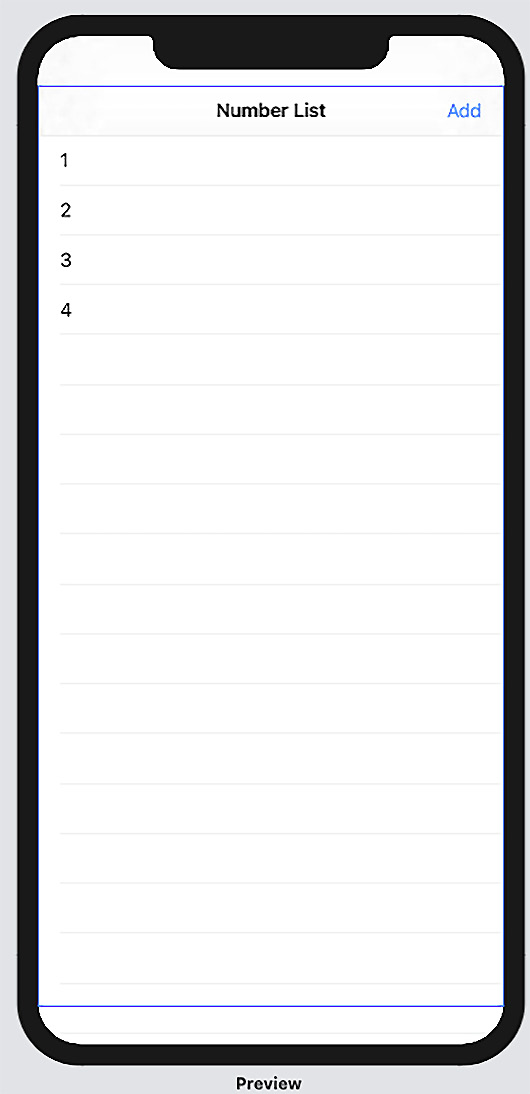
Figure 2.5 – ListRowAdd preview
You can now run the preview and click the Add button to add new items to the list.
How it works…
Our state variable, numbers, holds an array of numbers. We made it a state variable so that the view that's created by our ForEach struct gets updated each time a new number is added to the array.
The .navigationBarTitle ("Number List," displayMode: .inline) modifier adds a title to the top of the list and within the standard bounds of the navigation bar. The display mode is optional, so you could remove it to display the title more prominently. Other display modes include automatic, to inherit from the previous navigation item, and large, to display the title within an expanded navigation bar.
The .navigationbartItems(…) modifier adds a button to the trailing end of the navigation section. The button calls the addItemToRow function when clicked.
Finally, the addItemToRow function generates a random number between 0-99 and appends it to the numbers array. The view gets automatically updated since the numbers variable is a state variable and a change in its state triggers a view refresh.
Important Note
In our list's ForEach struct, we used \.self as our id parameter. However, we may end up with duplicate numbers in our list as we generate more items. Identifiers should be unique, so using values that could be duplicated may lead to unexpected behaviors. Remember to ONLY use unique identifiers for apps meant to be deployed to users.