

Adding sections to a list
In this recipe, we will create an app that implements a static list with sections. The app will display a list of countries grouped by continent.
Getting ready
Let's start by creating a new SwiftUI app in Xcode named ListWithSections.
How to do it…
We will add a Section view to our List to separate groups of items by section titles. Proceed as follows:
- (Optional) Open the
ContentView.swiftfile and replace theTextview with aNavigationView. Wrapping theListin aNavigationViewallows us to add a title and navigation items to the view:NavigationView{ } - Add a list and section to
NavigationView(or body view if you skipped optional Step 1). Also, add alistStyleandnavigationBarTitlemodifier:List { Section(header: Text("North America")){ Text("USA") Text("Canada") Text("Mexico") Text("Panama") Text("Anguilla") } } .listStyle(.grouped) .navigationBarTitle("Continents and Countries", displayMode: .inline) - Below the initial
Section, add more sections representing countries in various continents:List { … Section(header: Text("Africa")){ Text("Nigeria") Text("Ghana") Text("Kenya") Text("Senegal") } Section(header: Text("Europe")){ Text("Spain") Text("France") Text("Sweden") Text("Finland") Text("UK") } }
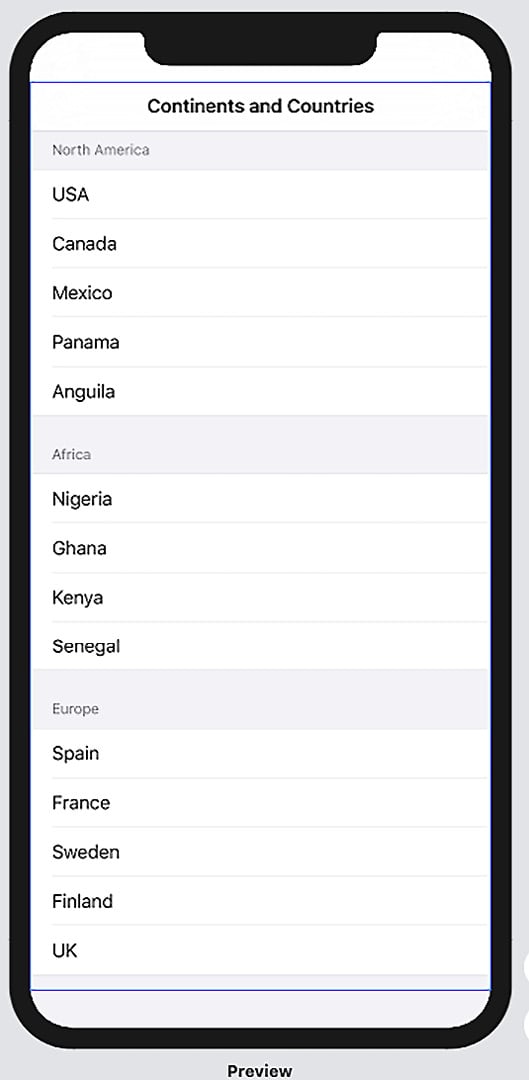
Figure 2.9 – ListWithSections preview
Looking at the preview, you can see the continents where each country is located by reading the section titles.
How it works…
SwiftUI's Section views are used to separate items into groups. In this recipe, we used Section views to visually group countries by their continents. A Section view can be used with a header, as shown in this recipe, or without a header, as follows:
                Section {
                    Text("Spain")
                    Text("France")
                    Text("Sweden")
                    Text("Finland")
                    Text("UK")
                }
You can change section styles by using the listStyle() modifier with the .grouped style.