-
Book Overview & Buying

-
Table Of Contents

SwiftUI Cookbook
By :

SwiftUI Cookbook
By:
Overview of this book
 Free Chapter
 Sign In
Start Free Trial

 Free Chapter
ScrollViewReader can be used to programmatically scroll to a different section of a list that might not be currently visible. In this recipe, we will create an app that displays a list of characters from A to L. The app will also have a button at the top for programmatically scrolling to the last element in the list and a button at the bottom for programmatically scrolling to an element in the middle of the list.
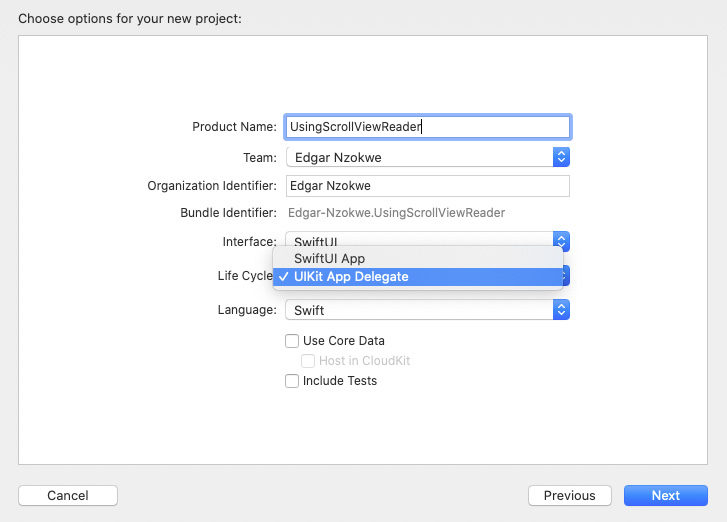
Create a new SwiftUI app using the UIKit App Delegate life cycle:

Figure 2.14 – UIKit App Delegate in Xcode
Name the app UsingScrollViewReader.
We will start by creating an array of structs with a name and an ID. The array will be used to display SF symbols for the characters A–L. We will then proceed to implement ScrollViewReader and programmatically move to the top or the bottom of the list.
The steps are as follows:
ImageStore, just above the ContentView_Previews struct. The struct should implement the Identifiable protocol:struct ImageStore: Identifiable {
var name: String
var id: Int
}ContentView struct, just before the body variable, declare an array called imageNames. Initialize the array with ImageStore structs whose name parameters represent the letters A–Q from SF Symbols: let imageNames = [ ImageStore(name:"a.circle.fill",id:0), ImageStore(name:"b.circle.fill",id:1), ImageStore(name:"c.circle.fill",id:2), ImageStore(name:"d.circle.fill",id:3), ImageStore(name:"e.circle.fill",id:4), ImageStore(name:"f.circle.fill",id:5), ImageStore(name:"g.circle.fill",id:6), ImageStore(name:"h.circle.fill",id:7), ImageStore(name:"i.circle.fill",id:8), ImageStore(name:"j.circle.fill",id:9), ImageStore(name:"k.circle.fill",id:10), ImageStore(name:"l.circle.fill",id:11), ImageStore(name:"m.circle.fill",id:12), ImageStore(name:"n.circle.fill",id:13), ImageStore(name:"o.circle.fill",id:14), ImageStore(name:"p.circle.fill",id:15), ImageStore(name:"q.circle.fill",id:16), ]
TextView component in the body variable with a ScrollView component, ScrollViewReader, and a Button component to navigate to the letter Q in the list:ScrollView {
ScrollViewReader { value in
Button("Go to letter Q") {
value.scrollTo(16)
}
}
}ForEach struct to iterate over the imageNames array and display its content using the SwiftUI's Image struct: ForEach(imageNames){ image in
Image(systemName: image.name)
.id(image.id)
.font(.largeTitle)
.foregroundColor(Color.yellow)
.frame(width: 90, height: 90)
.background(Color.blue)
.padding()
}Button("Go back to A") {
value.scrollTo(0)
}Button("Go to letter Q") {
value.scrollTo(0)
}
.padding()
.background(Color.yellow)
Button("Go to G") {
value.scrollTo(6, anchor: .bottom)
}
.padding()
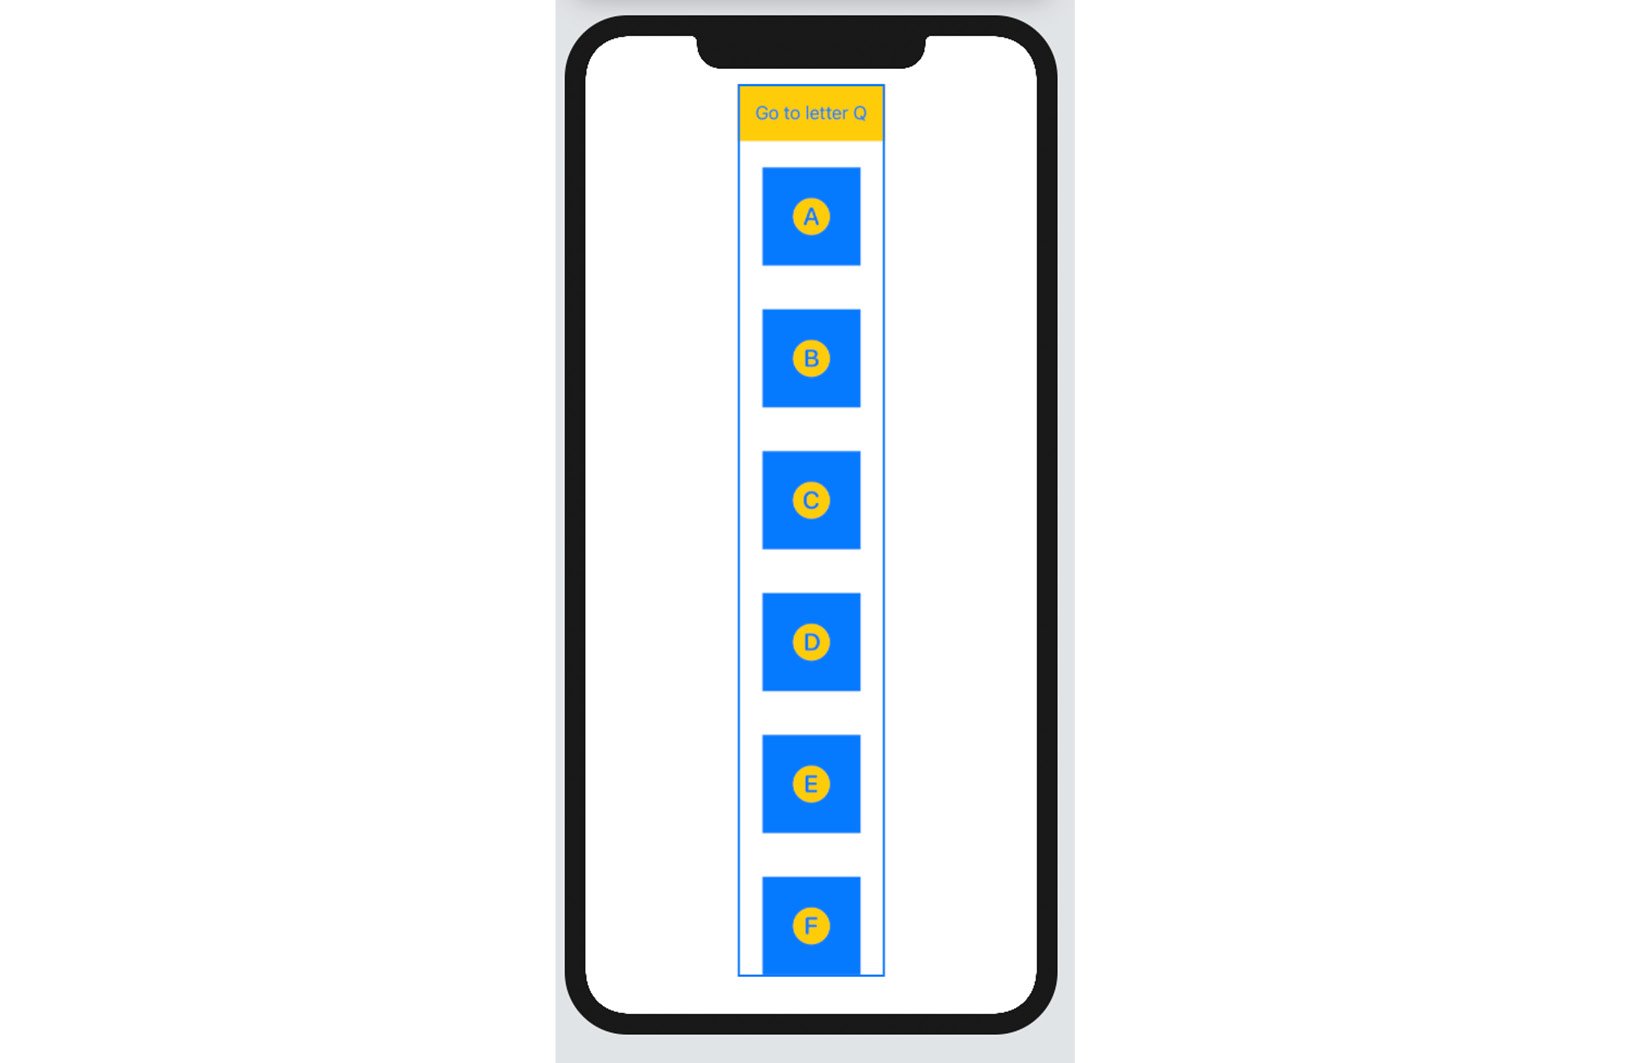
.background(Color.yellow)The resulting app preview should look as follows:

Figure 2.15 – The UsingScrollViewReader app
Run the app in Xcode live preview and tap the button at the top to programmatically scroll down to the letter Q.
Scroll to the bottom of the view and tap the button to scroll up to the view where the letter G is at the bottom of the visible area.
We start this recipe by creating the ImageStore struct that defines the properties of each image we want to display:
struct ImageStore: Identifiable {
    var name: String
    var id: Int
}
The id parameter is required for ScrollViewReader as a reference for the location to scroll to, just like a house address provides the final destination for driving. By making the struct extend the Identifiable protocol, we are able to iterate over the imageNames array without specifying an id parameter to the ForEach struct:
ForEach(imageNames){ image in
                    Image(systemName: image.name)
				…
                }
ScrollViewReader should be embedded inside a scroll view. This provides a scrollTo() method that can be used to programmatically scroll to the item whose index is specified in the method:
ScrollViewReader { value in
                Button("Go to letter Q") {
                    value.scrollTo(16)
                }
			…
}
The scrollTo() method also has an anchor parameter that is used to specify the position of the item we are scrolling to; for example, scrollTo(6, anchor: .top), in this case, causes the app to scroll until the ImageStore item with ID 6 at the bottom of the view.
