
In five easy steps, you can install and set up XenMobile on your system
Before you install XenMobile, you need to check whether you have all of the required elements, which are as follows:
Note
These values are updated as of August 2013. Please note that users should use the recommended values. The minimum values should only be used for lab environments with less than 10 mobile devices used for testing.
Disk space: 500 MB free (min). However, most installations will require at least 10 GB free.
Memory: 1 GB (min), 4 GB (recommended). The server must use an Intel Xeon class running at 3Ghz or AMD Opteron 1.8 Ghz class or faster processor.
Moodle requires a web server environment and it runs in Apache and IIS easily. Moodle should run in any server environment that supports PHP.
Server must be physical or virtual. We have tested this extensively on both the VMware ESXi and VMWarevCloud environments, along with Microsoft Hyper-V environments and it did not have any issue with virtual platforms.
You must ensure that you do not have any other software installed and running, including web servers, database servers, or other server type software running on XenMobile. The system should be purposefully built only for Citrix.
XenMobile will install PostgreSQL, however other SQL servers can be used. For large installations an external SQL server is recommended.
If you want to download the XenMobile MDM you need to contact Citrix to get a demo of the software. Citrix offers cloud-based demos, you can even request to download their software at: http://deliver.citrix.com/XenMobileMDM.html/.
We would suggest that anyone who is interested in XenMobile requests the cloud-based demo. These requests usually come from IT teams or the office of the CIO in an organization. It has all the features of the on-premise demo, but does not require you to set up or install the system. All the features can be tested and experienced with the cloud-based demo.
In addition to the hardware requirements described in the first step, most of the installations will need their Java software updated on their systems. XenMobile requires the following Java components before the installation of the XenMobile software:
Oracle Java SE 7 JDK (JDK download edition) update 11 and higher
Java Cryptography Extension (JCE) unlimited strength jurisdiction policy files 7
From your XenMobile server, go to http://www.oracle.com/technetwork/java/javase/downloads/java-archive-downloads-javase7-521261.html#jdk-7u4-oth-JPR to download Java. You may be asked to register on the Java's website before you are allowed to download the file. Please note, that the Java versions are very specific. You should check with the Citrix XenMobile documentation to check if updates to the versions of Java have occurred since the time of writing. The registration page is as follows:

The Java download registration Page
Once Java is downloaded, simply double-click the installation file on the XenMobile server to install it, as shown in the following screenshot:

The Java installation file
After you download the Java file, you must additionally download JCE. The following is the link to Oracle's web page from where you can download the additional Java components needed to install XenMobile:
http://www.oracle.com/technetwork/java/javase/downloads/jce-7-download-432124.html
The following page opens up:

Download JCE encryption files
After you download and extract the JCE package, copy the local_policy.jar and US_export_policy.jar files to the <java-home>\jre\lib\security folder and overwrite the existing files. This means that on most of the systems you will replace the files in the C:\Program Files\Java\jre7\lib\security directory.
You can see from the following screenshot that we are moving the files from the downloaded and extracted archive into our Java home directory. Select Move and Replace when prompted:

Replace Java encryption files with JCE strong encryption files
You are now ready to install the Citrix XenMobile software on our server. You will use the installation file that was sent to you from Citrix after you registered to obtain the software on step 2.You can install the software by performing the following steps:
Double-click on the installation file.
Click on Next > to continue with the installation, as shown in the following screenshot:

The XenMobile Setup wizard
Click on Next > to install XenMobile Database server and XenMobile Application server. If you have your own database server, you may uncheck the Database server option:

The XenMobile Setup Wizard
If you did not uncheck the installation of the database server, you will be asked to continue to install the PostgreSQL server, as shown in the following screenshot:
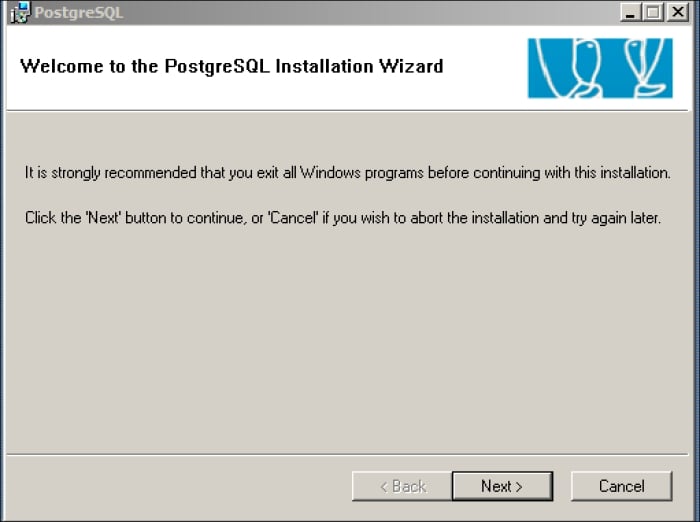
The PostgreSQL Installation Wizard
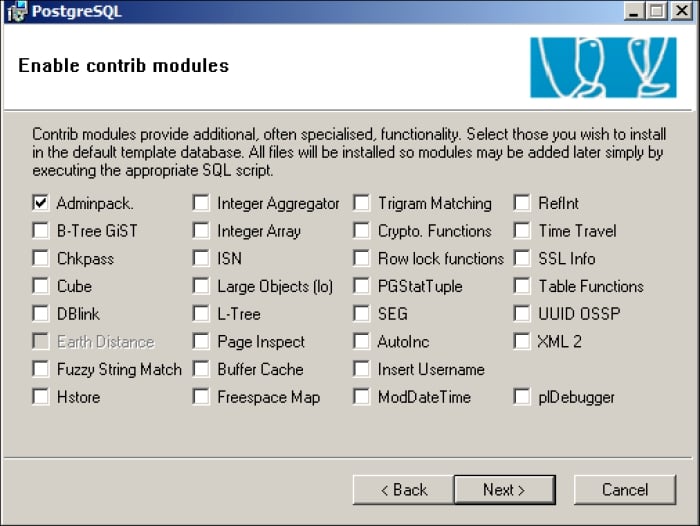
Review the default installation options. There is no need to change them. You may select additional options if you require them.
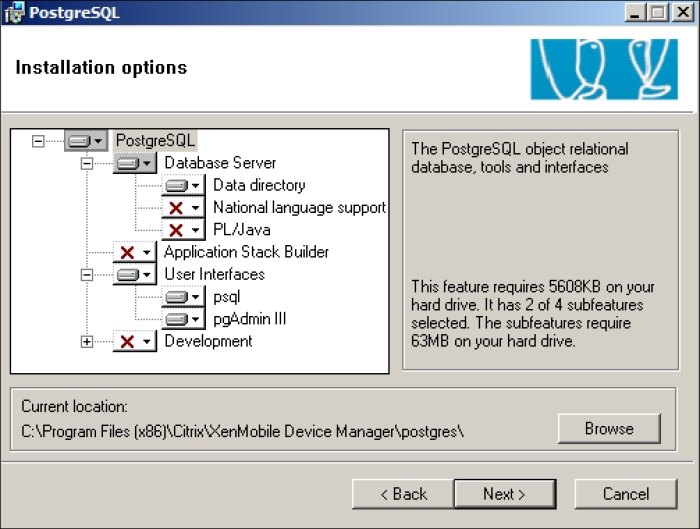
The PostgreSQL Installation Wizard
You will be prompted to create a user. Click on Yes to accept this message, as shown in the following screenshot:
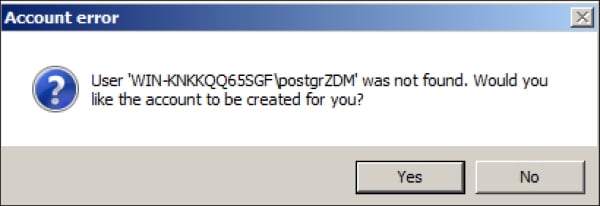
Creating ZDM database user
You will be asked for any additional components which you would like to install for the SQL server. You may select any additional components you may need, however XenMobile just needs the default components. You may click on Next > to continue, as shown in the following screenshot:
The additional database components
You need to add your licensed file for XenMobile that you received from Citrix at this point. If you do not have a licensed file you may simply click on Next >, as shown in the following screenshot:

Citrix XenMobile licensing
You must enter the name of your XenMobile server. This name should be a fully qualified DNS name assigned to you by XenMobile. You need to make sure the name of the server is fully resolvable by an external DNS from the Internet.

Citrix XenMobile final installation components
You need to enter your SQL server's admin username. If you used the default settings, the username will be
postgres. Please note, that you do not have to use this as the password, you can choose any password you like.You also need to enter your password that you set yourself earlier during the installation.
You will be asked to accept the name of the database. The default name is
ZDM. You should not change this name. You must keep the default name of the database asZDM.Click on Continue. The installation can take up to 15 minutes to complete.
Once your server is rebooted, ensure you do not have any errors appearing on the screen. XenMobile can take up to 5 minutes after the server is started for the application to get fully loaded, so be patient.
By this time, you should have a working installation of XenMobile MDM and should be free to play around and discover more about it. Open up a web browser (all the major web browsers that support Java Version 7 will work) and go to: https://localhost/zdm. You will be taken to the following screenshot:
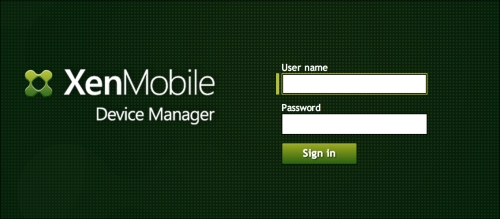
The XenMobile MDM's login screen