

The next tool to be installed is Android Studio. Android Studio is the official IDE for Android application development, based on IntelliJ IDEA. Eclipse used to be the IDE for Android Application development before Android Studio was introduced. Android Studio was in early access preview stage, starting with version 0.1 in May 2013, and then entered beta stage starting with version 0.8, which was released in June 2014. The first stable build was released in December 2014, starting with version 1.0.
Download and install Android Studio from the following link:
https://developer.android.com/sdk/index.html
Download Android Studio and run the installer:
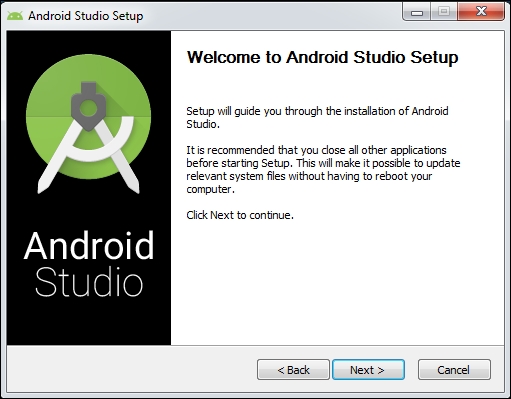
Click Next till the following window appears:

This window shows us the options for the tools to be installed. It is suggested you check all of them to install Android SDK, Android Virtual Device, and Intel@HAXM, which is used for hardware acceleration and necessary to run x86-based emulators with Android Studio.
Agree to the License Agreement and proceed with the installation:
Choose the installation location for Android Studio and the Android SDK. If you don't have any specific choices, leave them to the default values. Please keep a note of the location of your Android SDK to add it to your system environment variables, so that we can access tools such as adb, sqlite3 client, and so on from anywhere on the command prompt:

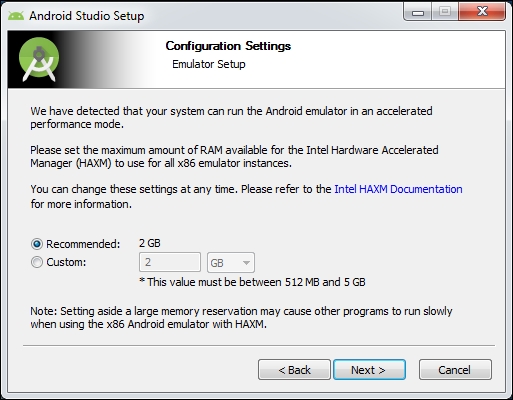
Allocate the RAM based on your available system memory; however, a minimum of 2 GB is recommended:
The following step allows us to choose the name for Android Studio in the start menu. Again, you can leave it to the default value if you don't have any specific choice:

Continue the installation by clicking Next till the following screen appears. This finishes our Android Studio installation:

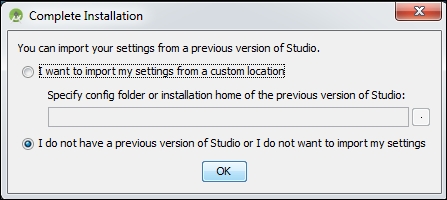
When you click Finish in the preceding window, the following screen will be shown. If you have installed an older version of Android Studio, choose its location to import your previous settings. If this is a fresh installation on this machine, choose I do not have a previous version of Studio or I do not want to import my settings:
Clicking the OK button will start Android Studio, as shown here:

Once it is loaded, we will be greeted with a window, where we need to choose the UI theme. Select one of the themes and click Next.

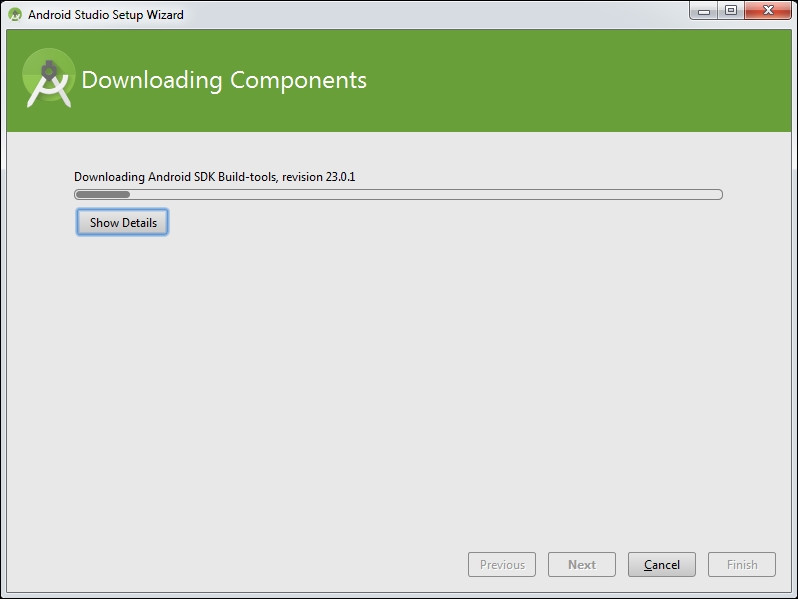
Clicking Next in the previous window will download the latest SDK components and the emulator, as shown in the following screenshot:
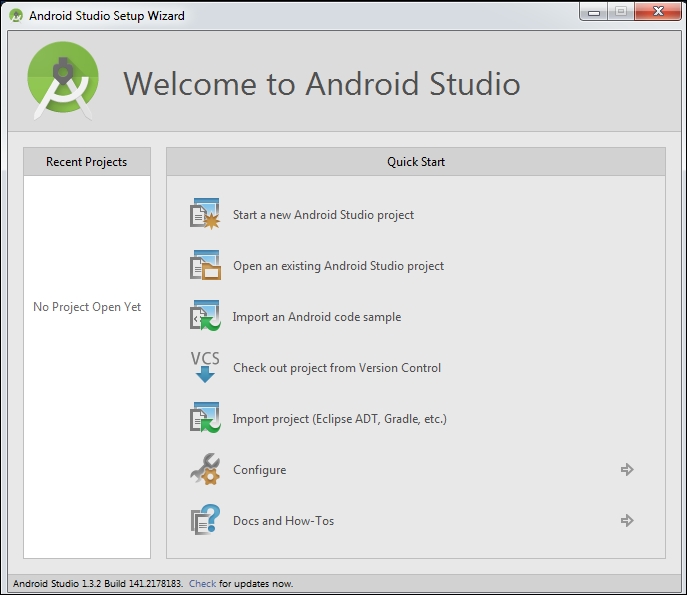
Finally, click Finish and you should be greeted with the following window. This completes our installation:

To create a new sample application, click Start a new Android Studio project:
Choose a name for your app under Application name. Let's name it HelloWorld. Also choose a sample company domain name. Let's name it test.com. Leave the other options to their defaults and click Next:

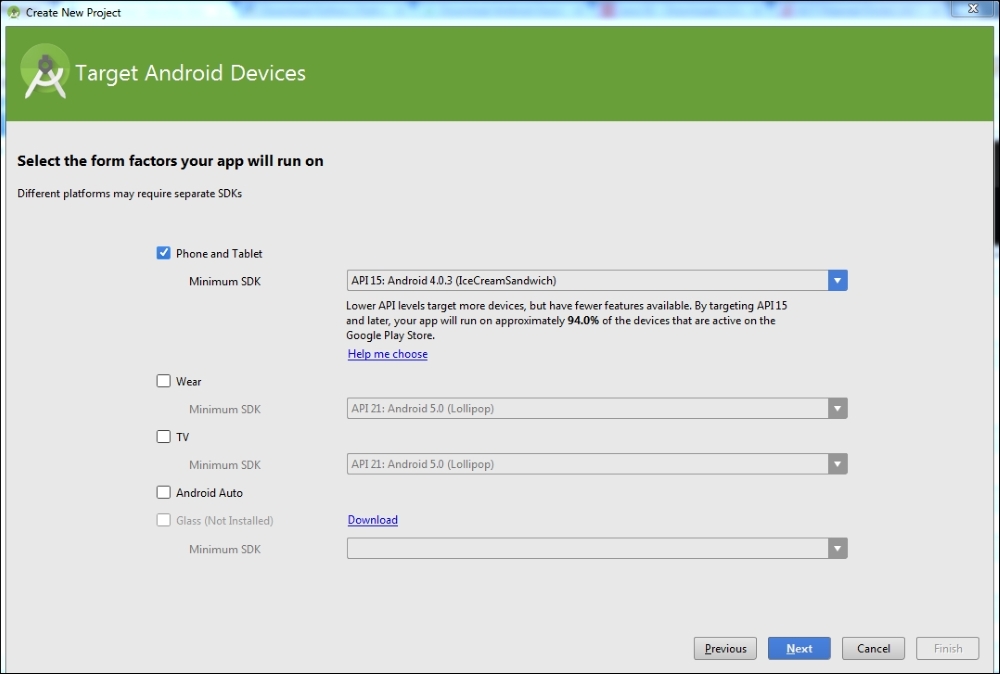
The following screen shows the Minimum SDK version for our app. We choose to make it API Level 15, as it supports a higher number of devices:
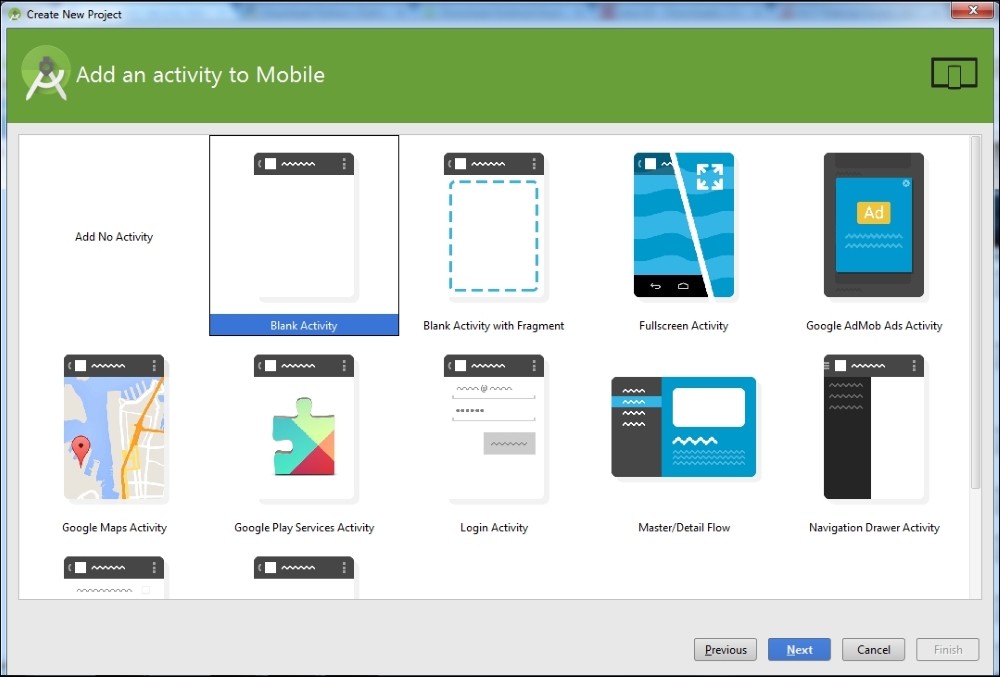
Select a Blank Activity, as shown here, and click Next:
You can choose a name for your activity if you wish. We will leave the options to their defaults:

Finally, click Finish to complete the setup. It will take some time to initialize the emulator and build our first Hello World app:

Wait for all initialization to finish when you see the previous screen. In future chapters, we will see how this app is compiled and run in an emulator.