

To get hands-on experience of most of the concepts in this book, readers must have an emulator or a real Android device (preferably a rooted device) up and running. So, let's see how to create an emulator using the setup we have from the previous installation:
Click the AVD Manager icon at the top of the Android Studio interface, shown in the following image:

This will open the following window. There is one emulator by default, which was created during Android Studio's installation process:

Click the Create Virtual Device button in the bottom-left corner of the previous window. This will display the following window:
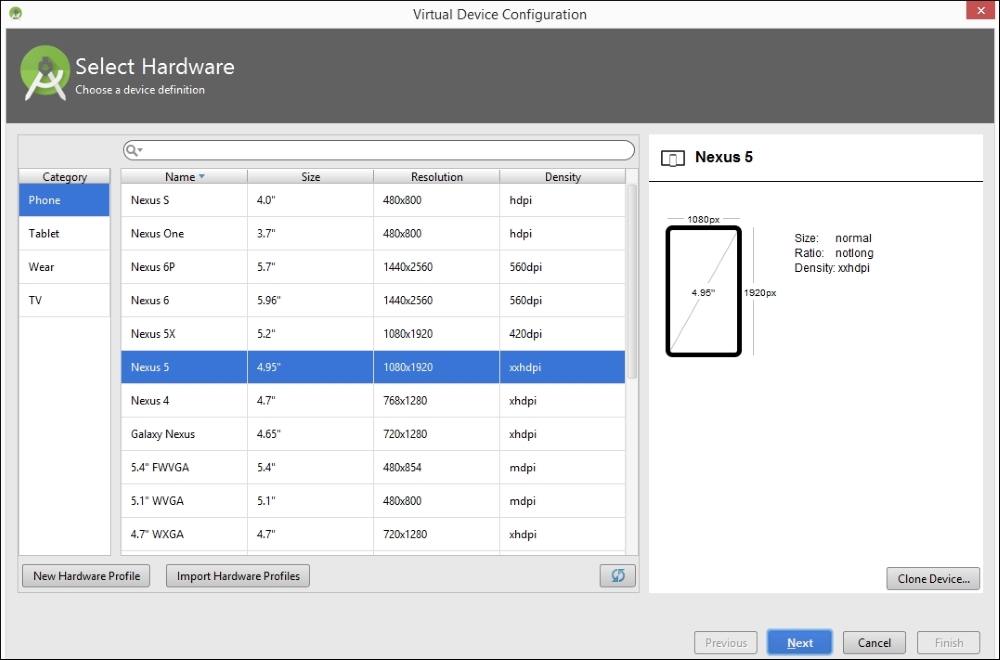
Now, choose your device. I chose a device with the following specs, to create an emulator of a small size:

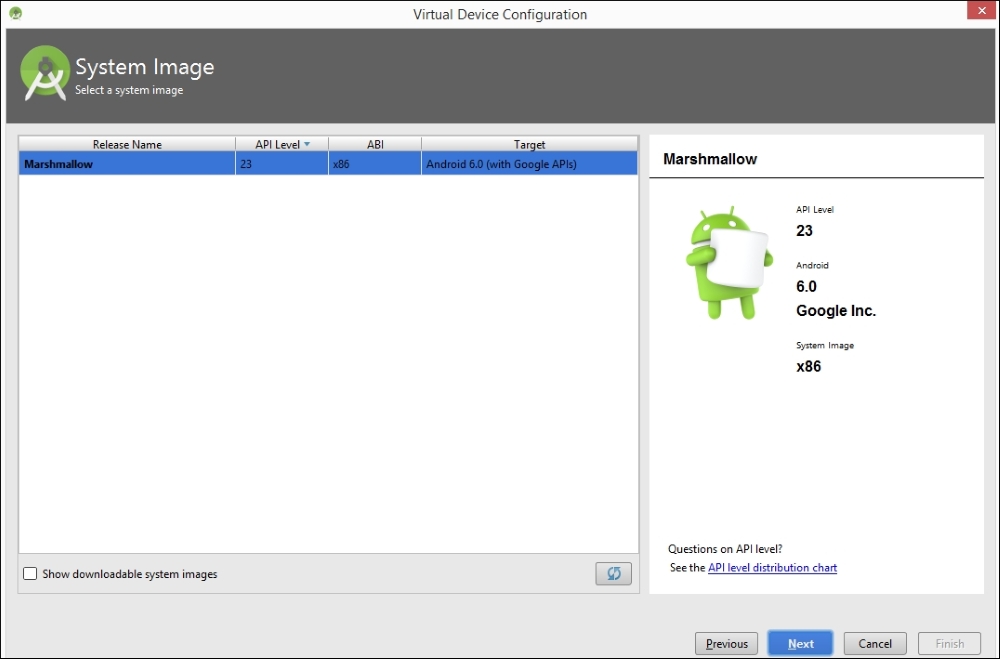
Click Next and you will see the following window. If you check Show downloadable system Images, you will see more options for your system images. We can leave it to the default of x86 for now.
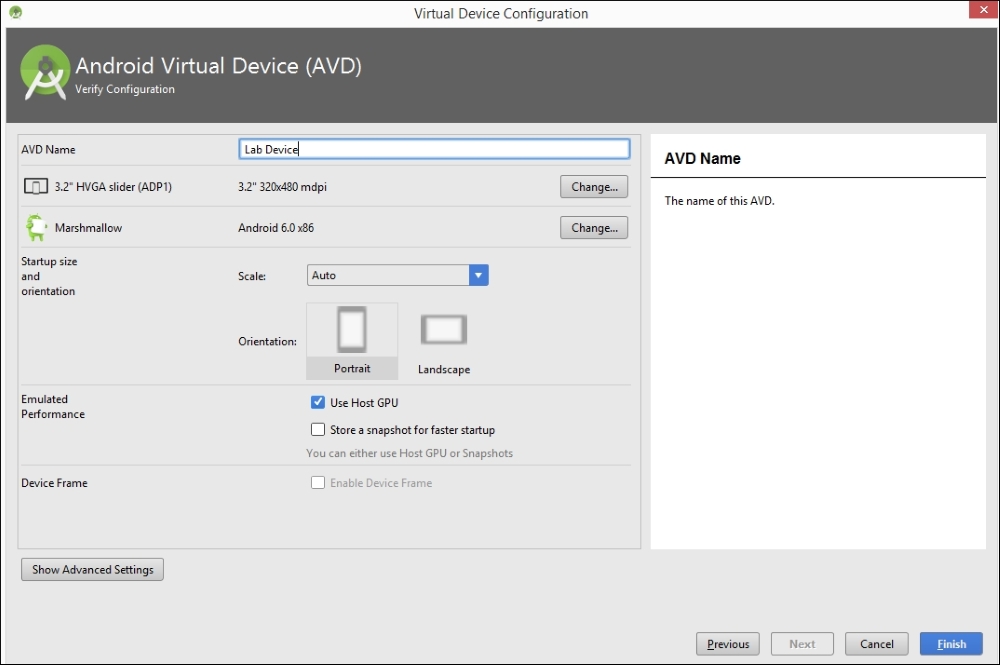
Finally, give your AVD a name and click Finish. In our case, we named it Lab Device:
Once you are done with the previous steps, you should see an additional virtual device, shown here:

Select the emulator of your choice and click the Play button to start the emulator:

When it's ready, you should see an emulator, as shown here:

It is recommended you have a real device along with an emulator to follow some of the concepts shown in this book.
The authors have used the following device for some of their demonstrations with real devices: Sony Xperia model c1504, rooted:

Apktool is one of the most important tools that must be included in an Android penetration tester's arsenal. We will use this tool later for Android application reverse engineering, and for creating malware by infecting legitimate apps.
Download the latest version of Apktool from the following link (please download Apktool 2.0.2 or later to avoid some issues that exist in older versions):
http://ibotpeaches.github.io/Apktool/
We downloaded and saved it in the C:\APKTOOL directory, as shown in the following screenshot:
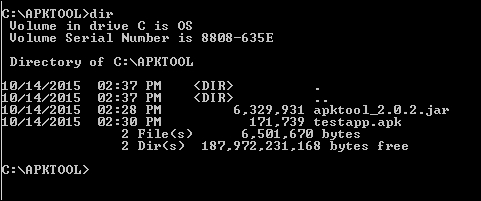
Now, we can go ahead and launch Apktool, using the following command to see the available options:
java –jar apktool_2.0.2.jar --help

This completes the setup of Apktool. We will explore Apktool further in future chapters.
Dex2jar and JD-GUI are two different tools that are often used for reverse engineering Android apps. Dex2jar converts .dex files to .jar. JD-GUI is a Java decompiler that can decompile .jar files to the original Java source.
Download both the tools from the links provided. No installation is required for these tools, as they are executables:
http://sourceforge.net/projects/dex2jar/

Burp Suite is without a doubt one of the most important tools for any penetration testing engagement. Android apps are not an exemption. This section shows how we can set up Burp Suite to view the HTTP traffic from an emulator:
Download the latest version of Burp Suite from the official website:
To launch Burp Suite, double-click on the downloaded file, or simply run the following command, assuming that the downloaded file is in the current working directory:
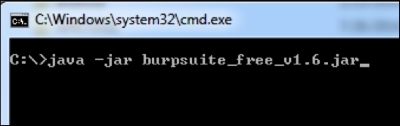
The preceding command launches Burp Suite and you should see the following screen:

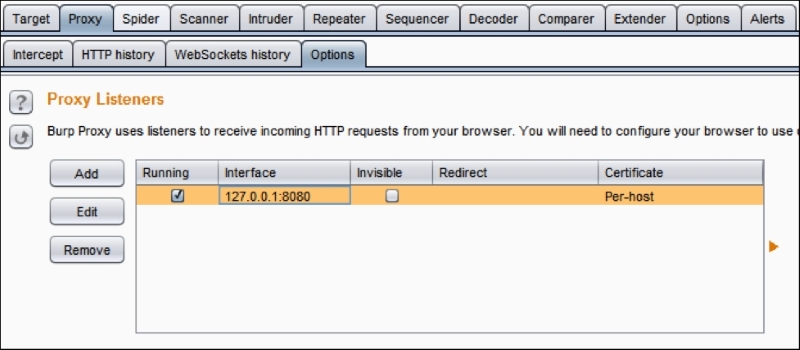
Now we need to configure Burp by navigating to Proxy | Options. The default configuration looks like this:
We have to click the Edit button to check the Invisible option. We can do this by clicking the Edit button, navigating to Request handling and then checking Support invisible proxying (enable only if needed). This is shown in the following figure:

Now, let's start our emulator in order to configure it to send its traffic through Burp Suite.