Book Image

Kali Linux - An Ethical Hacker's Cookbook

By : Himanshu Sharma
Book Image

Kali Linux - An Ethical Hacker's Cookbook

By: Himanshu Sharma

Overview of this book

With the current rate of hacking, it is very important to pentest your environment in order to ensure advanced-level security. This book is packed with practical recipes that will quickly get you started with Kali Linux (version 2016.2) according to your needs, and move on to core functionalities. This book will start with the installation and configuration of Kali Linux so that you can perform your tests. You will learn how to plan attack strategies and perform web application exploitation using tools such as Burp, and Jexboss. You will also learn how to perform network exploitation using Metasploit, Sparta, and Wireshark. Next, you will perform wireless and password attacks using tools such as Patator, John the Ripper, and airoscript-ng. Lastly, you will learn how to create an optimum quality pentest report! By the end of this book, you will know how to conduct advanced penetration testing thanks to the book’s crisp and task-oriented recipes.
Table of Contents (20 chapters)
Title Page
Credits
Disclaimer
About the Author
About the Reviewer
www.PacktPub.com
Customer Feedback
Preface
6
Wireless Attacks – Getting Past Aircrack-ng

Say no to SQL – owning MongoDBs


MongoDB is a free open source cross-platform database program. It uses JSON-like documents with schemas. The default security configuration of MongoDB allows anyone to access data unauthenticated. In this recipe, we will see how to exploit this vulnerability.

Getting ready

MongoDB runs on port 27017 by default. To access MongoDB, we need to download and install the MongoDB client. There are multiple clients available; we will use Studio-3T, which can be downloaded from https://studio3t.com/.

How to do it...

Follow the steps to learn about it:

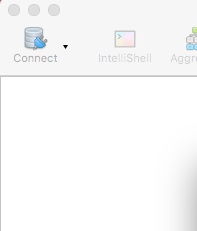
  1. Once installed, we open the app and choose Connect.
  2. In the window that opens up, we click on a new connection:
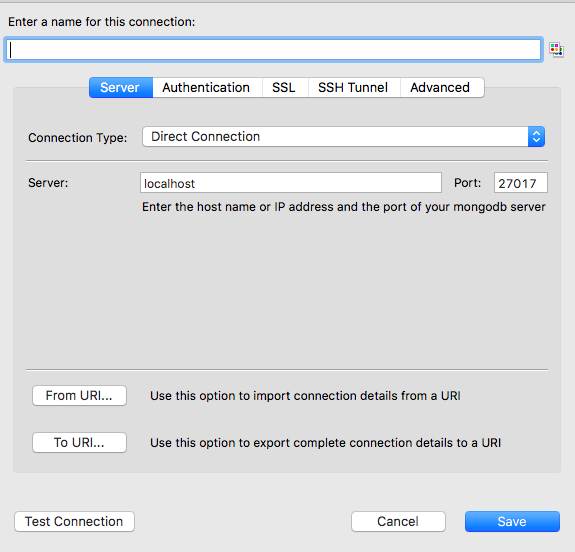
  1. Then, we choose a name, enter the IP address in the Server field, and click on Save:
  1. Next, we simply select the database we just added from the list and click on Connect. On successful connection, the database names will be displayed on the left-hand side and data will be displayed on the right-hand side.