Book Image

Mastering Ubuntu Server - Second Edition

By : Jay LaCroix
Book Image

Mastering Ubuntu Server - Second Edition

By: Jay LaCroix

Overview of this book

Ubuntu Server has taken the data centers by storm. Whether you're deploying Ubuntu for a large-scale project or for a small office, it is a stable, customizable, and powerful Linux distribution that leads the way with innovative and cutting-edge features. For both simple and complex server deployments, Ubuntu's flexible nature can be easily adapted to meet to the needs of your organization. With this book as your guide, you will learn all about Ubuntu Server, from initial deployment to creating production-ready resources for your network. The book begins with the concept of user management, group management, and filesystem permissions. Continuing into managing storage volumes, you will learn how to format storage devices, utilize logical volume management, and monitor disk usage. Later, you will learn how to virtualize hosts and applications, which will cover setting up KVM/QEMU, as well as containerization with both Docker and LXD. As the book continues, you will learn how to automate configuration with Ansible, as well as take a look at writing scripts. Lastly, you will explore best practices and troubleshooting techniques when working with Ubuntu Server that are applicable to real-world scenarios. By the end of the book, you will be an expert Ubuntu Server administrator who is well-versed in its advanced concepts.
Table of Contents (21 chapters)

Creating a bootable Ubuntu Server flash drive

The process of creating a bootable USB flash drive with which to install Ubuntu used to vary greatly between platforms. The steps were very different depending on whether your workstation or laptop was currently running Linux, Windows, or macOS. In the first edition, I outlined the process on all three major platforms. Thankfully, a much simpler method has come about since the publication of the first edition. Nowadays, I recommend the use of Etcher to create your bootable media. Etcher is fantastic in that it abstracts the method such that it is the same regardless of which OS you use, and it distills the process to its most simple form. Another feature I like is that Etcher is safe; it prevents you from destroying your current operating system in the process of mastering your bootable media. In the past, you'd use tools like the dd command on Linux to write an ISO file to a flash drive. However, if you set up the dd command incorrectly, you could effectively write the ISO file over your current operating system and wipe out everything. Etcher doesn't let you do that.

Before continuing, you'll need a USB flash drive that is either empty, or one you don't mind wiping. This process will completely erase it, so make sure the device doesn't have information on it that you'd rather not lose. The flash drive should be at least 1 GB, preferably 2 GB or larger. Considering it's difficult to find a flash drive for sale with less than 4 GB of space nowadays, this should be relatively easy to obtain.

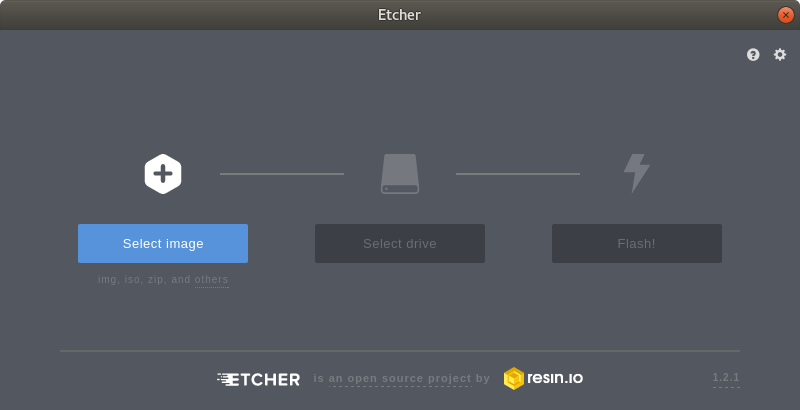
To get started, head on over to https://etcher.io, download the latest version of the application from their site, and open it up. The window will look similar to the following screenshot once it launches:

Utilizing Etcher to create a bootable flash drive

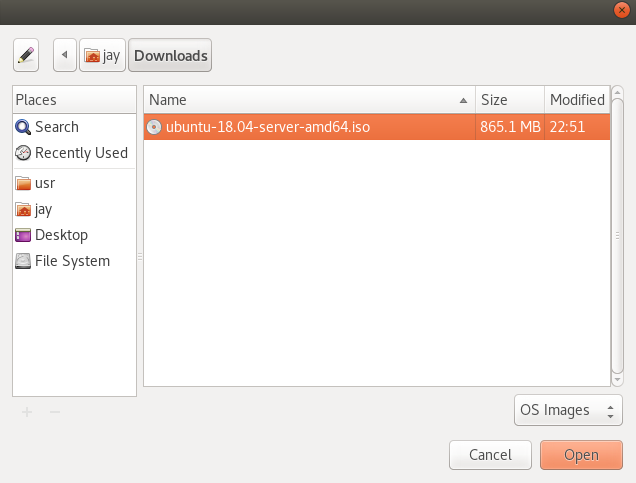
At this point, you'll click Select image, which will open up a new window that will allow you to select the ISO file you downloaded earlier. Once you select the ISO, click on Open:

Selecting an ISO image with Etcher

If your flash drive is already inserted into the computer, Etcher should automatically detect it:

Etcher with a selected ISO image and flash drive

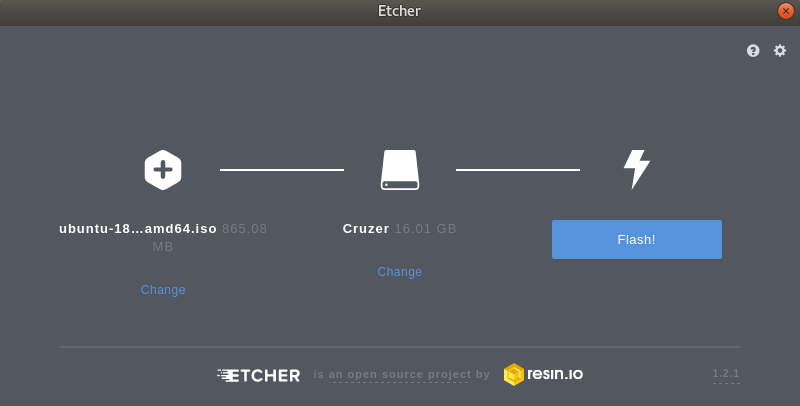
In the event you have more than one flash drive attached, or Etcher selects the wrong one, you can click Change and select the flash drive you wish to use:

Selecting a different flash drive with Etcher

Finally, you can click Flash! to get the process started. At this point, the flash drive will be converted into Ubuntu Server installation media that can then be used to start the installation process:

Selecting a different flash drive with Etcher

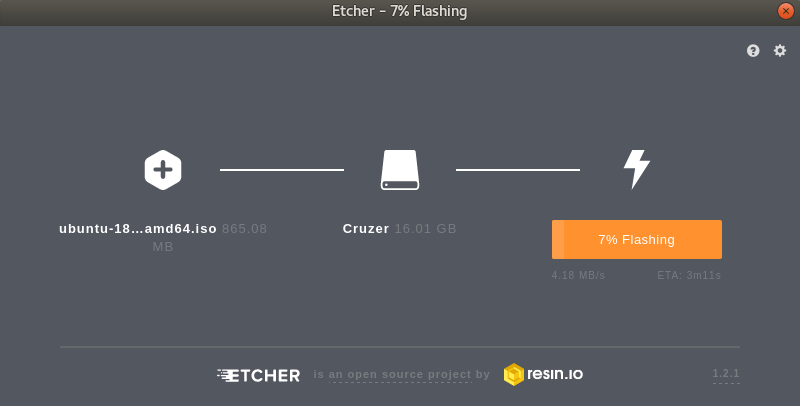
After a few minutes (the length of time varies depending on your hardware), the flashing process will complete, and you'll be able to continue and get some installations going. Before we get into that, though, we should have a quick discussion regarding partitioning.